Twinkle twinkle little star… No dreamy mobile without a star. Or two. This star ornament crochet pattern comes in two different sizes, cause I prefer when things are not too symmetrical (that’s my Japanese ikebana influence). Although it looks simple, I would say that the level of this pattern is more intermediate, because of the star points. But I have made a video to add visual explanation to the tricky part and make it accessible to beginners+ too!
No time right now? Pin this tutorial for later.
*This post contains affiliate links for products I use, believe in or recommend. This means I will earn a small commission if you make a purchase from one of these links, and of course it is at no extra cost for you. It helps me to keep Octopus Crochet going and to keep publishing new free patterns and tutorials for you to enjoy, so thank you! You can check my full disclosure here.
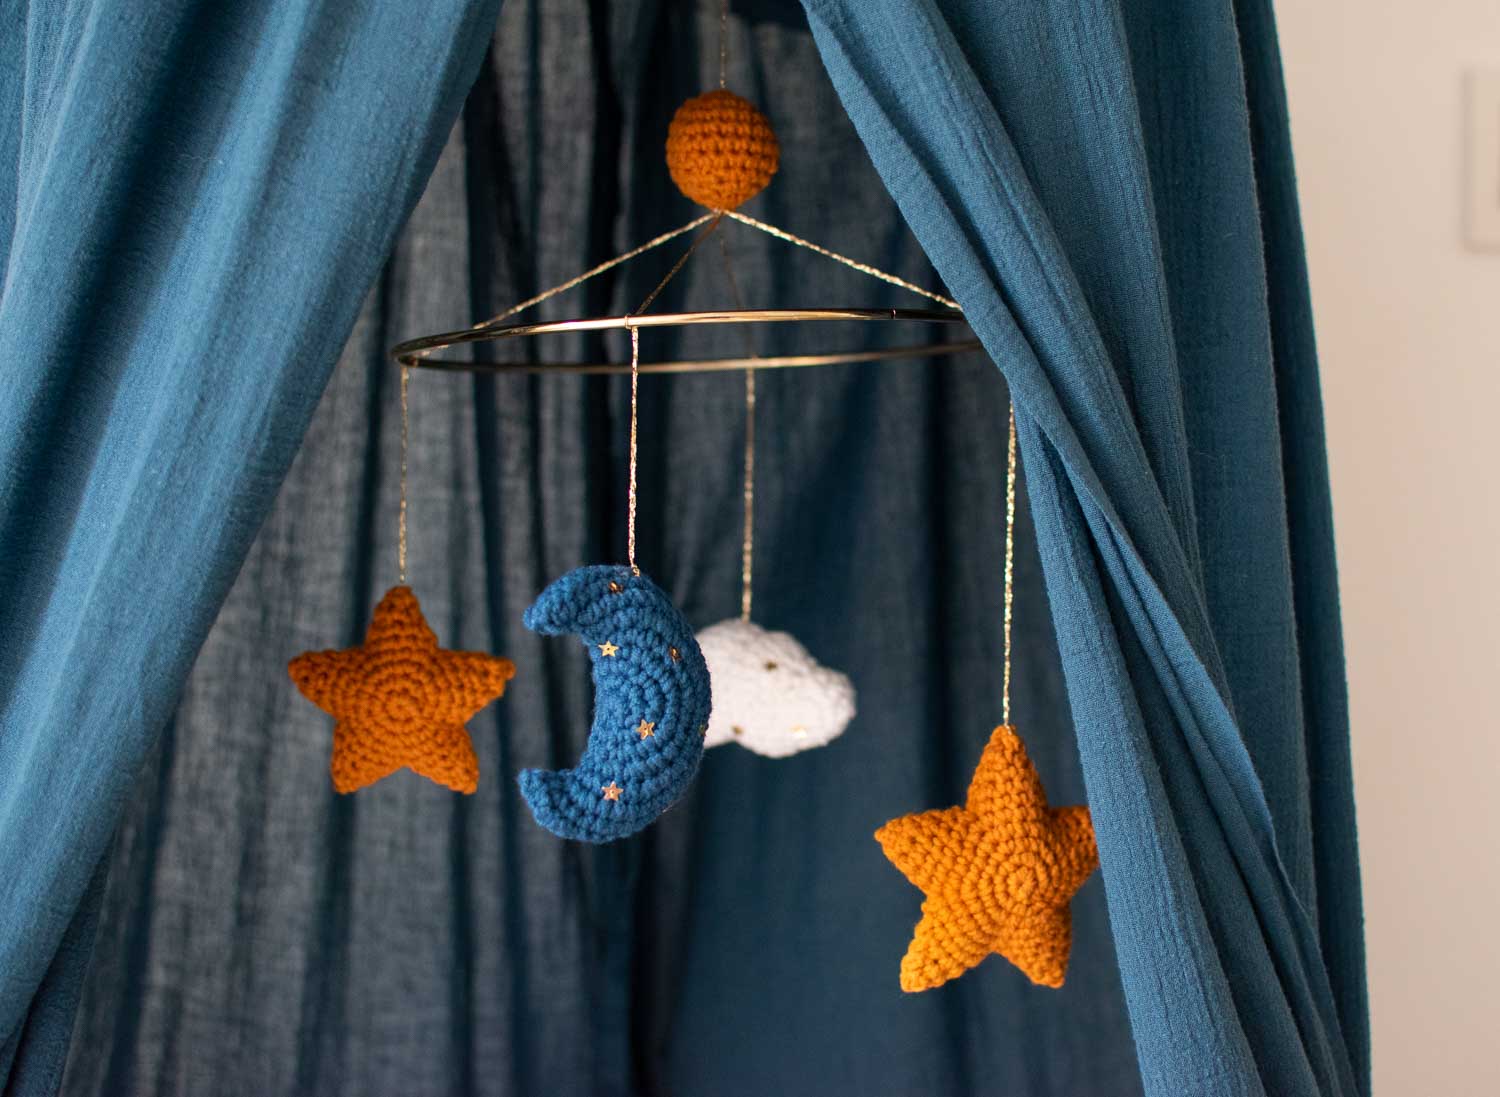
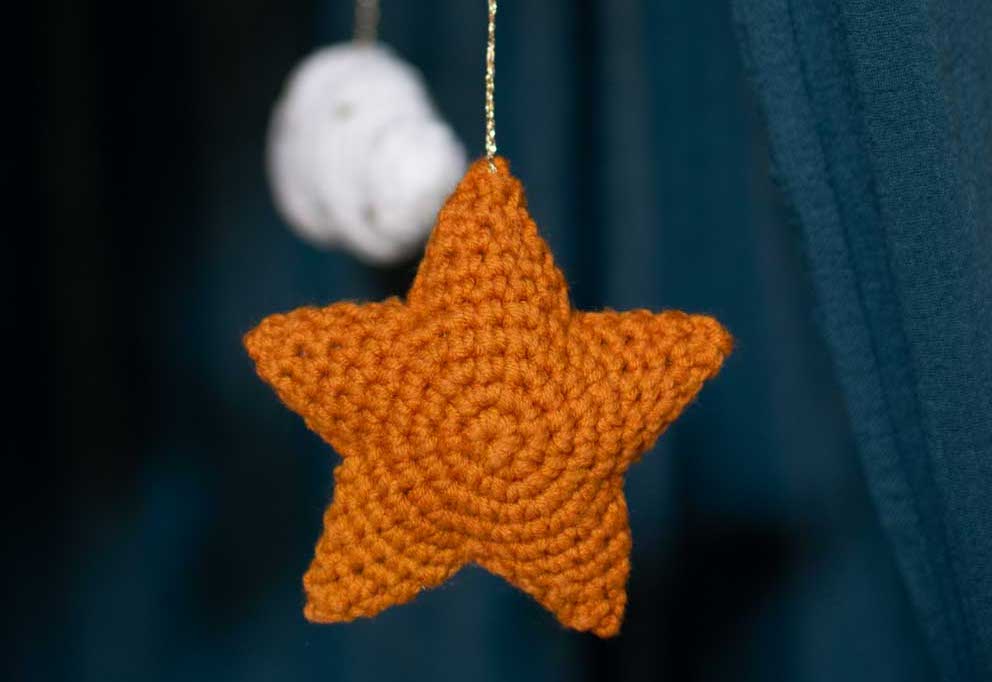
These 3D stars are perfect ornaments for baby mobiles, or a Christmas tree, or a garland for a baby room. I’ve always been fascinated by the natural shapes and colours you can find in Nature, and if you pay attention, the 5-point star is everywhere. I’m a diver, so obviously the starfish is one of them, but a lot of flowers also have it, and I feel that in a baby room it always brings a touch of magic and positive energy. Even more when it’s handmade.
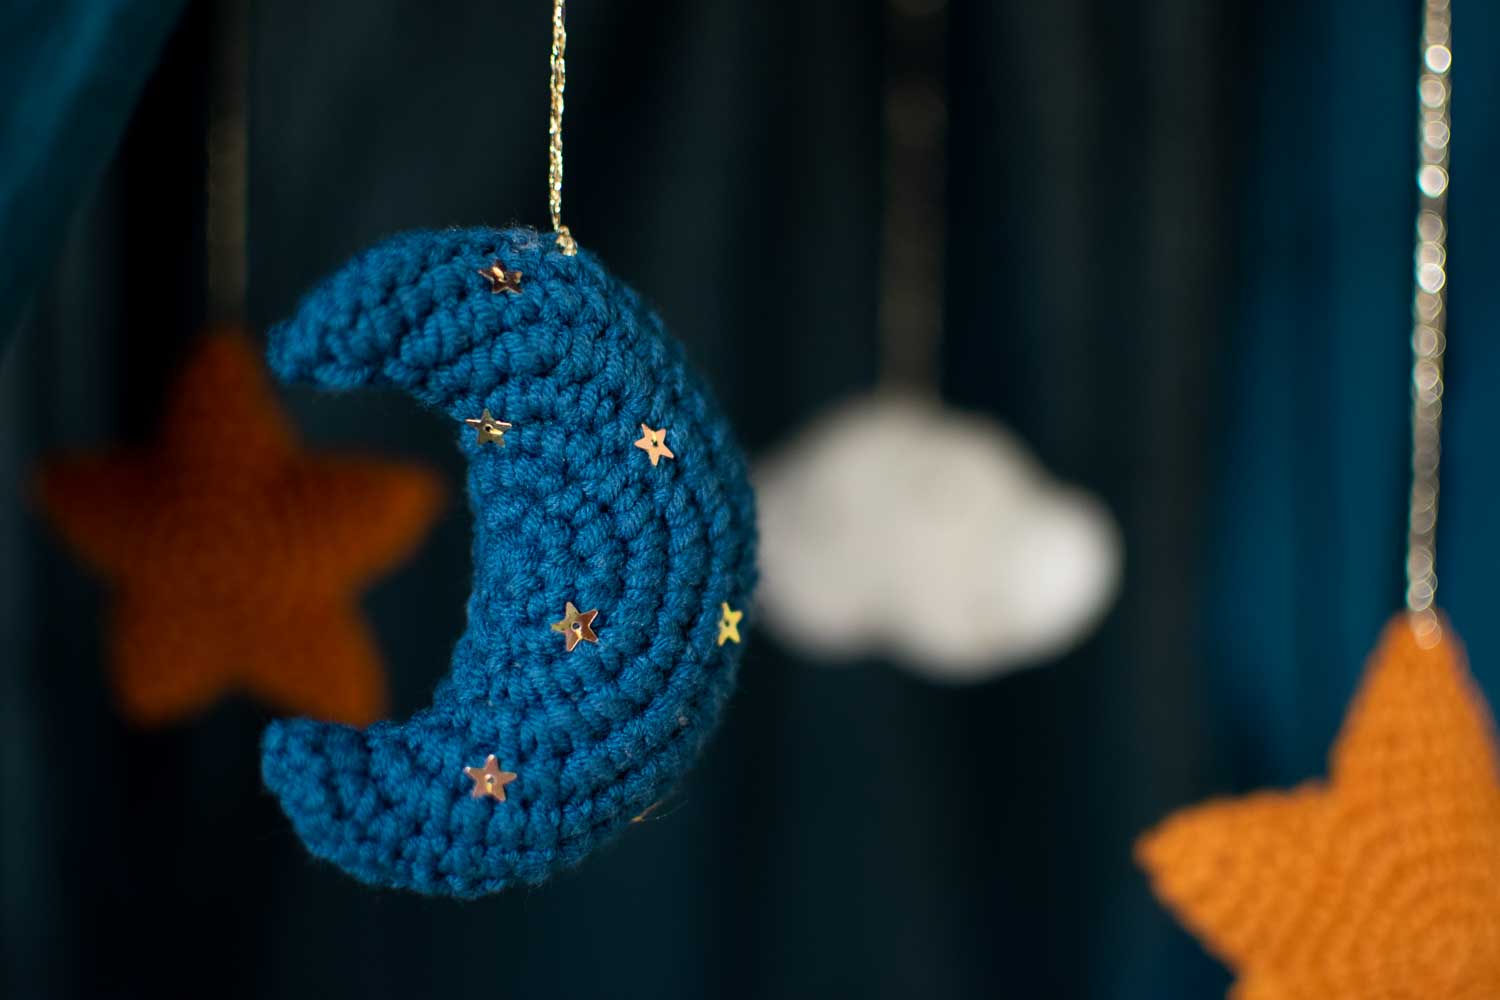
I haven’t embroidered sequins on my stars, because I feel their shape is already very geometrical and it could make them a bit too busy, but if you like an extra dose of shimmering it’s up to you!
Good news! You can scroll down for the free pattern, but if you prefer a printed version you can get this star pattern along with the other ornaments of the mobile (the moon, cloud, ball and all detailed instructions, yes, ALL in one!) in a nice add-free pdf in my shop on Etsy for a small fee.
ALL YOU NEED TO KNOW BEFORE YOU START
MATERIAL
- 3.5mm / US E-4 crochet hook
- Yarn: #3 / DK / light worsted yarn, 8ply, 80% Cotton 20% Milk Fiber, in mustard or other yellow colour you like
- Fiberfill
- Tapestry needle
- Stitch marker(s) (or a piece of thread to mark your round beginning)
GAUGE AND SIZE
- The gauge for this pattern is : 5-round circle=5cm (2”) with a 3.5mm hook. Find out how to measure gauge for amigurumis in my tutorial here.
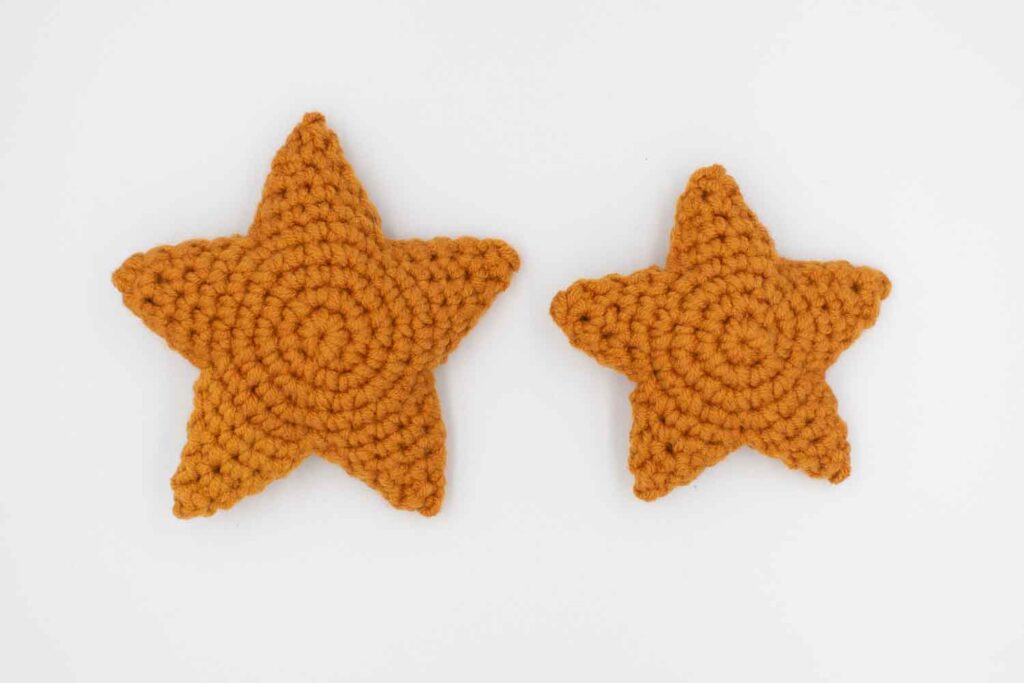
- When gauge is achieved, the large star is 8.5 cm (3.3″) high and wide, and the small star is 7.5 cm (3″) high and wide.
PATTERN NOTES AND SPECIAL TECHNIQUES
- This pattern is worked in continuous spiral rounds (i.e. without closing the rounds with a slip stitch). It may help to mark the first stitch of each round with a stitch
- If you are a beginner and need a reminder on how to make a magic ring, you can find a detailed tutorial on my blog here.
- The number before the abbreviation represents how many times to work one type of stitch into consecutive stitches from the previous round. Ex : 3inc = work one increase into each of the next 3 stitches.
- For this pattern I use an invisible decrease to minimize the gaps between these stitches so that the fiberfill doesn’t show too much. You can check this simple technique in my tutorial here, but if it’s too much hassle and you prefer to start right away you can also work with normal decrease, no big deal!
ABBREVIATIONS
This tutorial follows US crochet notations.
- sc: single crochet
- inc: increase (= work 2sc in the next stitch)
- dec: single crochet decrease (invisible) (single crochet 2 sts together)
- st: stitch
- (…) x 2: repeat whatever is in between the parenthesis the number of times indicated
- [number]: total number of stitches of the round
- Rnd(s): round/s
- FO: fasten off
STAR CROCHET PATTERN (LARGE)
Rnd 1: work 6sc into a magic ring. [6]
Rnd 2: 6inc. [12]
Rnd 3: (inc, sc) x 6. [18]
Rnd 4: (inc, 2sc) x6. [24]
Rnd 5: (3sc, inc) x 6. [30]
Fasten off.
Make a second one, and don’t fasten off.

First point: each point is worked in spiral, like a reverse cone.
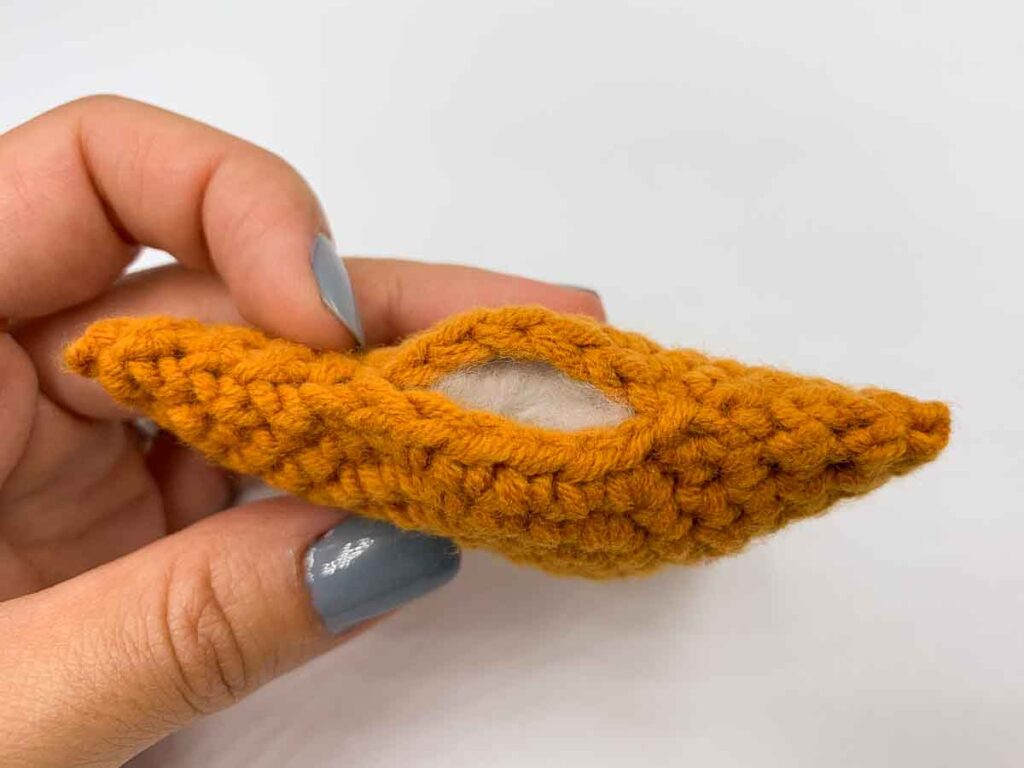
Rnd 1: Put the two circles together (wrong sides together) and work 1 sc across both sides to join them. Mark that stitch with a stitch marker. Now count 5 stitches on both circles, and mark the 6th stitch with a stitch marker across both circles. Work 5sc in the first circle only (the one facing you). At the 6th stitch, work 1 sc across both circles to join them again. You can remove the stitch marker. Turn your work so that the back circle is now facing you, and work 5sc in this circle. [12]
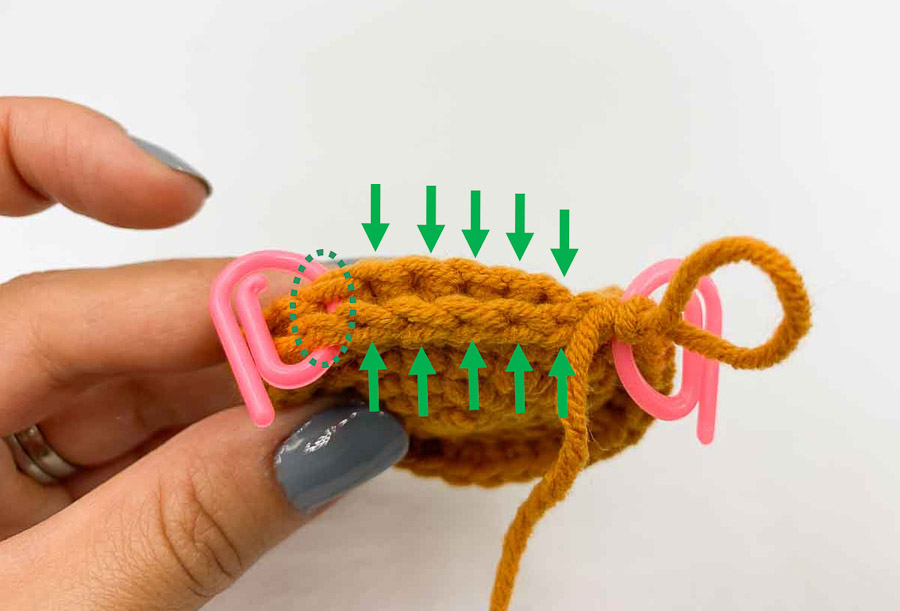
If it’s unclear and you prefer a visual explanation, I’ve got you covered with a video for this specific step.
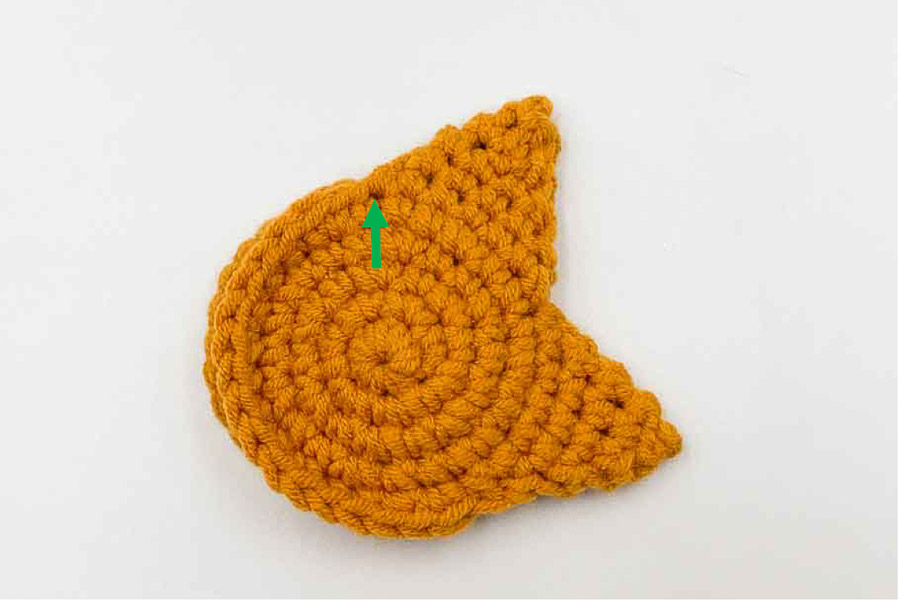
Rnd 2: (turn again and start in the first stitch from Rnd 1, the one with the stitch marker)
dec, 4sc, dec, 4sc. [10]
Keep going in continuous rounds.
Rnd 3: dec, 3sc, dec, 3sc. [8]
Rnd 4: dec, 2sc, dec, 2sc. [6]
Rnd 5: dec, sl st, FO and sew closed.
Weave in ends.
Other three points: with a new strand of yarn, make a slip knot on your hook, and repeat rounds 1 to 5, starting your first sc into the last stitch of the previous point basis (don’t start in the next free stitch). This first sc is worked across both circles.
Fifth point: Stuff the star (lightly) before starting the fifth point, and don’t forget to fill the last point just before closing it. Repeat rnds 1-5.
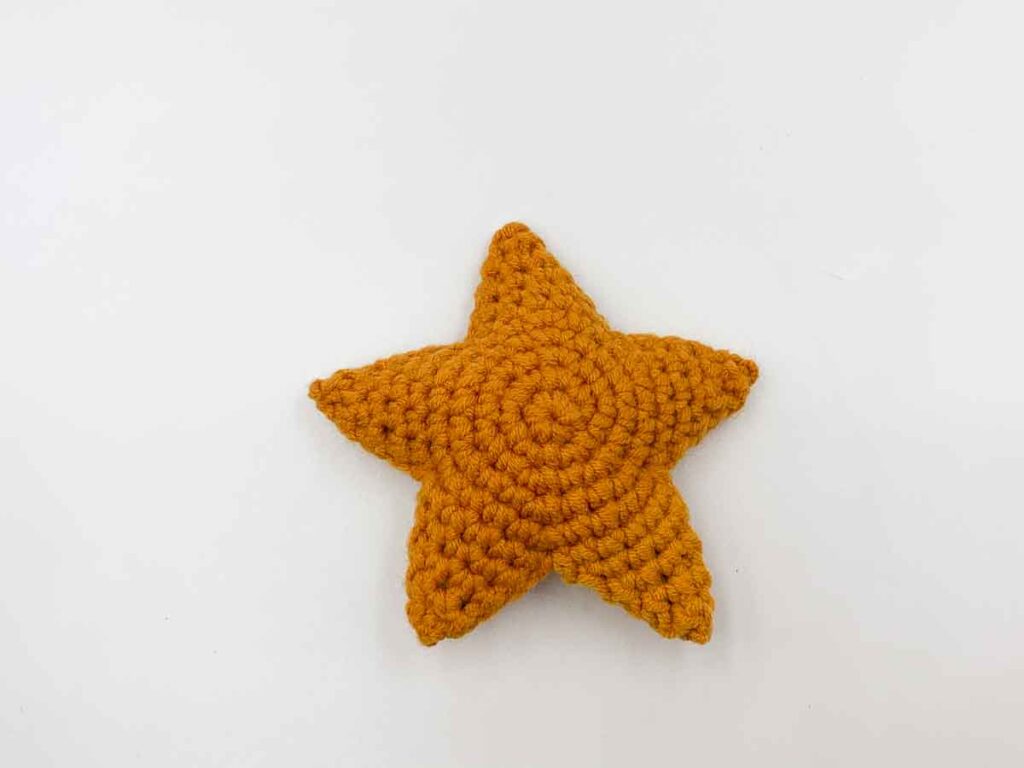
And you’re done with the large star! Congratulations! Now it should be a a piece of cake to make the smaller one.
STAR CROCHET PATTERN (SMALL)
The small star is pretty much the same as the large one, same techniques and steps, with just fewer rounds.
Rnd 1: work 6sc into a magic ring. [6]
Rnd 2: 6inc. [12]
Rnd 3: (inc, sc) x 6. [18]
Rnd 4: (inc, 2sc) x5, inc, sc, inc. [25]
Fasten off, weave in end on the wrong side.
Make a second one, and don’t fasten off.
First point: each point is worked in spiral, like a reverse cone.
Rnd 1: Put the two circles together (wrong sides together) and work 1 sc across both sides to join them. Mark that stitch with a stitch marker. Now count 4 stitches on both circles, and mark the 5th stitch with a stitch marker across both circles. Work 4sc in the first circle only (the one facing you). At the 5th stitch, work 1 sc across both circles to join them again. You can remove the stitch marker. Turn your work so that the back circle is now facing you, and work 4sc in this circle. [10]
Rnd 2: (turn again and start in the first stitch from Rnd 1, the one with the stitch marker)
dec, 3sc, dec, 3sc. [8]
Keep going in continuous rounds.
Rnd 3: dec, 2sc, dec, 2sc. [6]
Rnd 4: dec, slst, FO and sew closed.
Weave in ends.
Other three points: with a new strand of yarn, make a slip knot on your hook, and repeat rounds 1 to 4, starting your first sc into the last stitch of the previous point basis (instead of starting in the next free stitch). This first sc is worked across both circles.
Fifth point: Stuff the star (lightly) before starting the fifth point, and don’t forget to fill the last point just before closing it. Repeat rnds 1-4.
Congratulations! If you liked the pattern share it with your crochet friends! Thank you for your support.