How to assemble and balance a baby mobile

Sharing is caring!

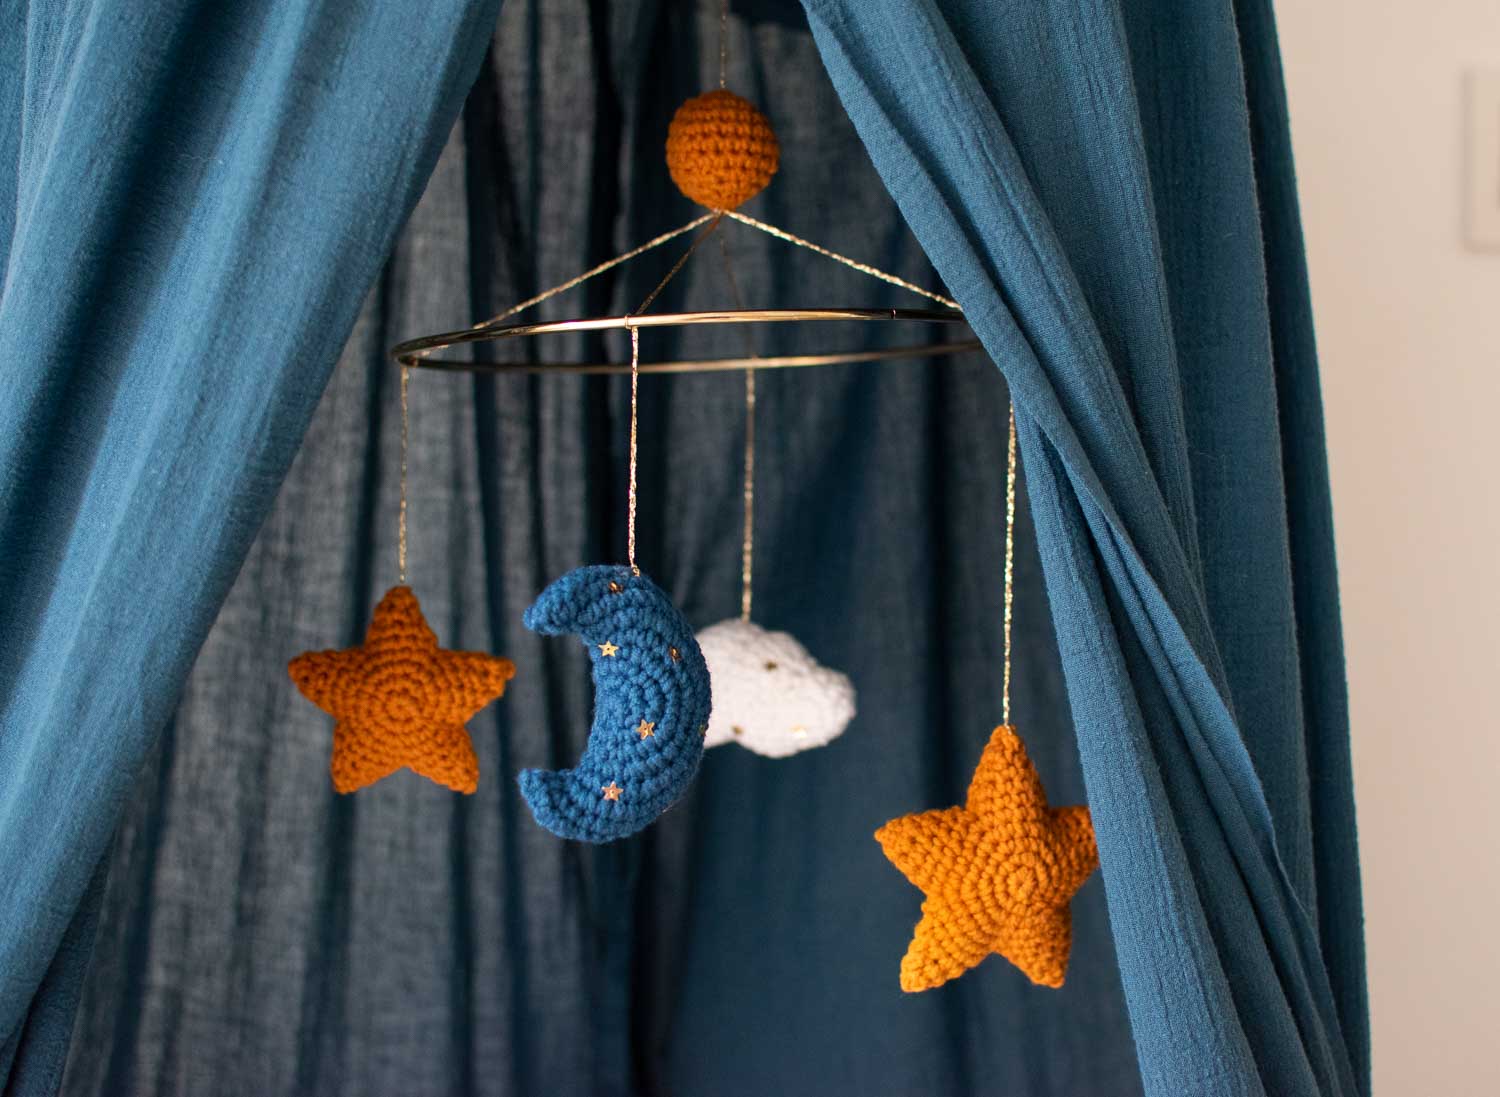
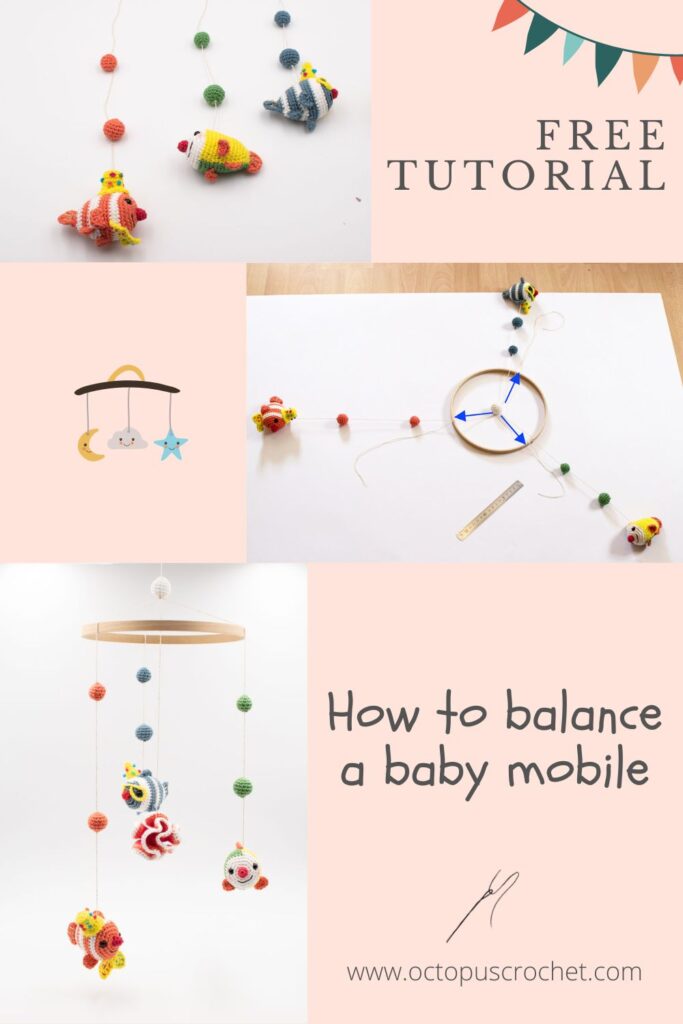
You have crocheted amigurumis for hours, you finally assemble your baby mobile, and it doesn’t work out. How frustrating is that? I know, I’ve been there! That’s why I decided to share a few tips and tricks on how to assemble and balance a baby mobile. Hopefully it will save you a bit of time and frustration!

No time right now? Pin this tutorial for later.

How to assemble and balance a baby mobile pin

BEFORE YOU START

MATERIAL

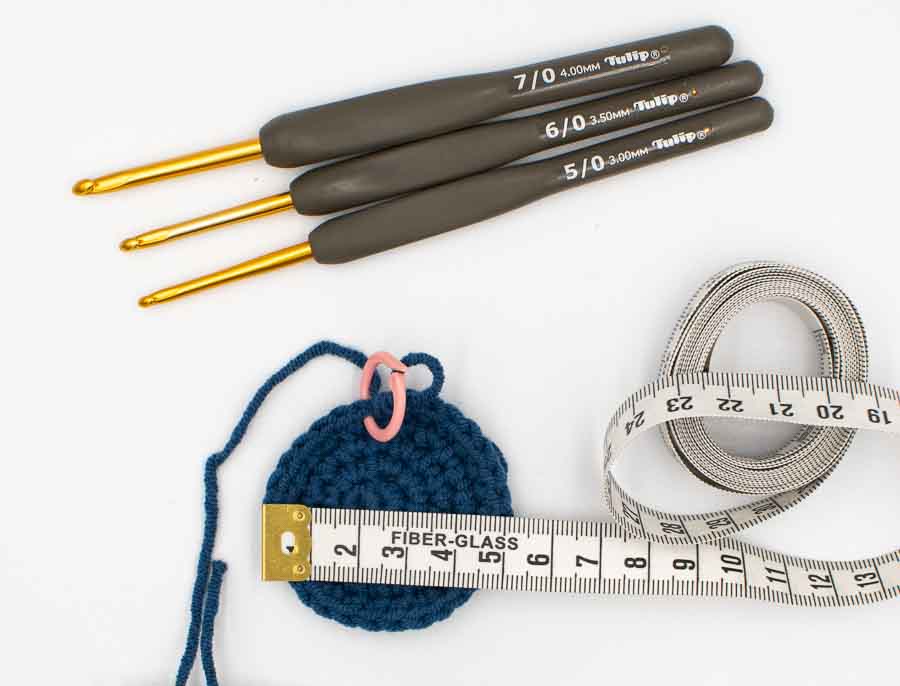
So to make your mobile, you’ll need:

  • A wooden or bamboo (or metal) ring with the dimension of your liking (in this tutorial it’s 20cm / 7,8″
  • A decorative thread, or yarn (not too thick, read my advice below)
  • a tapestry needle and scissors
  • obviously, all your finished mobile ornaments

SOME ADVICE

After making a few mobiles, I thought I’d share some advice on this article, but these are just my personal preferences of course, totally up to you to take it or leave it! 

  • Super important for me: the choice of thread to hang your mobile ornaments. I like to use a decorative thread, like a golden string or some other threads with a bit of shiny things. I don’t like to use yarn. Why? Because this thread plays a big part in the final effect of your mobile. There are at least 3 or 4 (or more) vertical threads hanging, so you don’t realize it when you assemble it, but they take a lot of visual space, you see them a lot, and you don’t want it to steal the show from your beautiful crocheted ornaments. So it should be thin, and pretty, it can really add a poetic touch by itself and enhance the entire mobile. I don’t like to use yarn because there is already a lot of yarn in your ornaments, and I feel a different thread will bring a new texture to your mobile (in addition to the wooden ring).
  • It can be helpful (OR NOT, depending on the person haha..) at this point to have someone help you to hold the mobile or elements for you. For example I attach the central piece at the end, and I like to adjust the height in real conditions so I ask my hubby to hold the mobile with the central ball for me.
  • Don’t cut any tails before you are 100% satisfied with your mobile! 
  • Be patient: you’ve been working hard on the crocheting part, and I know how annoying this last part is, I personally don’t enjoy it much. But take the time to do this: the satisfaction to have a beautiful and balanced mobile is worth the effort!
  • Important for safety: make sure you double or triple secure all the knots, to avoid any element to fall in a baby crib, since it is likely to be hanged above a crib. Please mention to the parents that they should adjust the height of the mobile when the baby grows older, because there comes a point where the toddler can actually grab these most-desired ornaments that have been hanging above his head for months, and will pull on it. Of course this is the parents responsibility, but you never know what people can accuse you of when there is an accident. If you sell baby mobiles in craft fairs, you can add a safety warning on a tag for example. 

Let's assemble the clownfish mobile

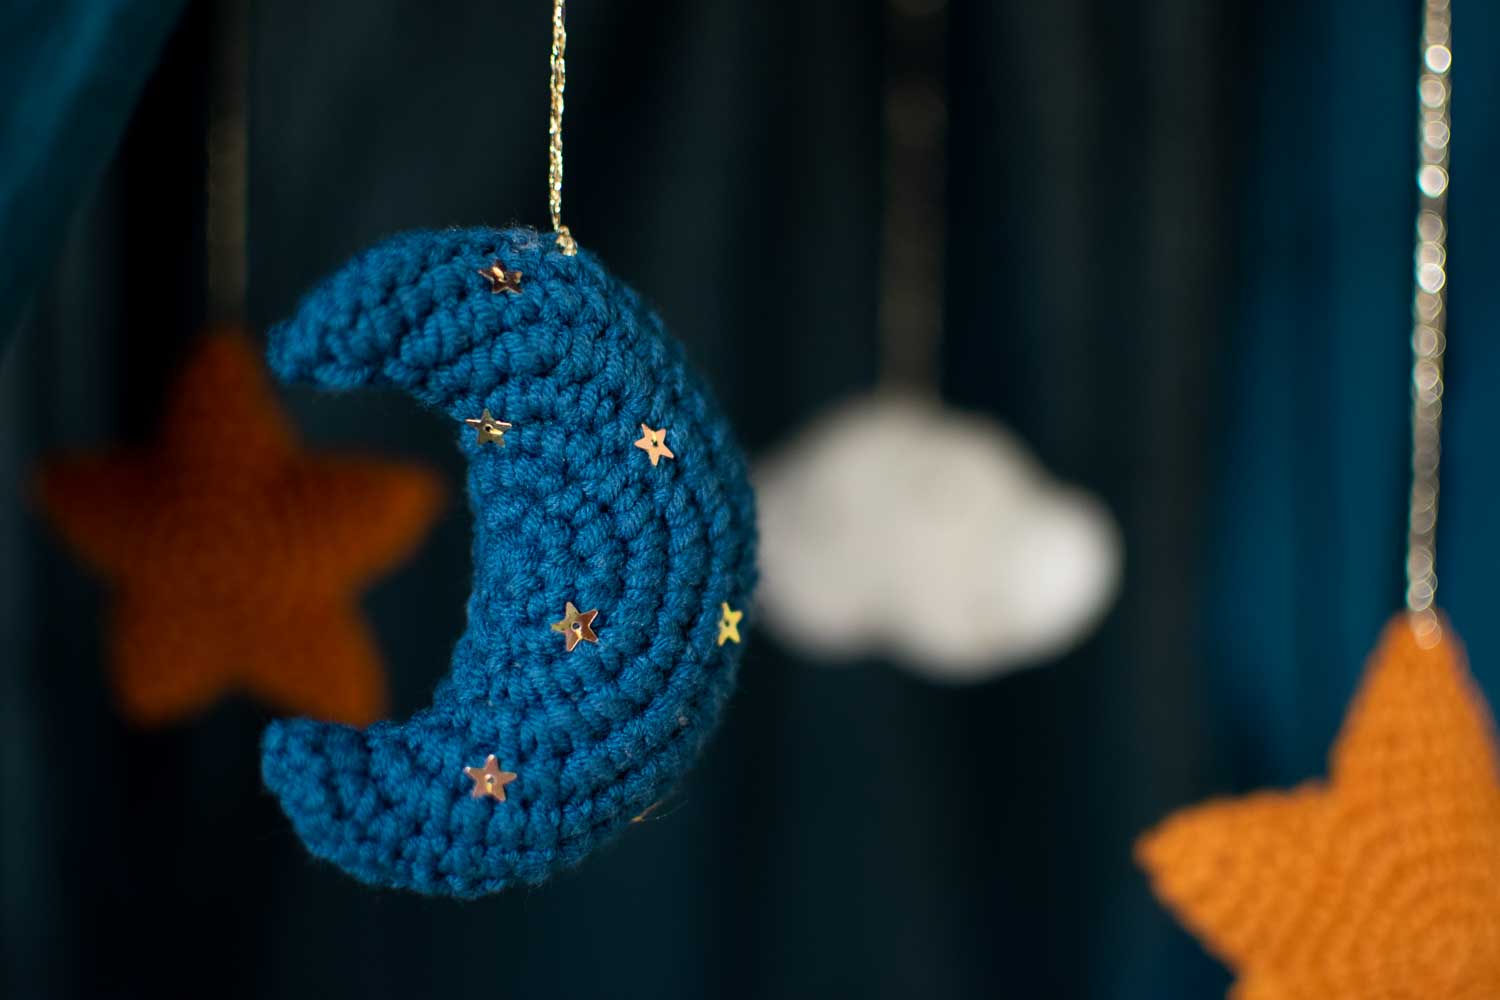
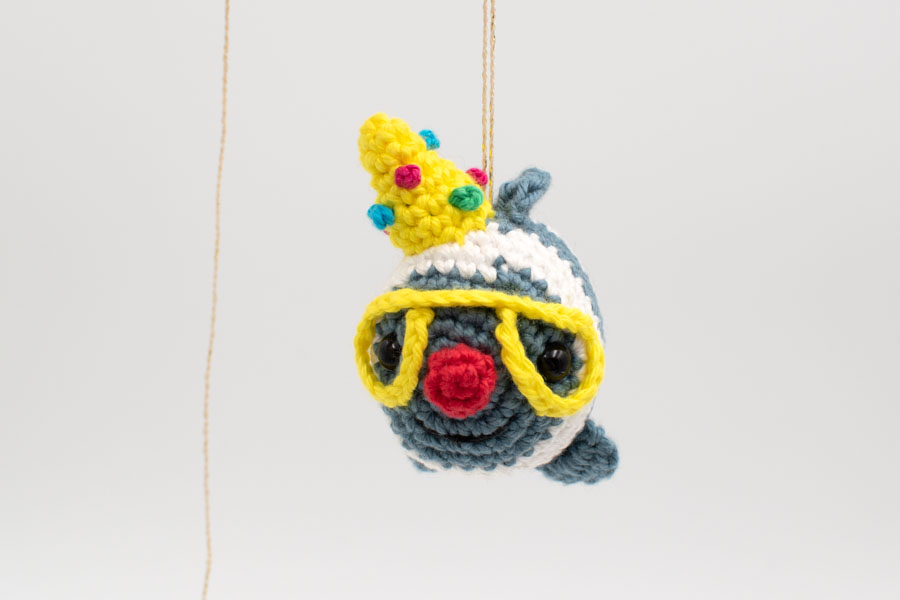
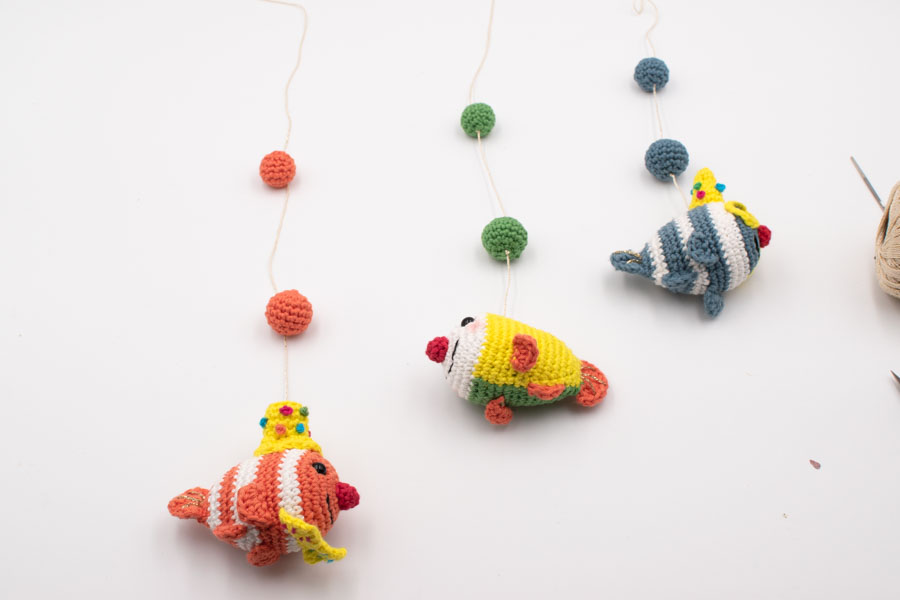
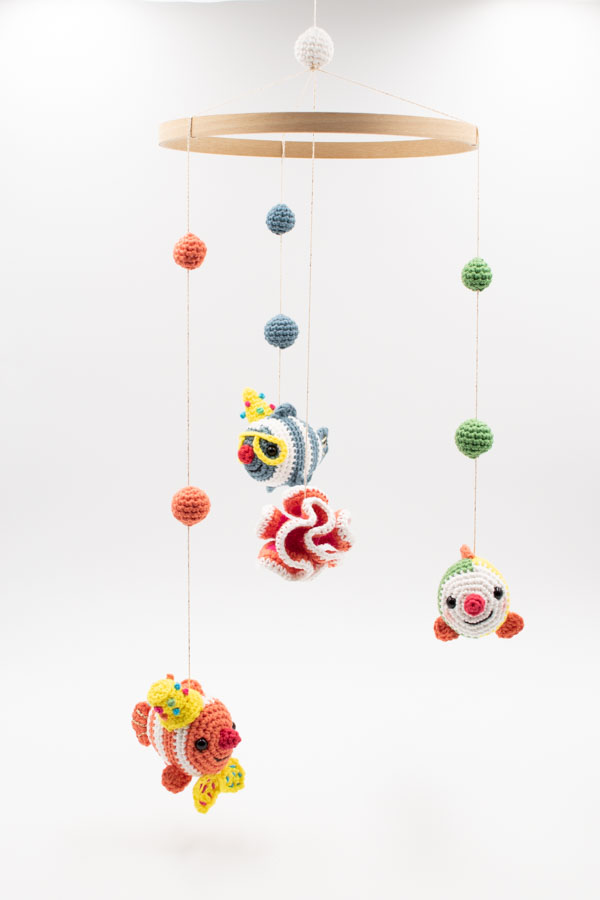
I’ll take the clownfish family mobile as an example. If you are interested in making it you can find the clownfish patterns here, or you can purchase the pdf for a small fee in my Etsy shop. 

  • Take 4 decorative threads (or yarn, but not too thick!) of 90cm each (35″). I always take longer than needed threads, just in case. 
  • Start with each clownfish and its bubbles. The height, inclination and placement of each fish and bubbles are totally up to you. My advice is to lay them down side by side first, like on the picture below, to adjust the position you want. Make a knot at the top of the fish, then make a knot at the bottom of the medium bubble, exit through the top, then make a knot at the bottom of the small bubble, exit through the top.
  • Hint: I always make the knots under the elements, and exit through the top, this way you can pull a bit the knot inside, and it will be better hidden inside than if you make the knot on the top of the ornament.
Clownfish mobile assembly-2
Clownfish mobile assembly-4
  • Then For each clownfish, wrap the thread twice around the wooden ring, adjust the distance between the last bubble and the ring, then with a tapestry needle go through the bottom of the central ball (the white one), and exit in a stitch right next to it (you’ll make a knot later to secure it, but you need to be able to adjust the length first).
Clownfish mobile assembly-3
  • Now this is the tricky and important part: to obtain a balanced mobile, the length of each thread between the ring and the central ball should be exaclty the same. Pull on the thread ends to adjust the length (make sure your central ball is sitting in the final position, how it will be hanged, not upside down), and make double knots at the base of the ball. You can hide the tails inside, but I would advise to wait until the mobile is totally finished, just in case you want to adjust something.

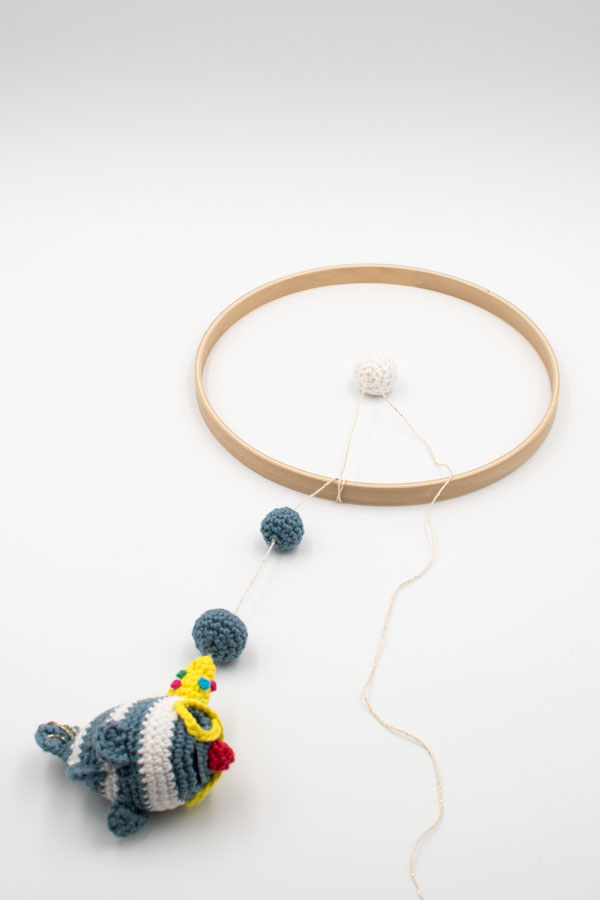
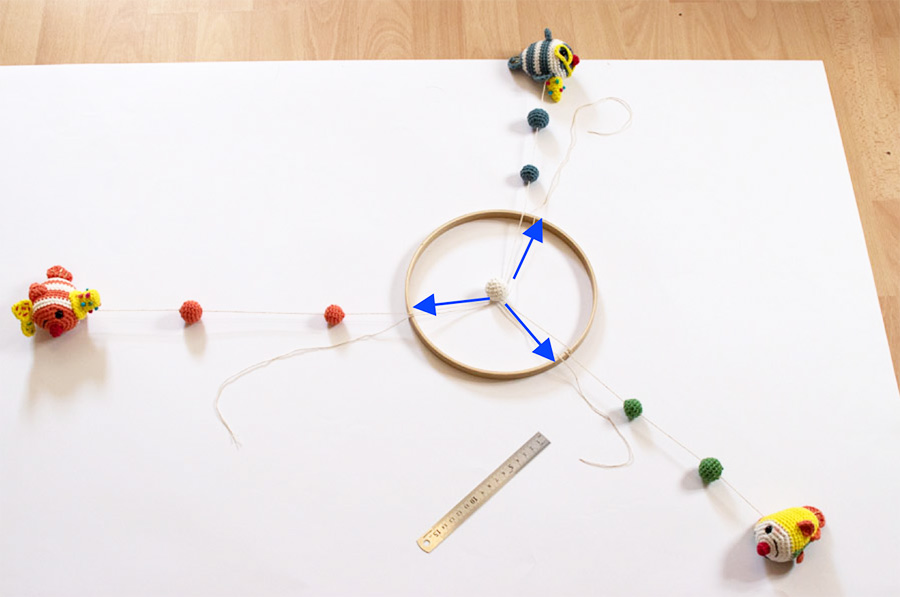
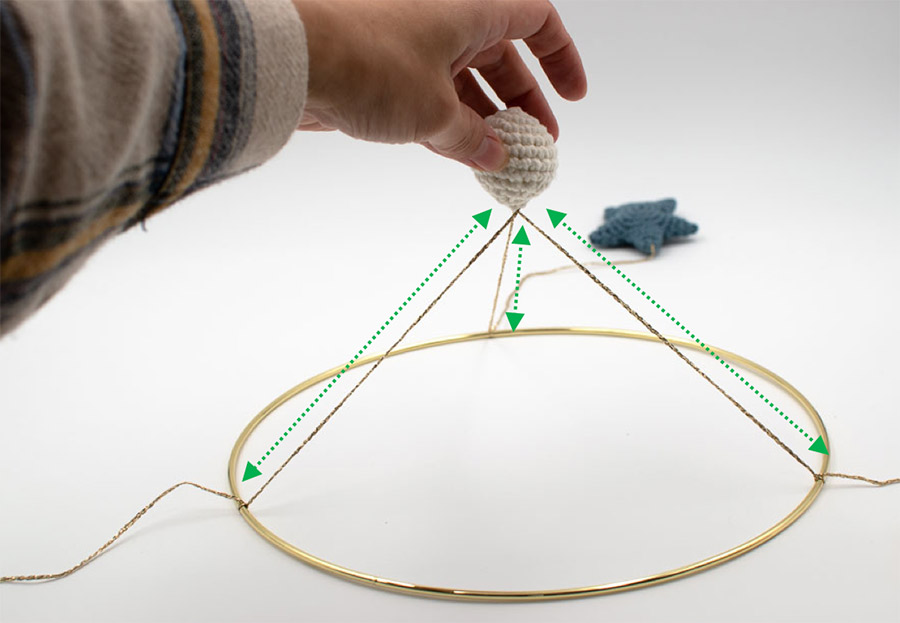
These 2 pictures are examples of two different mobiles. For the clownfish mobil (on the left), I just put the white ball at the center and checked that there was the same distance between the ball and the ring for every thread. Then I tied the knots, the tricky part is to do that without moving too much the other ones. On the right picture, I wanted the ball to be a bit higher, but it’s basically the same technique: same measurement for all three green arrows on the picture. 

  • Now hold the mobile by the white ball, and see if it’s balanced. You can also adjust the balance a bit by making each thread slide right or left (slightly) on the wooden ring, but the key is the previous step. This works because the elements of the mobile are all the same weight. So if you spread them almost equally on the ring (1/3, 1/3, 1/3), and the distance to the central ball is the same, it should be balanced. When you have a mobile with different ornaments, I would advise to spread the different weights equally around the ring, if the heaviest one can go at the center it’s a good option. 
  • At this point it can be helpful to have someone help you with holding the mobile for you! Then take the fourth thread, attach the coral with a knot, go through the base of the central ball and exit in a stitch right next to it. Adjust the desired position / heigth of your coral, and secure it with a knot. Then exit through the top of the white ball, and don’t cut, as this thread will be used to hang the mobile.

Congratulations!!! I’d love your feedback on building baby mobiles, let me know about your personal experience I’d be glad to learn from you too!

Scroll to Top