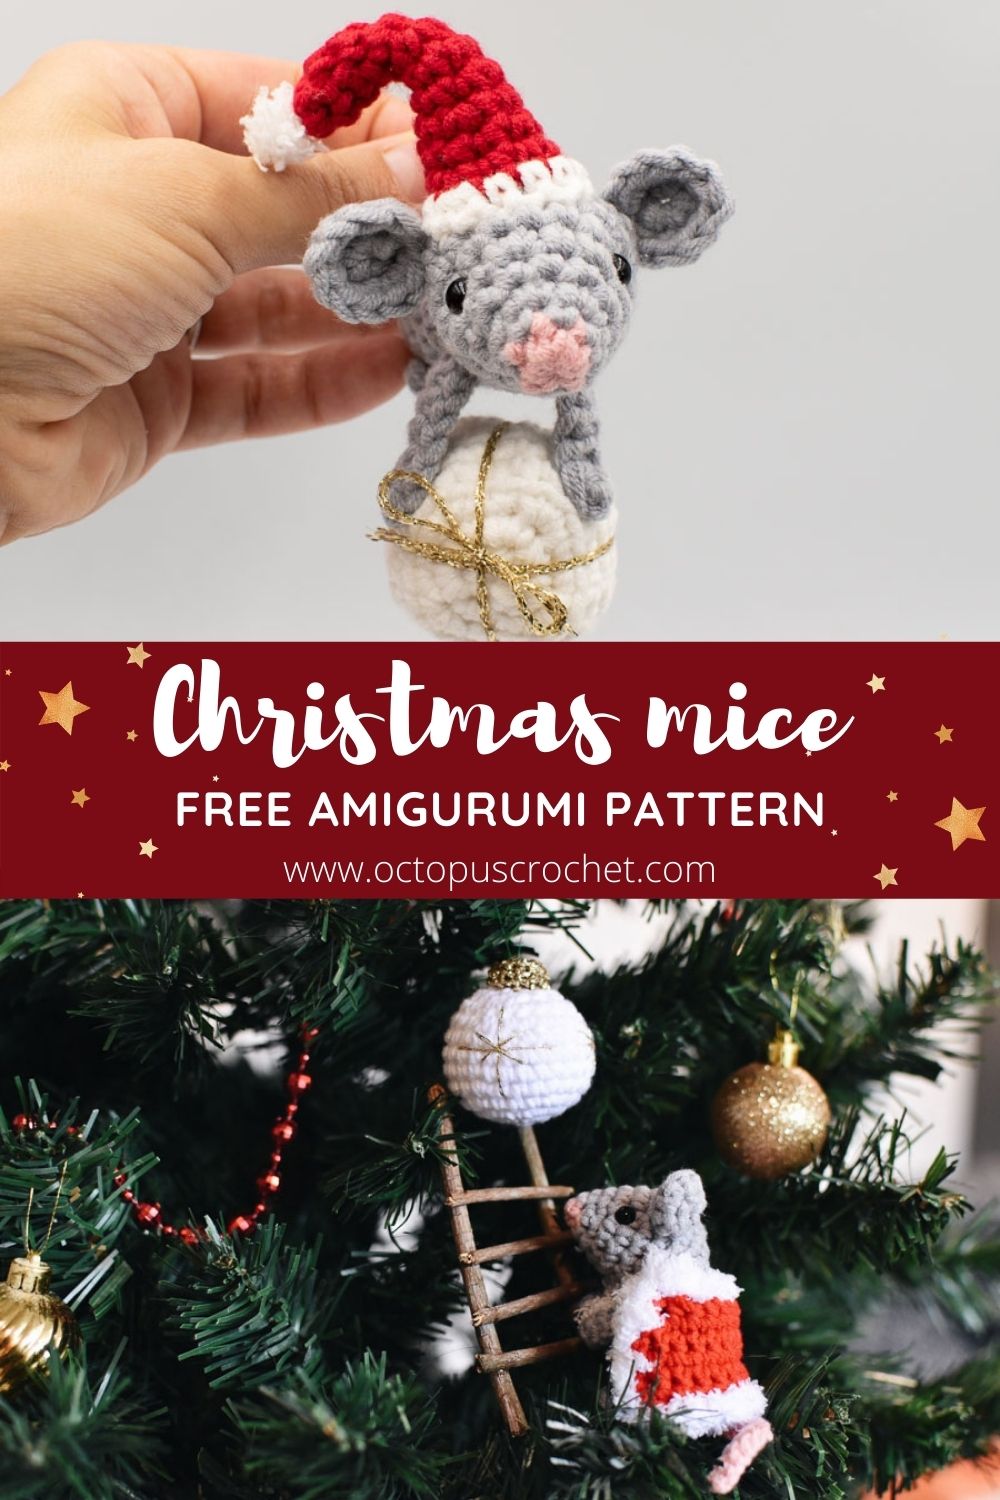
More Christmas ornaments! I think I can never stop… This Christmas mouse amigurumi pattern is a lot of fun to make and if you’re an intermediate level crocheter it’s quick to make, you still have time before Christmas! I like when there are several parts in a pattern cause you can choose what you want to make and how many of each.
No time right now? Pin this pattern for later.
*This blog contains affiliate links for products I use, believe in or recommend. This means I will earn a small commission if you make a purchase from one of these links, and of course it is at no extra cost for you. It helps me to keep Octopus Crochet going and to keep publishing new free patterns and tutorials for you to enjoy, so thank you! You can check my full disclosure here.
If you prefer to purchase an inexpensive add-free pdf version of this pattern I’ve got you covered. The pdf version has all the step by step pictures, instructions, and it’s ready-to-print for you to carry around everywhere you can crochet and are not in front of a laptop. The Christmas mouse amigurumi pattern is available in my shop on Etsy.
THE INSPIRATION FOR THE CHRISTMAS MOUSE AMIGURUMI PATTERN
I guess in every child’s Christmas book there are Christmas mice decorating the Christmas tree over the night… I’ve always LOVED mouse-stories in my childhood, and my hubby was collecting mice figurines as a child, so he was begging me to make some. Plus my son (yes, HIM again… sorry about that but when it comes to cute amigurumis he’s my biggest source of inspiration!!!) is imitating little mice from his jazz book at the moment, with super high-pitched sounds, but his FACE when he does that just makes me melt.
I think I’ll have to give the mice to him as a toy or make more, otherwise he’ll never leave my Christmas tree alone…
BEFORE YOU START
Before you forget:
- Purchase the inexpensive ad-free printable pdf on Etsy here.
- Add this Christmas pattern to your Ravelry queue.
- Pin this Christmas pattern to your Pinterest boards.
MATERIAL
- 3.5mm / US E-4 crochet hook
- 2.75mm / US C-2 crochet hook (for the bauble cap)
- Yarn:
- #3 / DK / light worsted yarn, 8ply, 80% cotton 20% Milk Fiber, in light pink, grey, red, white (I use a local shop yarn, that I find quite thick for a #3, an equivalent would be Paintbox Cotton Aran but keep the 3.5mm hook to obtain tight stitches and avoid gaps where the fiberfill shows)
- A small piece of fluffy white yarn like the Bernat Pipsqueak Whitey White
- Golden yarn or decorative string to tie the bow on the gift and embroider the bag (the one I use is Milford Metallic, but not sure it ships to the US. I’ve found this one from Clisil brand that seems really similar).
- Tapestry needle
- Fiberfill
- Stitch marker or a strand of thinner yarn
- Two pairs of 6mm safety eyes
- Optional:
- green sewing thread to hang the mice and bauble in your Christmas tree
- A pipe cleaner to insert in the santa’s hat to give the bent shape (not child safe)
LEVEL
The bauble and gift are beginner level, the mice are intermediate to advanced.
GAUGE AND SIZE
With the above material: 5-round circle = 5cm (2″). Find out how to measure gauge for amigurumis in my tutorial here.
With the material mentioned above and when gauge is achieved:
- The mouse with Santa’s cape is 8cm tall (3,1″)
- The mouse with the Christmas hat is 11cm (4.3″) long with the tail, and 7cm (2.8″) high with the hat.
- The gift is 3,5cm (1,4″) large and high
- The bauble is 5cm x 5cm (2″ x 2″)
PATTERN NOTES AND SPECIAL TECHNIQUES
- The number before the abbreviation represents how many times to work one type of stitch into consecutive stitches from the previous round (unless stated otherwise). Ex: 3inc = work one increase into each of the next 3 stitches.
- This pattern is worked in continuous spiral rounds (i.e. without closing the rounds with a slip stitch). It may help to mark the first stitch of each round with a stitch marker.
- For amigurumi in general, I always use an invisible decrease to minimize the gaps between these stitches so that the fiberfill doesn’t show too much. You can check this simple technique in a video tutorial here, but if it’s too much hassle and you prefer to start right away you can also work with normal decrease, no big deal!
- It’s a great pattern to learn basic crochet techniques, if you are a beginner you can find them all on this blog here:
STITCHES AND ABBREVIATIONS (US CROCHET TERMS)
- st: stitch/es
- sc: single crochet
- inc: single crochet increase (work 2 sc into the same st)
- dec: single crochet decrease (single crochet two stitches together).
- [number]: total number of stitches of the round
- Rnd: round
- (…) x 2: repeat whatever is in between the parenthesis the number of times indicated
- in BLO: in the back loop only
- sc3tog: single crochet 3 stitches together
CHRISTMAS MICE AMIGURUMI PATTERN
THE CHRISTMAS GIFT
I’ve already written a dedicated post for the gift pattern, you can find it here : Santa’s bag and Christmas gift pattern.
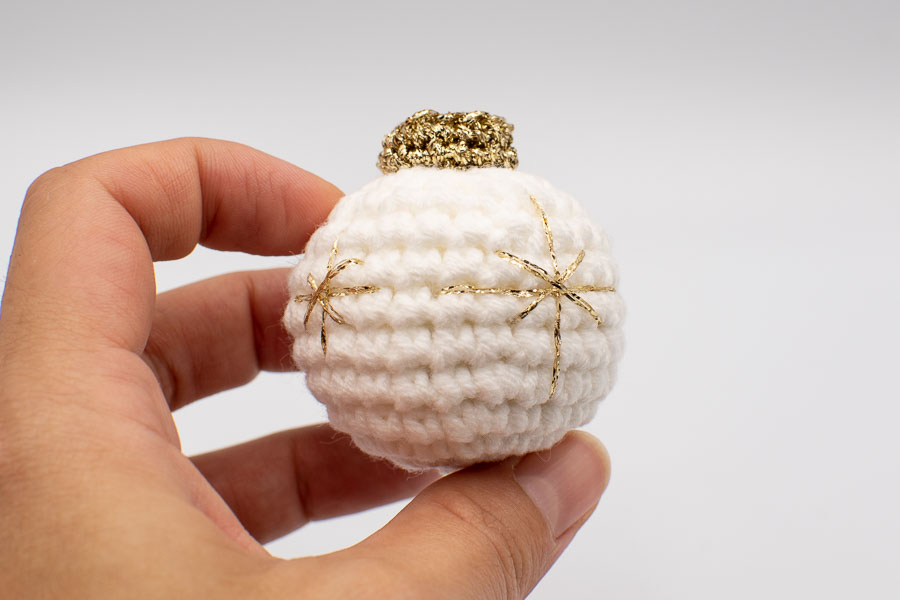
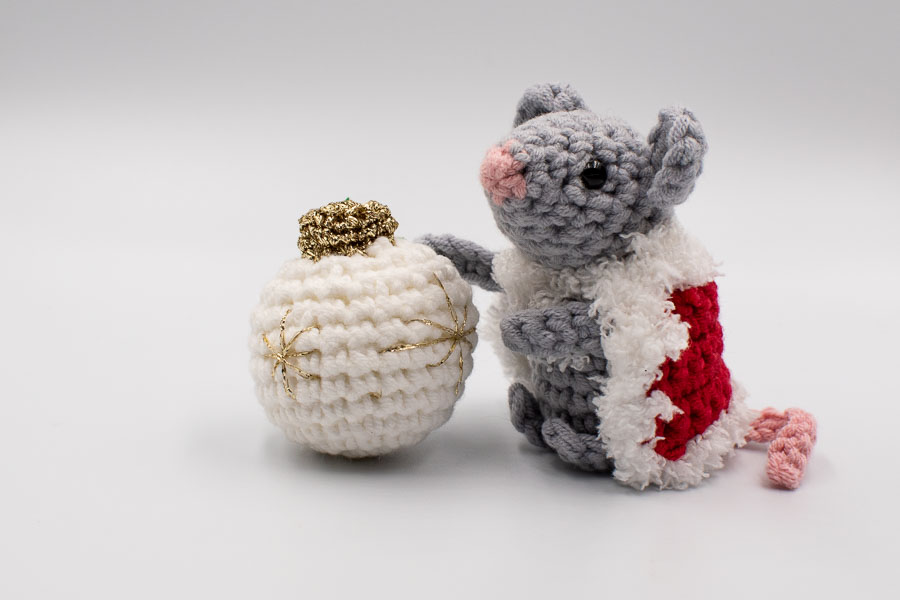
THE BAUBLE
I used white yarn but you could choose any other colour you like to match your decorations this year (if you’re like me and like to change every year!)
Rnd 1: Work 6sc into a magic ring. [6]
Rnd 2: inc in each st around. [12]
Rnd 3: (sc, inc) x 6. [18]
Rnd 4: (3sc, inc) x 4, 2sc. [22]
Rnd 5: (6sc, inc) x 2, 7sc, inc. [25]
Rnd 6 – 8: sc in each st around. [25]
Rnd 9: (6sc, dec) x 2, 7sc, dec. [22]
Rnd 10: (3sc, dec) x 4, 2sc. [18]
Rnd 11: (sc, dec) x 6. [12]
Stuff firmly with fiberfill.
Rnd 12: 6dec. [6]
Fasten off and sew closed.
THE BAUBLE CAP
With the golden yarn and a 2.75mm (US C-2) hook:
Rnd 1: Work 6sc into a magic ring. [6]
Rnd 2: inc in each st around. [12]
Rnd 3: in BLO, sc in each st around. [12]
Rnd 4: sc around. [12]
Fasten off, fill lightly with fiberfill and sew the cap to the top of the bauble.
Then with some strands of golden yarn, embroider stars to your liking.
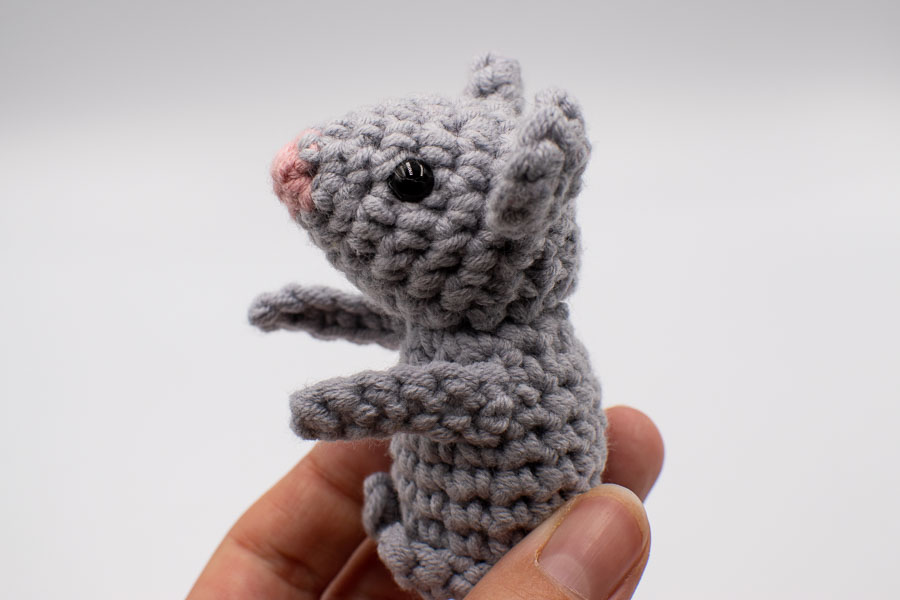
THE MOUSE
(The two mice body parts are the same, just the orientation of the head, arms and legs are slightly different for the assembly).
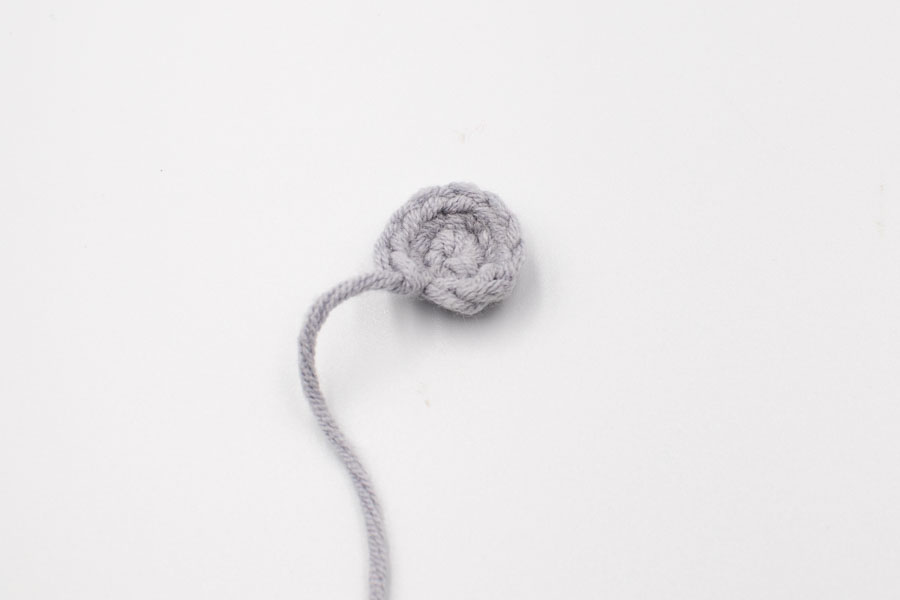
THE HEAD
Start with pink yarn.
Rnd 1: Work 5sc into a magic ring. [5]
Change colour to grey.
Rnd 2: sc in each st around. [5]
Rnd 3: inc in each st around. [10]
Rnd 4: sc around. [10]
Rnd 5: (sc, inc) x 5. [15]
Rnd 6: sc around. [15]
Rnd 7: (4sc, inc) x 3. [18]
Rnd 8: sc around. [18]
Rnd 9: (dec, 4sc) x 3. [15]
Insert 6mm safety eyes between row 5 and 6, 6st apart.
Rnd 10: (dec, sc) x 5. [10]
Stuff firmly with fiberfill.
Rnd 11: 5dec. [5]
Fasten off and sew closed.

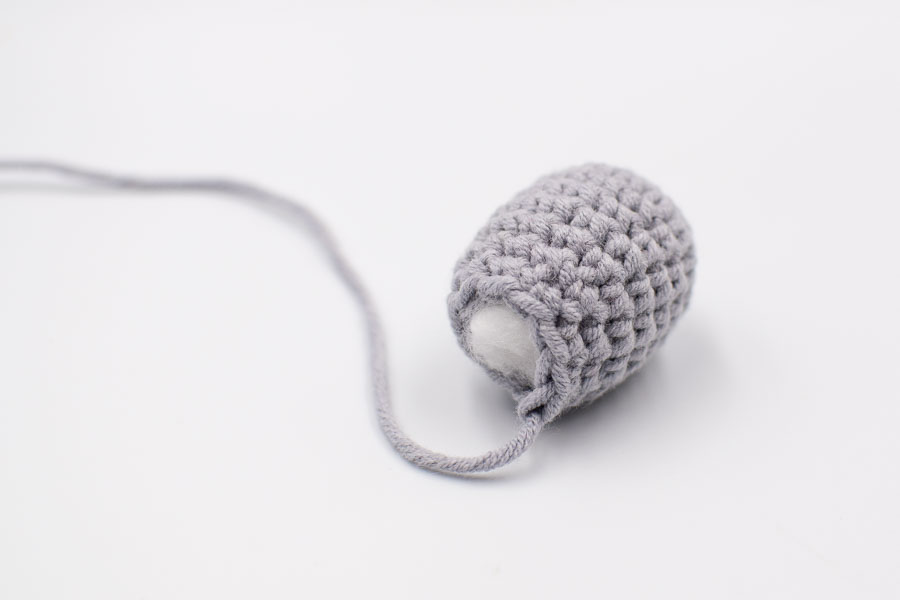
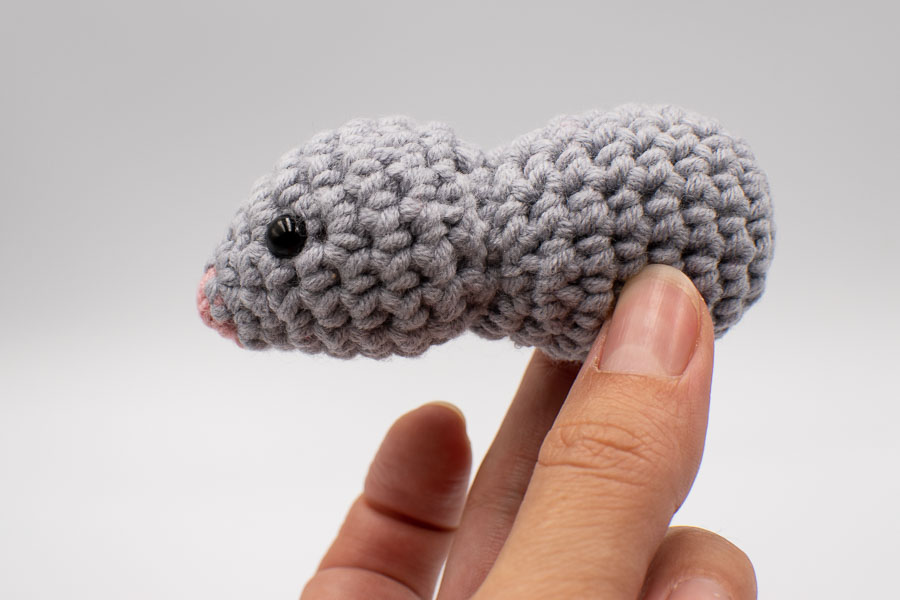
THE BODY
With grey yarn.
Rnd 1: Work 5sc into a magic ring. [5]
Rnd 2: inc in each st around. [10]
Rnd 3: (sc, inc) x 5. [15]
Rnd 4 – 8: sc around. [15]
Rnd 9: (3sc, dec) x 3. [12]
Rnd 10: (2sc, dec) x 3. [9]
Fasten off and leave a long tail for sewing.
Stuff with fiberfill.
THE ARMS (make 2)
With grey yarn, Chain 7.
Row 1: Starting in 2nd chain from the hook, sc in each stitch. [6]
Fasten off, leave a long tail for sewing.

THE LEGS (make 2)
With grey yarn, Chain 5.
Row 1: Starting in 2nd chain from the hook, sc in each stitch. [4]
Fasten off and leave a long tail for sewing.
THE EARS (make 2)
With grey yarn.
Rnd 1: Work 5sc into a magic ring. [5]
Rnd 2: inc in each st around. [10]
Fasten off and leave a long tail for sewing.
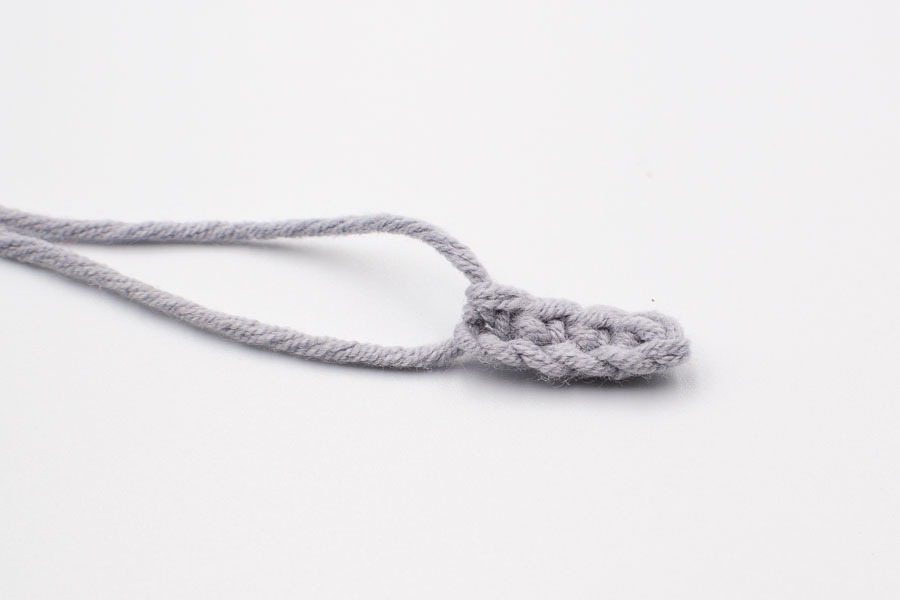
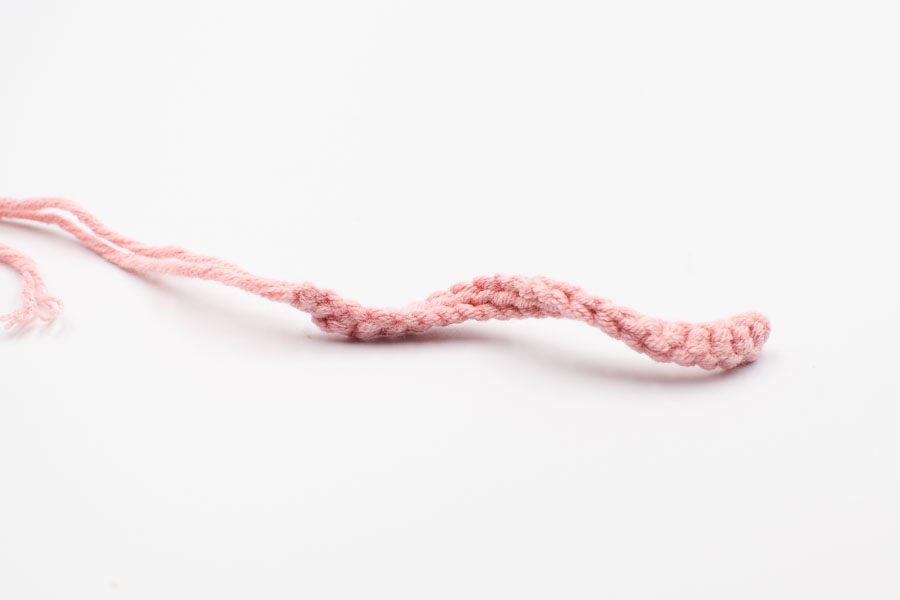
THE TAIL
With pink yarn, Chain 21.
Row 1: Starting in 2nd chain from the hook, sl st in each st. [20]
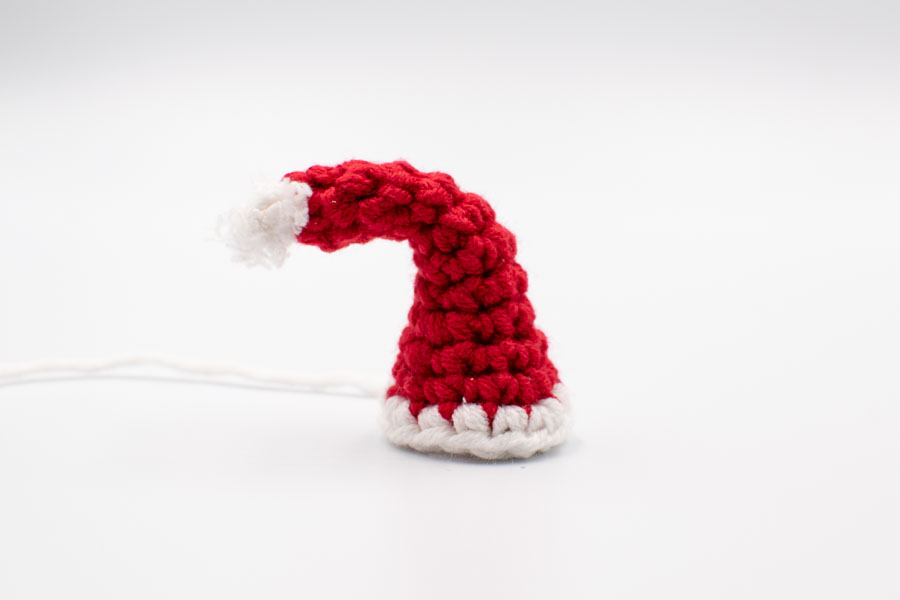
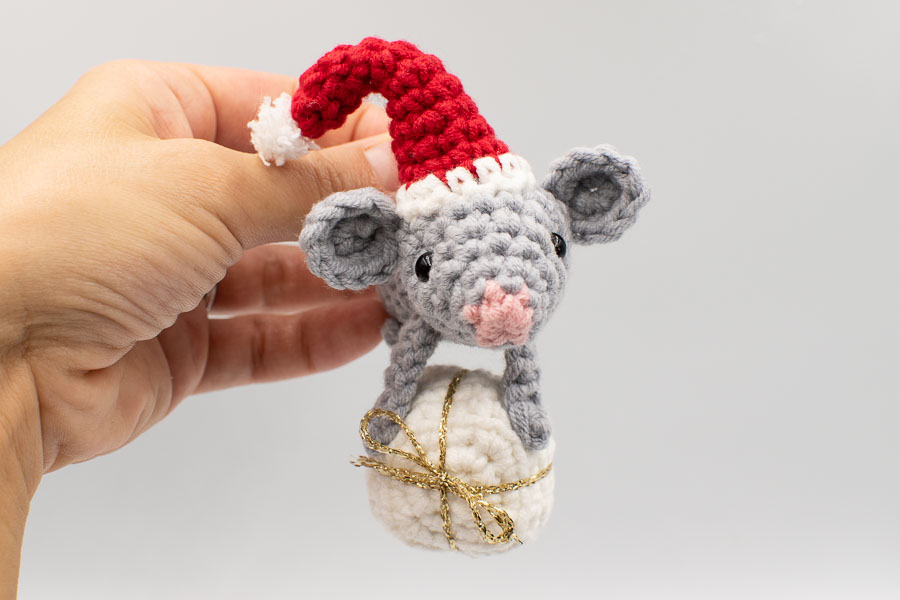
THE CHRISTMAS HAT
Start with red yarn.
Rnd 1: Work 4sc into a magic ring. [4]
Rnd 2: inc, 4sc. [5]
Rnd 3 – 5 : sc around. [5]
Rnd 6: (sc, inc) x 2, sc. [7]
Rnd 7: sc around. [7]
Rnd 8: (2sc, inc) x 2, sc. [9]
Rnd 9: sc around. [9]
Rnd 10: (2sc, inc) x 3. [12]
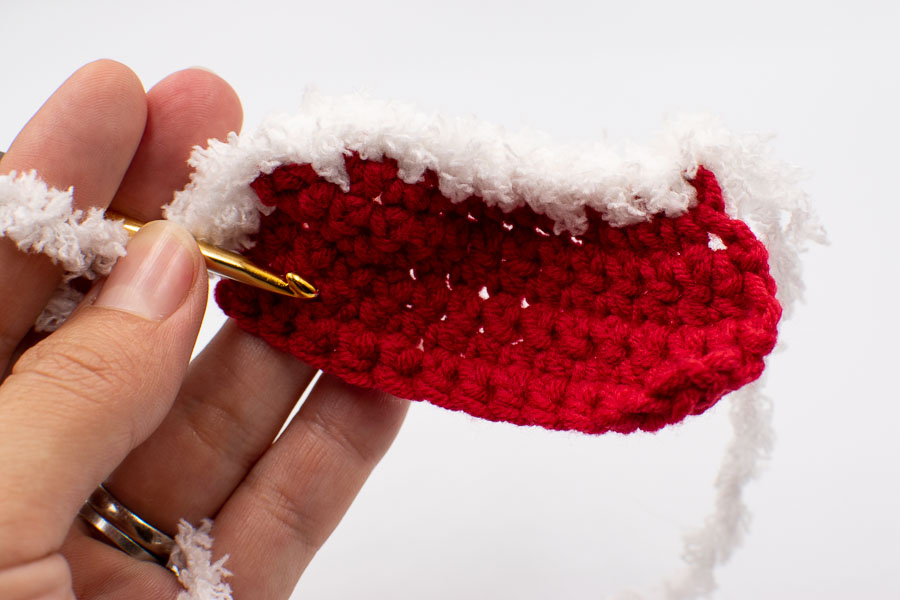
Change colour to white yarn.
Rnd 11: (3sc, inc) x 3. [15]
Take a strand of the fluffy white yarn, and with your tapestry needle, insert it inside the hat and go out from the top of the hat. Make a knot or two, then insert your tapestry needle back into the same hole, don’t pull too much so that the knot doesn’t disappear inside. Secure the yarn inside with another knot. You can insert a piece of red pipe cleaner inside the hat to give it the bent shape. Just remember it’s not child safe so make sure it’s out of reach of young children.
THE CAPE
With red yarn, chain 13.
Row 1: starting in 2nd chain from the hook, sc in each st. [12]
Row 2: chain1, turn, inc, 10sc, inc. [14]
Row 3 – 7: chain 1, turn, sc in each st. [14]
Fasten off, weave in ends.
With the fluffy white yarn, sc all around the cape edges, and sew two strands to the top ends of the cape to make the drawstrings.
ASSEMBLY
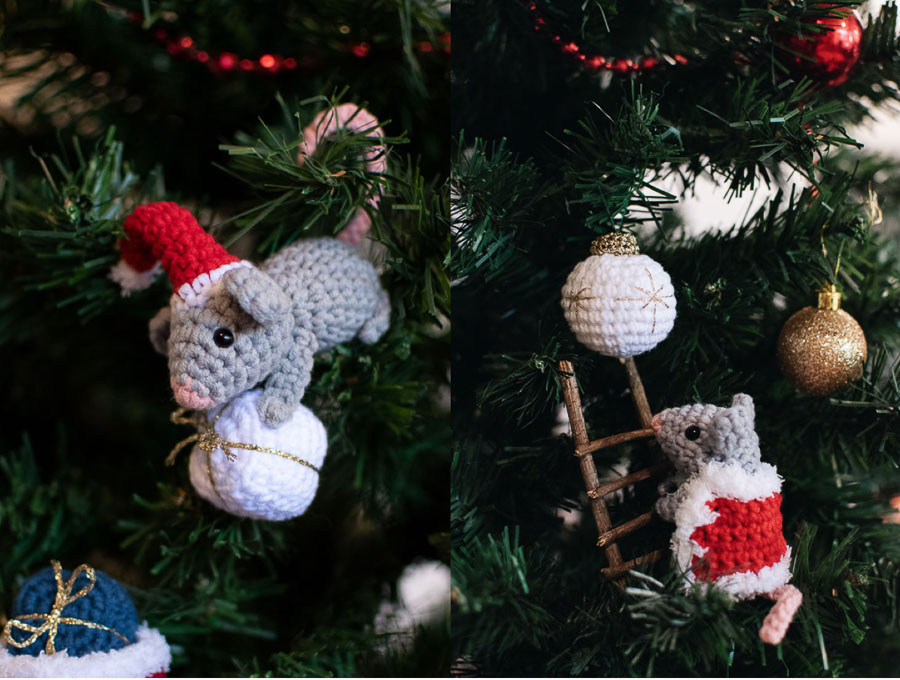
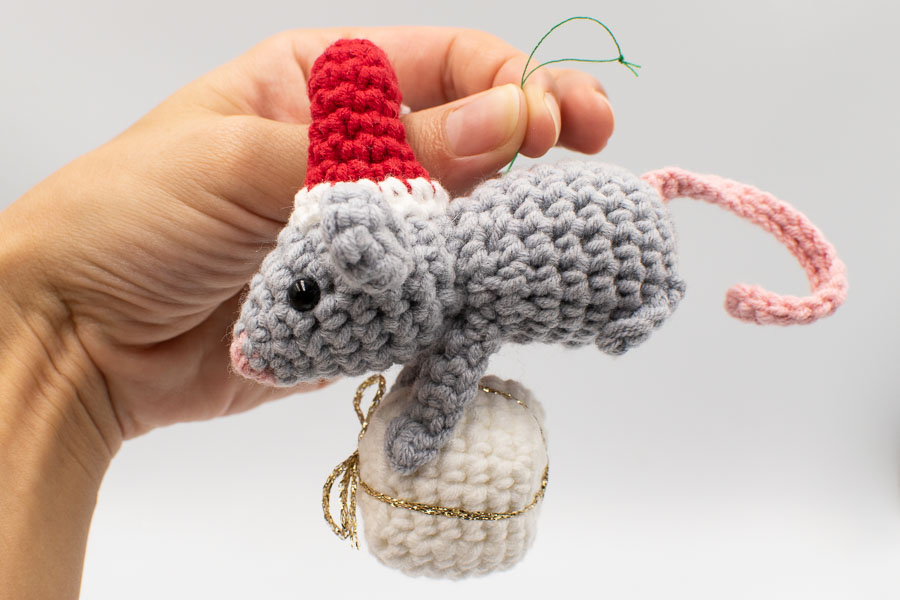
THE CHRISTMAS HAT MOUSE
The idea is to have this mouse hanging with her head downwards.
- Sew the head to the body.
- Sew the Christmas hat on the top and back of the head, remember you need to leave space for the ears.
- Sew the ears 3 rows behind the eyes (between rounds 8 and 9 of the head).
- Sew the arms to the body, right under the head, 3 stitches apart (the arms will be sewn to the gift the mouse is holding)
- Sew the legs to the body, starting after the 2nd round from the bottom of the body . Sew the middle part of the legs to the body, so that the legs are not hanging like the arms.
- Sew the tail between the bottom and the back of the mouse, between round 2 and 3.
- With the grey yarn or with a thinner grey sewing thread, sew the arms of the mouse to the gift.
- To hang your mouse in your christmas tree, attach a green sewing thread to her back, just two rows away from the head
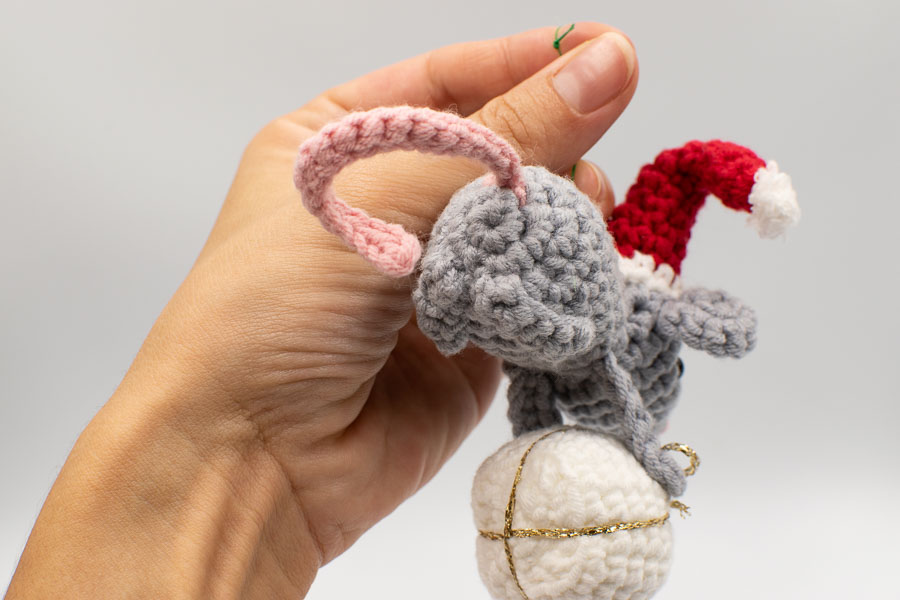
THE MOUSE WITH SANTA’S CAPE
This mouse is sitting upwards, occupied to arrange the bauble nicely. (But it’s up to you, you could also attach it on the side of the bauble for example!)
- Sew the head to the body.
- Sew the ears, 3 rows behind the eyes (between rounds 8 and 9 of the head).
- Sew the arms to the body, right under the head, 5 stitches apart.
- Sew the legs to the body, starting after the 2nd round from the bottom of the body . Sew the middle part of the legs to the body, so that the mouse is sitting on her legs.
- Sew the tail between the bottom and the back of the mouse, between round 2 and round 3.
- Attach the cape around the neck with the drawstrings. You can secure it with one or two stitches in the back.
Congratulations !
And you’re done! If you liked this pattern share it with your crochet friends ! I’d love to see your finished Christmas mice: don’t forget to share it on social media and tag me @octopucrochetdesign . I look forward to seeing it in your Christmas decor!!
PS: check these other Christmas patterns below!