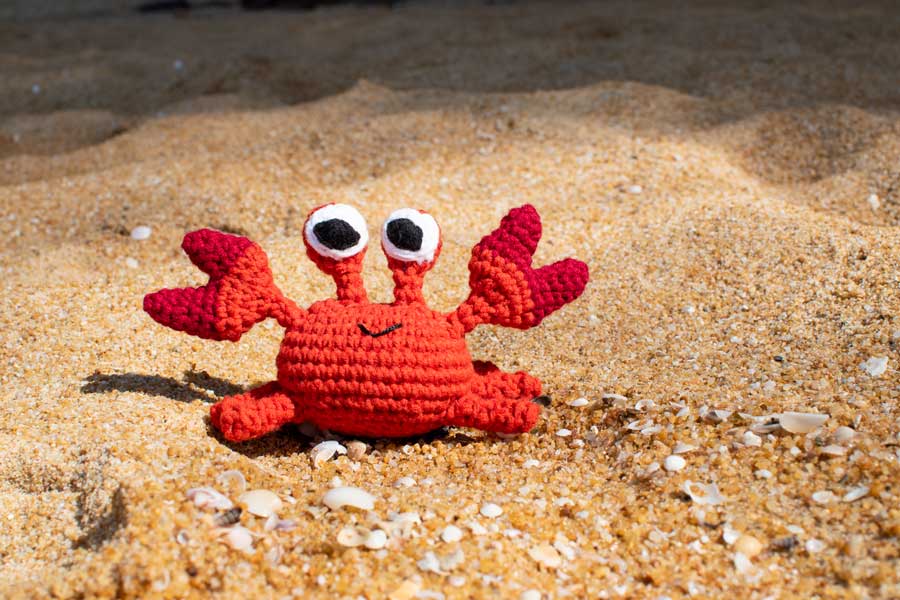
I know it’s Christmas soon, and summer is long gone… but not where I live! It’s 35°C all year long so you get a bit lost in the seasons and kinda want to go the beach all the time! Anyway, if it’s freezing cold where you live, I hope this Crab amigurumi pattern will bring back some summer vibes!
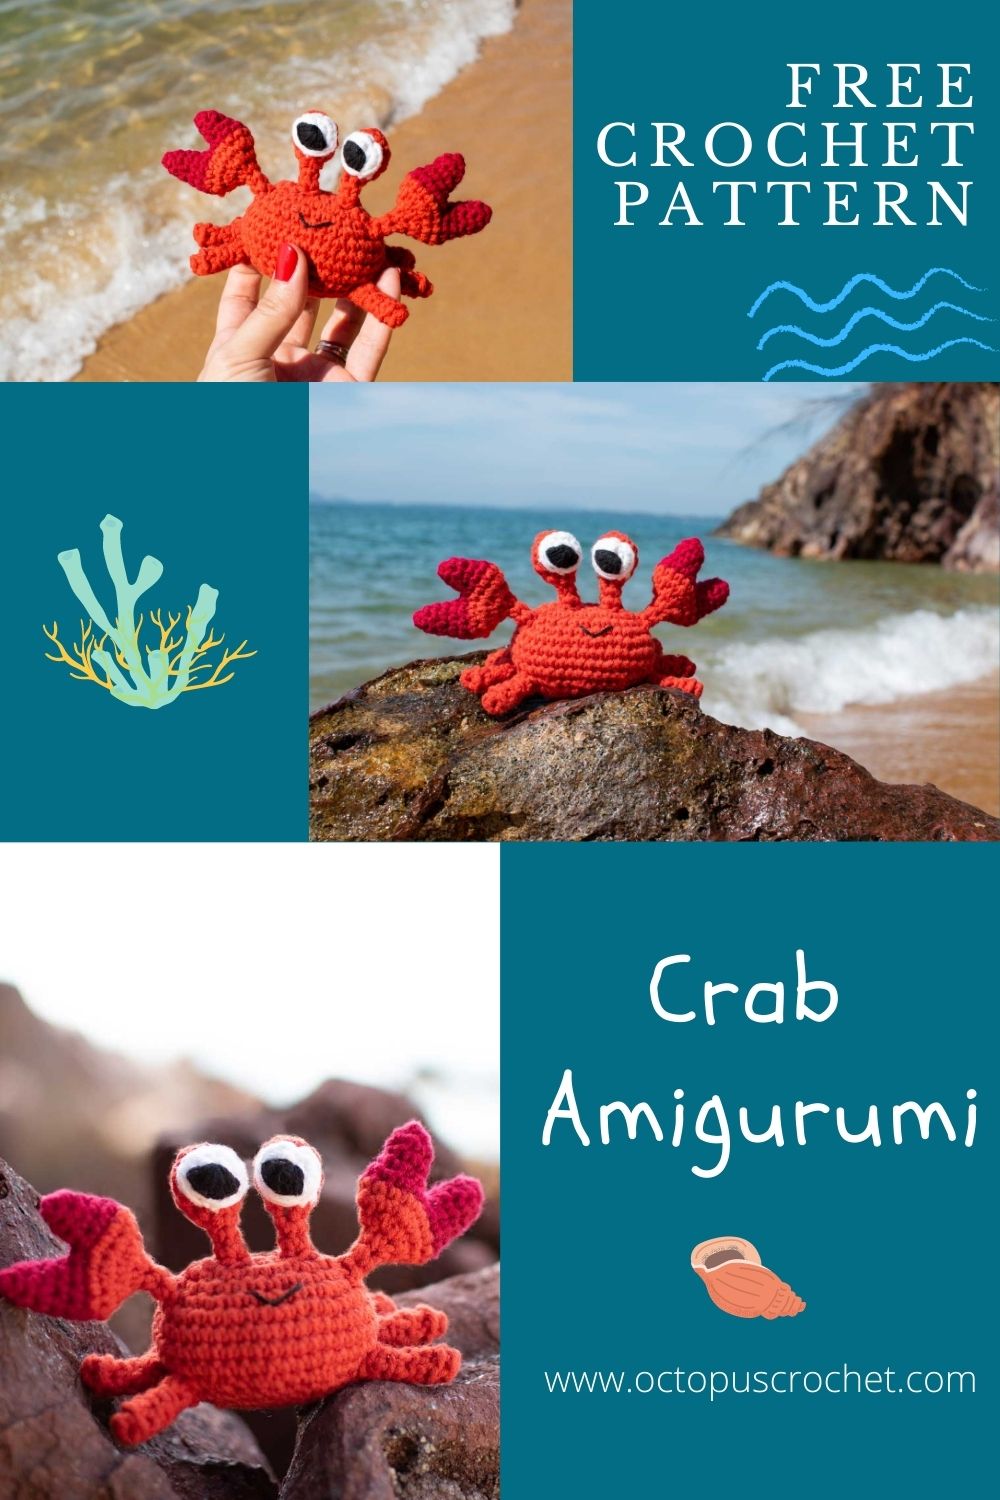
No time right now? Pin this tutorial for later.
*This blog contains affiliate links for products I use, believe in or recommend. This means I will earn a small commission if you make a purchase from one of these links, and of course it is at no extra cost for you. It helps me to keep Octopus Crochet going and to keep publishing new free patterns and tutorials for you to enjoy, so thank you! You can check my full disclosure here.
f you prefer to purchase an inexpensive add-free pdf version of this pattern I’ve got you covered. The pdf version has all the step by step pictures, instructions, and it’s ready-to-print for you to carry around everywhere you can crochet and are not in front of a laptop. My crab amigurumi pattern is available in my shop on Etsy.
THE INSPIRATION FOR THIS CRAB AMIGURUMI PATTERN
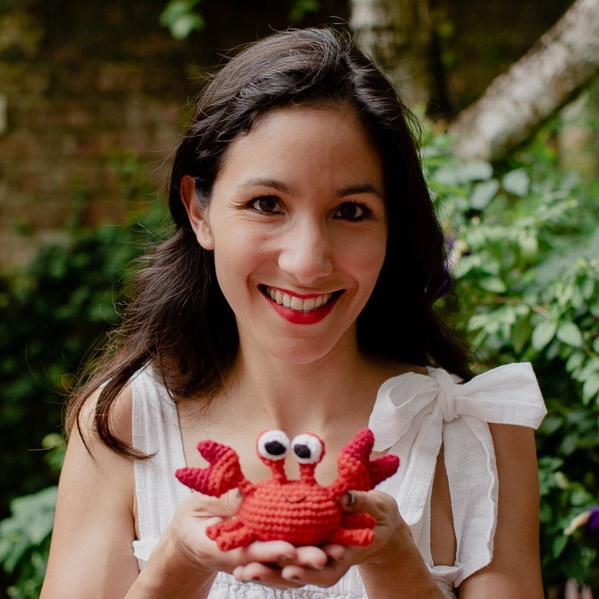
Like very often, the inspiration came from my toddler, or more precisely from one of his musical books that plays music from Tahiti, featuring colourful sea animals. He would open and close his tiny adorable hands to imitate the crab’s claws, so cute. So I thought I’d make him a crab to play with. And you know what, it’s a very good quality test!!! The way he treats the crab, I know for sure that my techniques to assemble the different body parts are ROCK SOLID hahaha. Poor crab.
BEFORE YOU START
Before you forget:
- Purchase the ad-free printable pdf on Etsy here.
- Pin this Christmas pattern to your Pinterest boards.
MATERIAL
- 3.5mm / US E-4 crochet hook
- Yarn:
- #3 / DK / light worsted yarn, 8ply, 80% cotton 20% Milk Fiber, in red, dark red, white (I use a local shop yarn, that I find quite thick for a #3, an equivalent would be Paintbox Cotton Aran but keep a 3.5mm or 4mm hook to obtain tight stitches and avoid gaps where the fiberfill shows)
- DMC Cotton Perle N°8 shade 310 (Black)
- Tapestry needle
- Fiberfill
- Stitch marker or a strand of thinner yarn
LEVEL
Intermediate.
GAUGE AND SIZE
With the above material: 5-round circle = 5cm (2″). Find out how to measure gauge for amigurumis in my tutorial here.
With the material mentioned above and when gauge is achieved:
- the crab’s height is 8cm (3,1″) and the width about 15cm (5,9″)
PATTERN NOTES AND SPECIAL TECHNIQUES
- The number before the abbreviation represents how many times to work one type of stitch into consecutive stitches from the previous round (unless stated otherwise). Ex: 3inc = work one increase into each of the next 3 stitches.
- This pattern is worked in continuous spiral rounds (i.e. without closing the rounds with a slip stitch). It may help to mark the first stitch of each round with a stitch marker.
- The crab body starts with crocheting around the chain.
- I embroidered the black part of the eyes with black yarn. You could also just cut it from a black piece of felt, and glue it (just remember that it’s not child safe then).
- For this pattern I use invisible decreases to minimize the gaps between these stitches so that the fiberfill doesn’t show too much. You can check this simple technique in my tutorial here, but if it’s too much hassle and you prefer to start right away you can also work with normal decrease, no big deal!
- If you need to check how to crochet in BLO (in the back loop only), I’ve got you covered, click here to watch the 1min tutorial.
STITCHES AND ABBREVIATIONS (US CROCHET TERMS)
- st: stitch/es
- sc: single crochet
- inc: single crochet increase (work 2 sc into the same st)
- dec: single crochet decrease (single crochet two stitches together).
- [number]: total number of stitches of the round
- Rnd: round
- (…) x 2: repeat whatever is in between the parenthesis the number of times indicated
- in BLO: in the back loop only
THE CRAB AMIGURUMI PATTERN
THE BODY
The main body starts with crocheting around the chain.
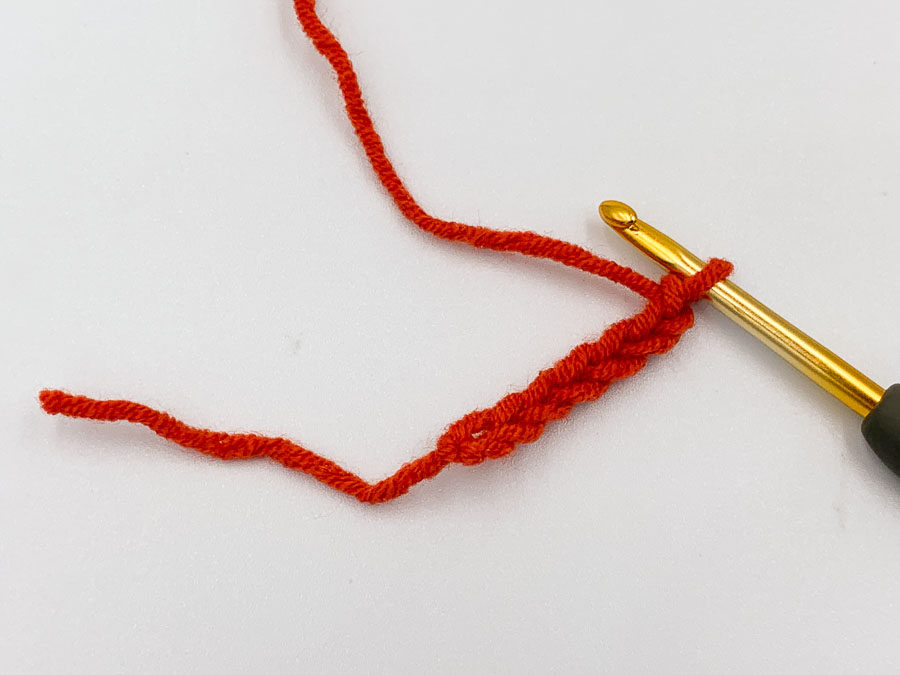
With red yarn, Chain 7.
Rnd 1: 2sc in second chain from the hook (I like to work in the back bump of the stitches for a tighter finish effect), then one sc in each of the next 4 chains, 4sc into the next chain. Rotate to start crocheting on the other side of the chain. Work one sc in the starting chain of the other side, and one sc in each of the next 3 chains. Work 2sc into the last chain. [16]
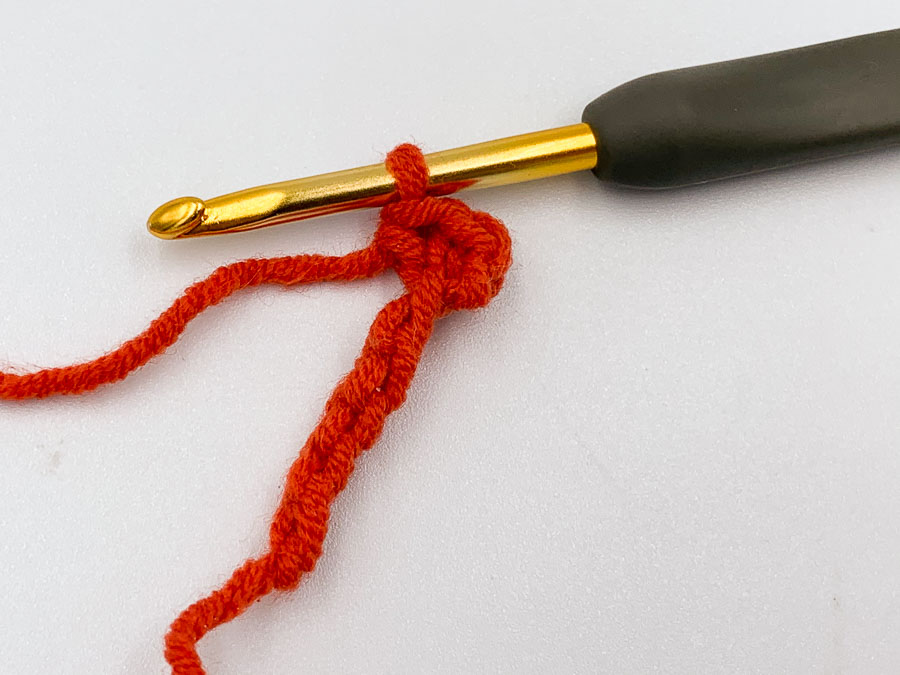
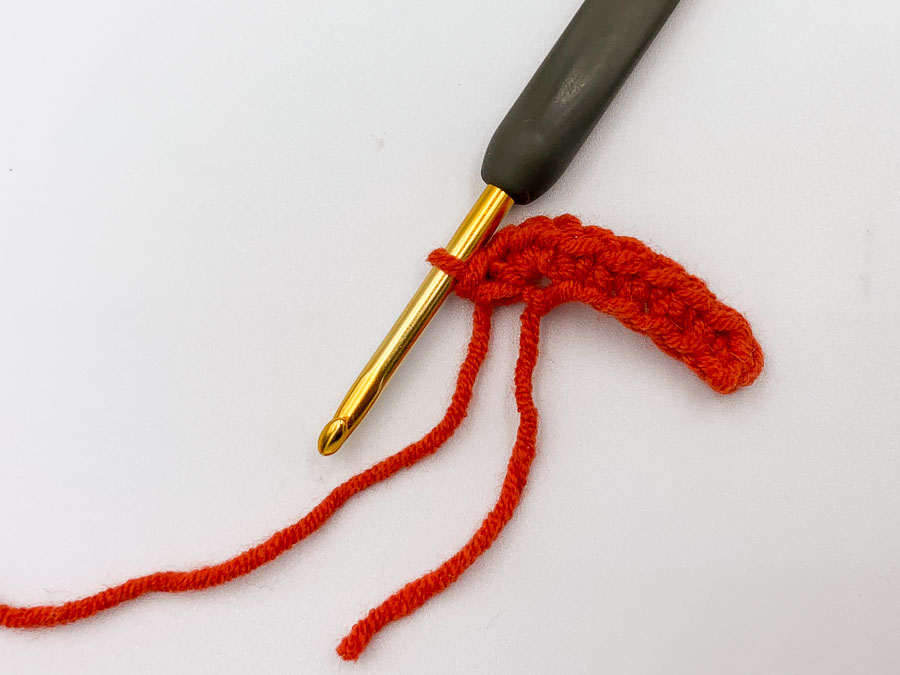
From round 2 you just keep crocheting in spiral rounds.
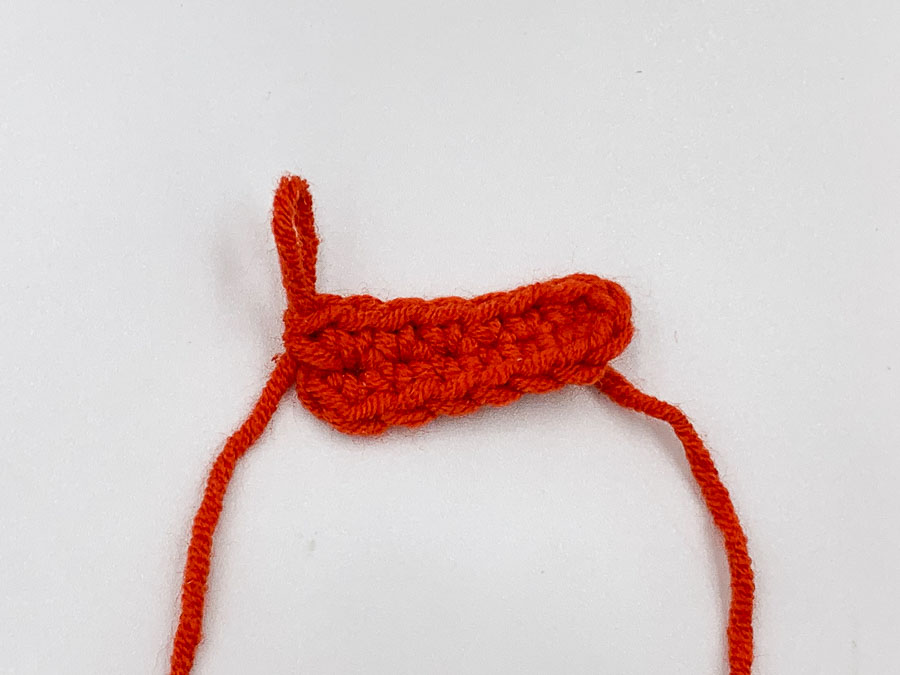
Rnd 2: inc, 6sc, 2inc, 6sc, inc. [20]
Rnd 3: 2inc, 6sc, 4inc, 6sc, 2inc. [28]
Rnd 4: 2inc, 10sc, 4inc, 10sc, 2inc. [36] Rnd 5: (5sc, inc) x 6. [42]
Rnd 6-8: sc around. [42]
Rnd 9: (2sc, dec) x 10, 2sc. [32]
Rnd 10: sc around. [32]
Rnd 11: (2sc, dec) x 8. [24]
Rnd 12: sc around. [24]
Rnd 13: (sc, dec) x 8. [16]
Stuff the body with fiberfill.
Rnd 14: dec 8 times. [8]
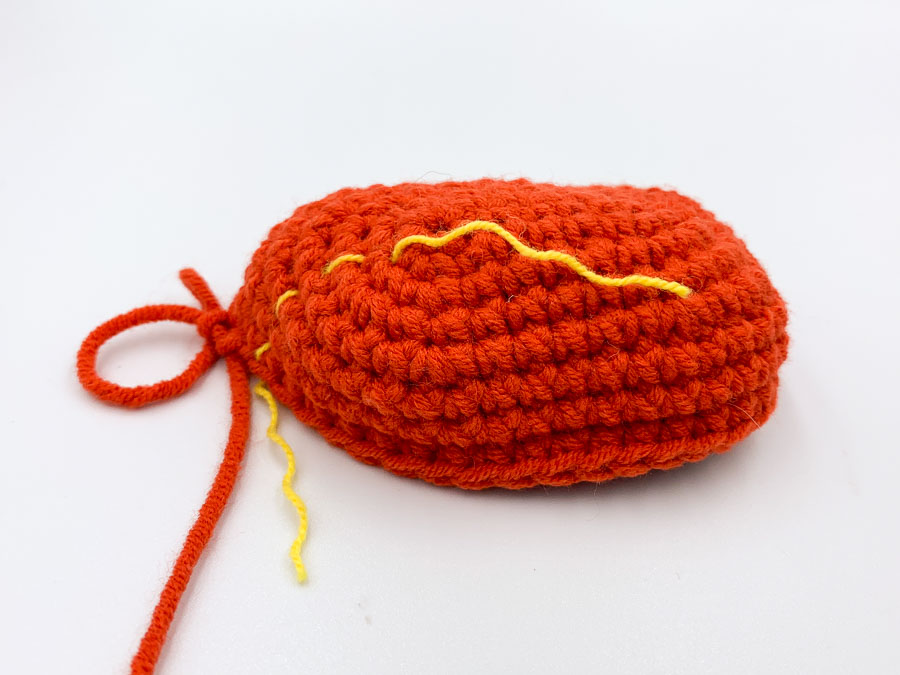
Finish stuffing, fasten off and sew closed. Weave in yarn tail.
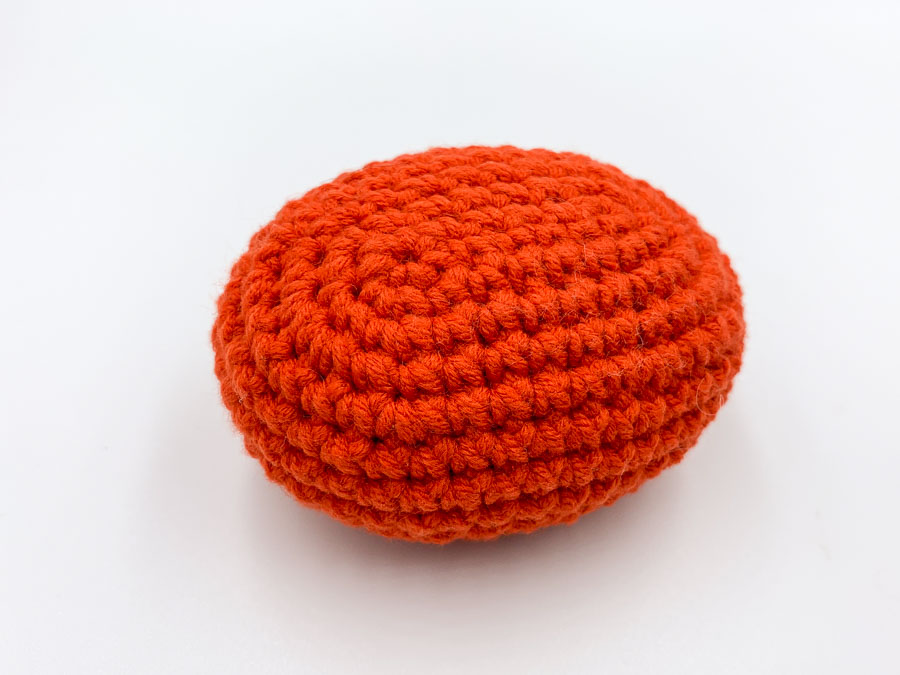
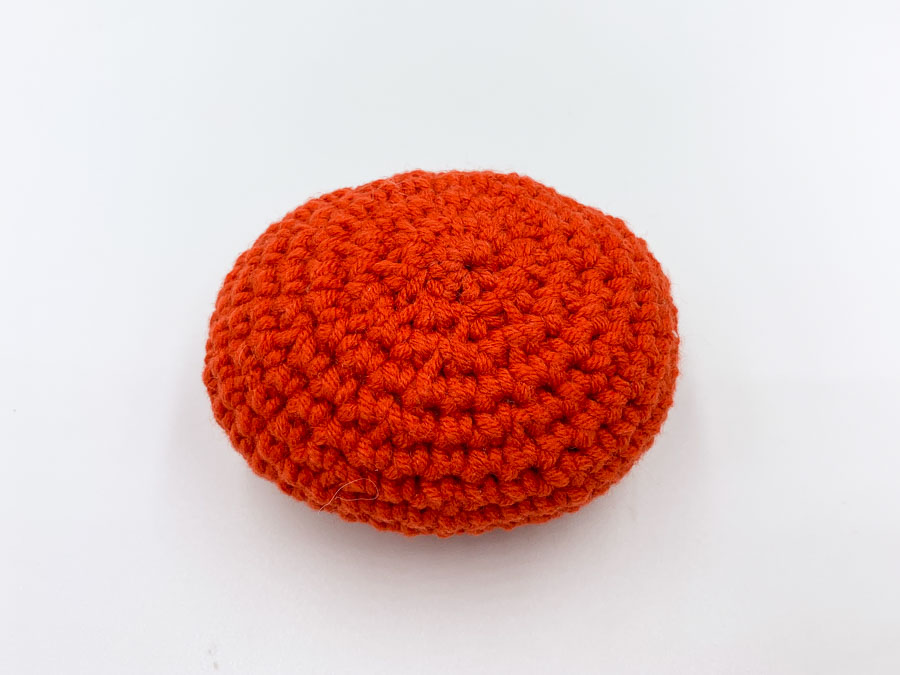
Let’s call the part you just sew closed the bottom part of the body (right picture above), and the side with the starting chain the top side of the body (left picture above), where you will attach the eyes.
THE EYES
With red yarn.
Rnd 1: work 4sc into a magic ring. [4]
Rnd 2: inc in each st around. [8]
Rnd 3: (sc, inc) x 4. [12]
Rnd 4: sc around. [12]
Rnd 5: (sc, dec) x 4. [8]
Stuff lightly with fiberfill.
Rnd 6: 4dec. [4]
Rnd 7-8: 4sc. [4]
Fasten off and leave a long tail for sewing
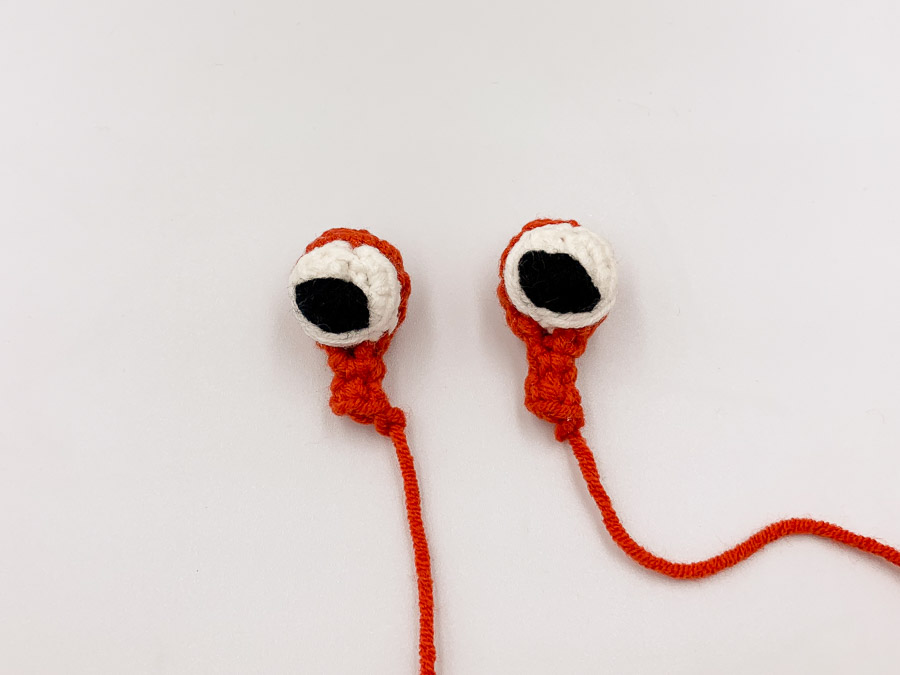
With white yarn.
Rnd 1: work 5sc into a magic ring. [5]
Rnd 2: inc in each st around. [10]
Fasten off and leave a long tail for sewing.
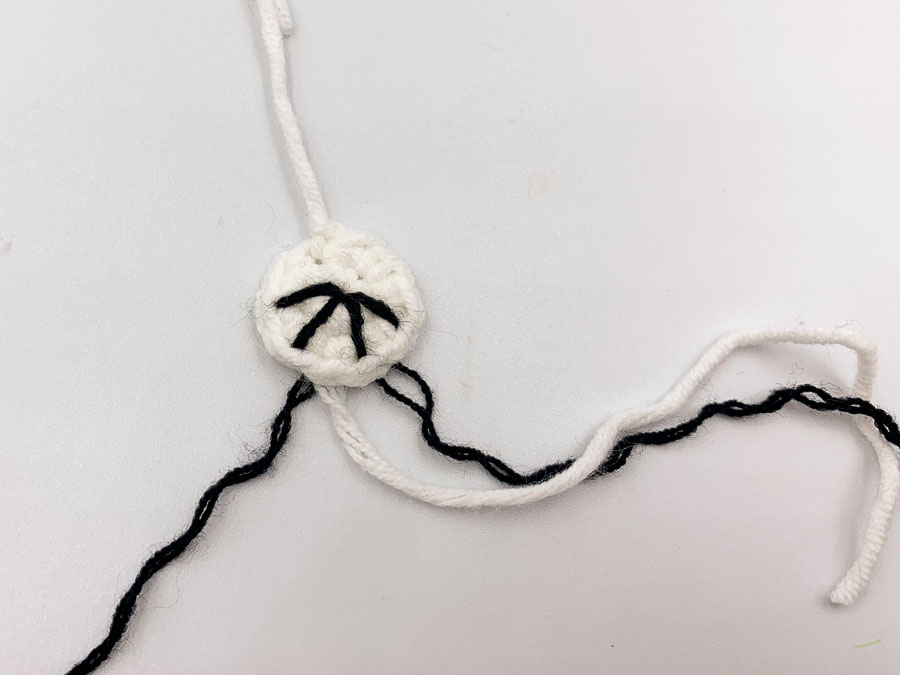
With the black Cotton perle N°8 yarn, embroider the eyes. You could also use the same yarn in black colour and separate the plies to choose the thickness you like, it’s a little bit more tedious but works great too.
Tip: start by defining the shape of eyes you want (looking down, on the side, up to you!), then embroider guides, and you’ll just to have to keep embroidering within your guides to fill up this space. Then sew to the red eye ball.
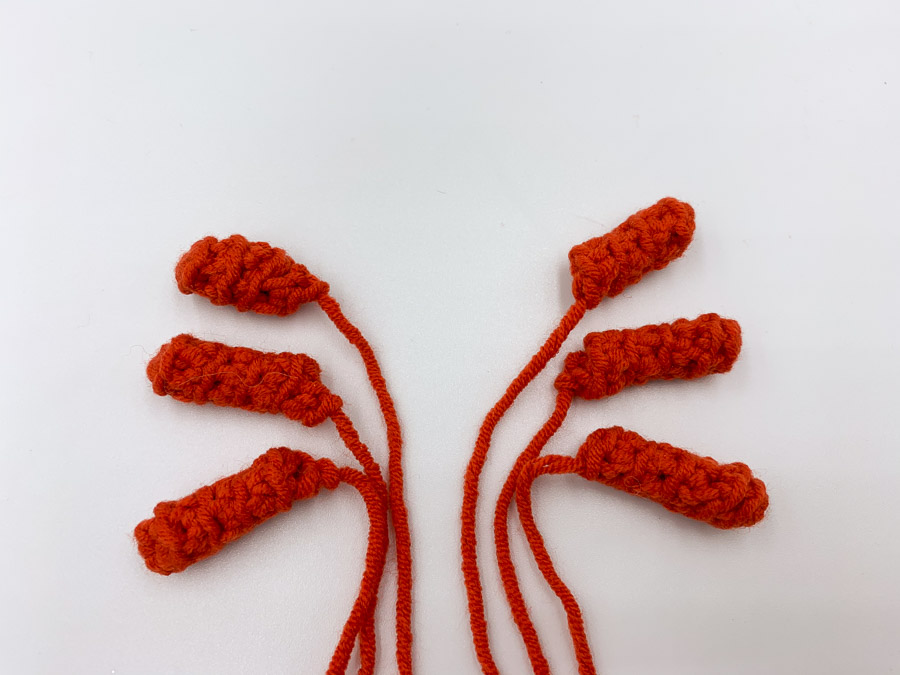
THE LEGS
The front and middle legs are the same, the back legs are shorter. With red yarn.
FRONT AND MIDDLE LEGS (MAKE 4)
Rnd 1: work 5sc into a magic ring. [5]
Rnd 2-5: sc around in BLO. [5]
BACK LEGS (MAKE 2)
Rnd 1: work 5sc into a magic ring. [5]
Rnd 2-4: sc around in BLO. [5]
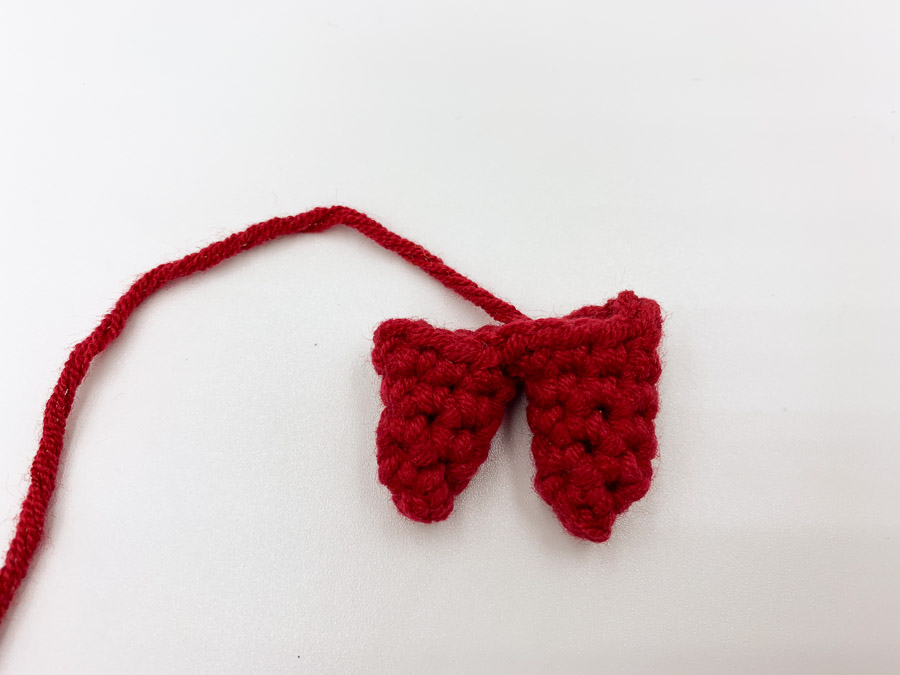
THE CLAWS
The claws are made of two cones, joined together.
Small cone:
With dark red yarn.
Rnd 1: work 4sc into a magic ring. [4]
Rnd 2: (inc, sc) x 2. [6]
Rnd 3: sc around. [6]
Rnd 4: (inc, 2sc) x 2. [8]
Fasten off, leave a tail.
Big cone:
With dark red yarn.
Rnd 1: work 4sc into a magic ring. [4]
Rnd 2: (inc, sc) x 2. [6]
Rnd 3: sc around. [6]
Rnd 4: (inc, 2sc) x 2. [8]
Rnd 5: sc around. [8]
Don’t fasten off.
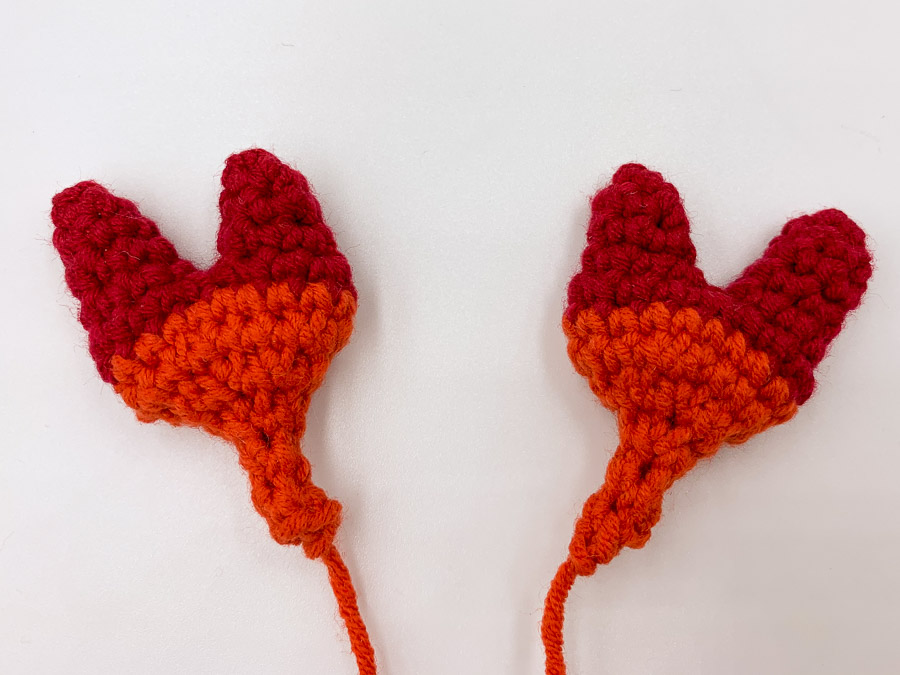
Rnd 6: We’re gonna join the two cones:
In the big cone: 3sc, inc. Switch to the small cone: from the first stitch of the last round, work (3sc, inc) 2 times. Switch back to the big cone to join: 3sc, inc. [20]
Change color to red yarn.
Rnd 7: sc around. [20]
Use the yarn tail of the small cone, to close the gap between the two cones.
Rnd 8: (3sc, dec) x 6. [16]
Rnd 9: 8dec. [8]
Stuff lightly, but not the tip of the claws.
Rnd 10: 4dec. [4]
Rnd 11-12: 4sc. [4]
Fasten off, leave a long tail for sewing.
Make a second one.
ASSEMBLY
You’re almost there!
Now it’s time for assembly.
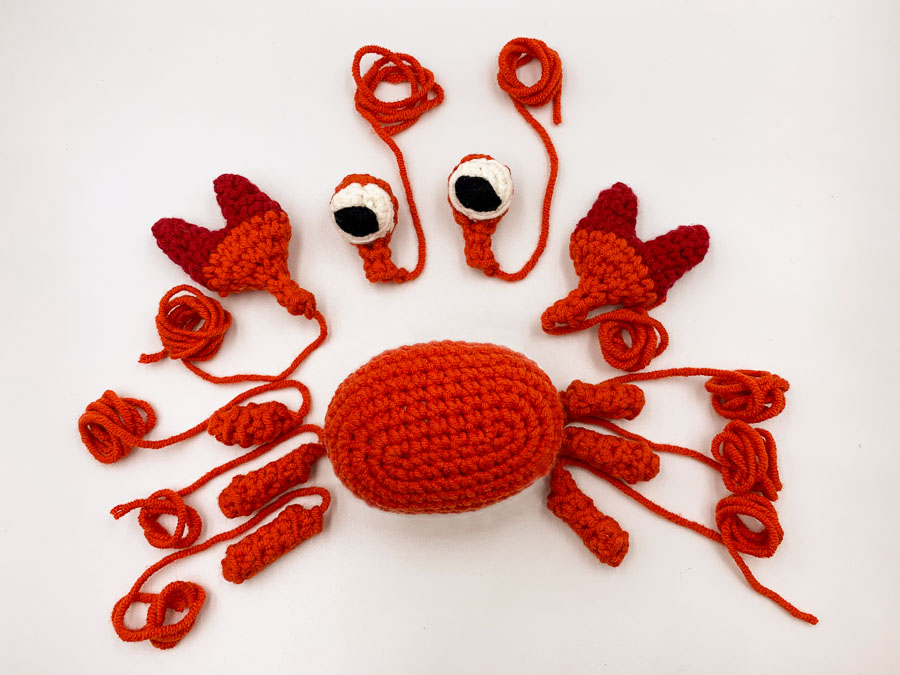
A little tip here: to save you time and frustration, it can be helpful to position each part carefully and to fix them with needles in the right position before sewing.
Start by sewing the eyes on the top side of the body, at the center of the starting chain, with a two stitches gap between them.
Then sew the claws right next to each eye, between round 2 and 3 of the body. The small cone should be toward the eye side, the big cone toward the legs of the crab. Try to sew the basis of the claws tight, so that the claws are pointing upwards, or grab a stitch from an upper row and sew it tight to the body to straighten it up.
Then sew the legs between Rnd 8 and Rnd 9 of the body, with the small leg at the back, the middle leg slightly behind the claw, and the front leg slightly ahead of the claw.
The final touch is to embroider the crab smile with a black strand of yarn, around Round 4 (the corners of the smile are in stitches between Round 3 and Round 4, the bottom of the smile in a stitch between Round 4 and Round 5).
Now take Sebastian for a swim 😉

If you liked this pattern share it with your crochet friends ! I’d love to see your finished crab: don’t forget to share it on social media and tag me @octopucrochetdesign . I look forward to seeing it !!