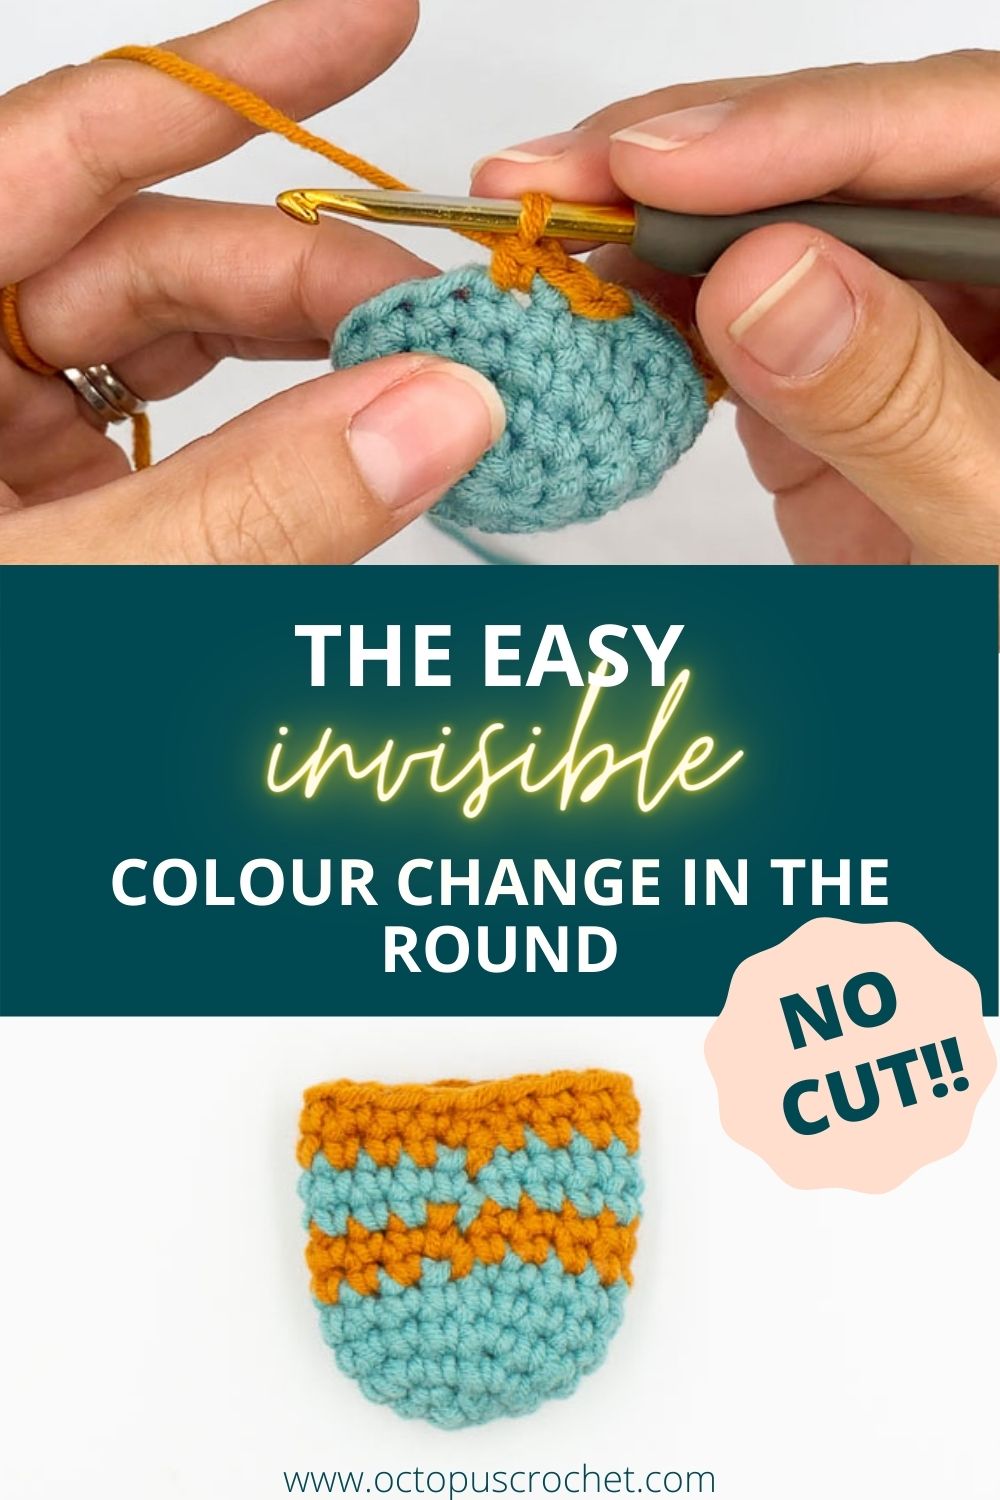
Colour change doesn’t have to be a nightmare of cut and sew, especially if you are crocheting stripes for an amigurumi project. I’ve tried many techniques in my crochet journey, and this one is for me the easiest one for a very satisfying result. In this tutorial I’ll show you how to make an invisible colour change in the round to crochet stripes for your amigurumi projects. The easy way. No cut.
No time right now? Pin this tutorial for later.
BEFORE YOU START
MATERIAL
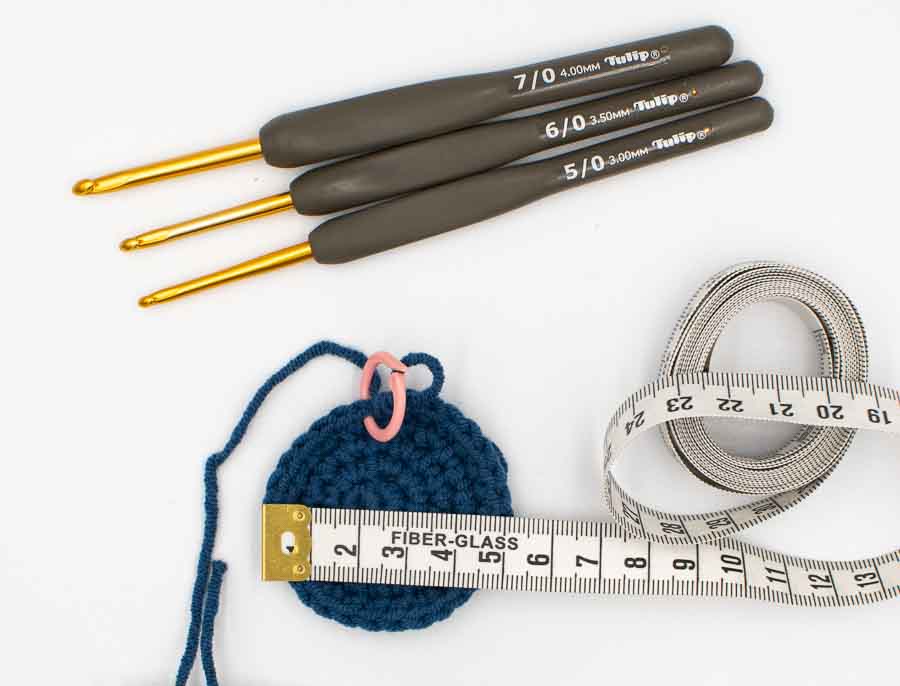
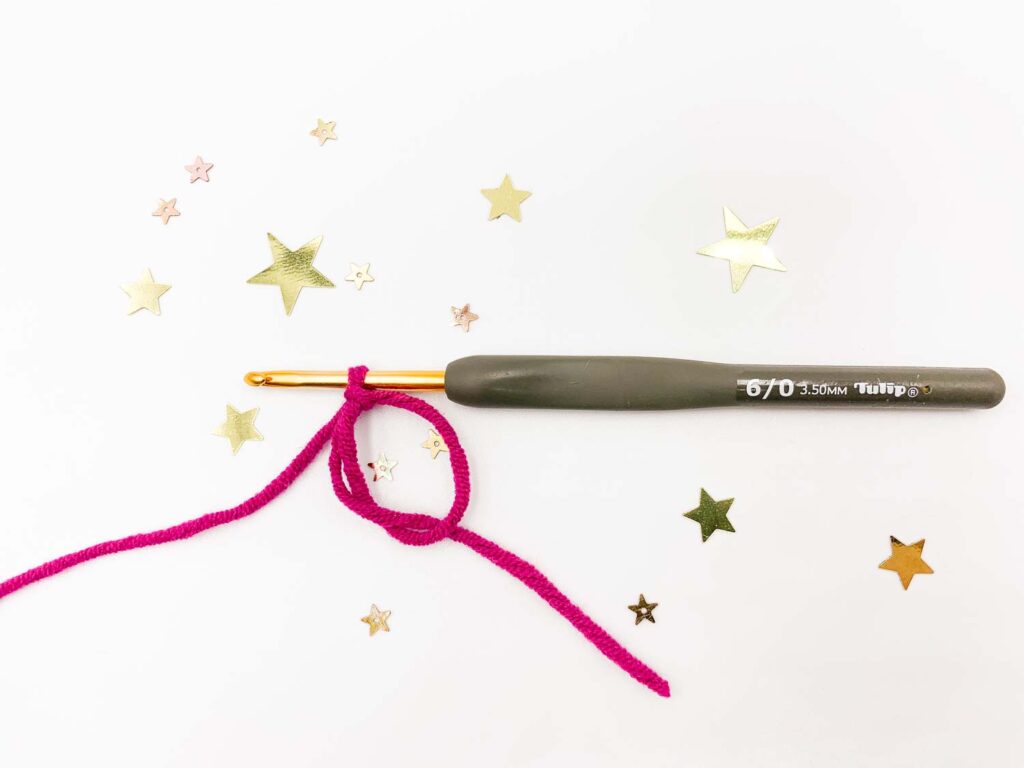
At this point you are probably already in the middle of a project where you have to change colour, so it doesn’t really matter which yarn, hook or colour you’re using, but if you want to practice I would advise to use a relatively thick yarn (like a #3/DK/light worsted yarn) and a 3.5mm / US E-4 crochet hook , just to better see all stitches.
VIDEO TUTORIAL
This is an explicative video to show you how to make an invisible colour change in the round, with NO cut. I’ve also made a step by step tutorial with pictures below, if it makes it easier for you.
STEP BY STEP TUTORIAL
When the pattern instruction mentions: “change colour”, it means you must finish the last stitch of your previous round with the new colour. For the purpose of this tutorial, first colour is blue, new colour is mustard..
Start the last single crochet of your previous round with blue: insert your hook, yarn over, pull up a loop. Then with the new colour, make a new loop on your hook.
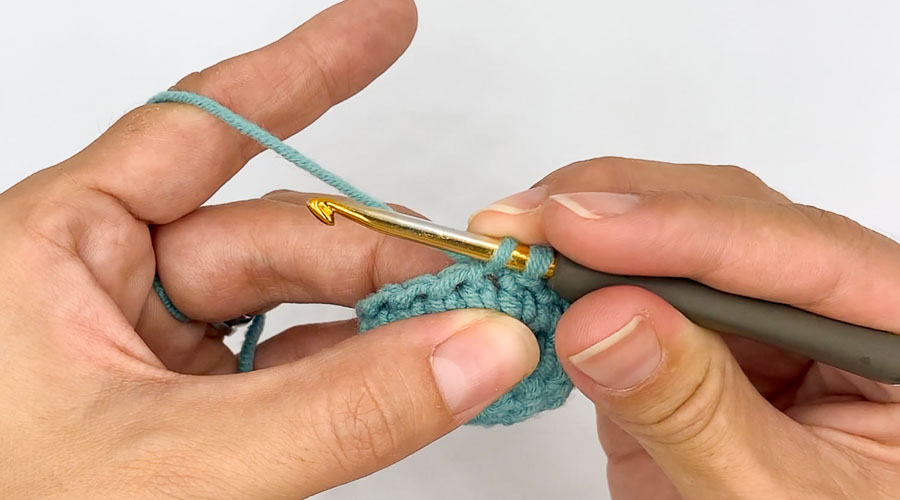
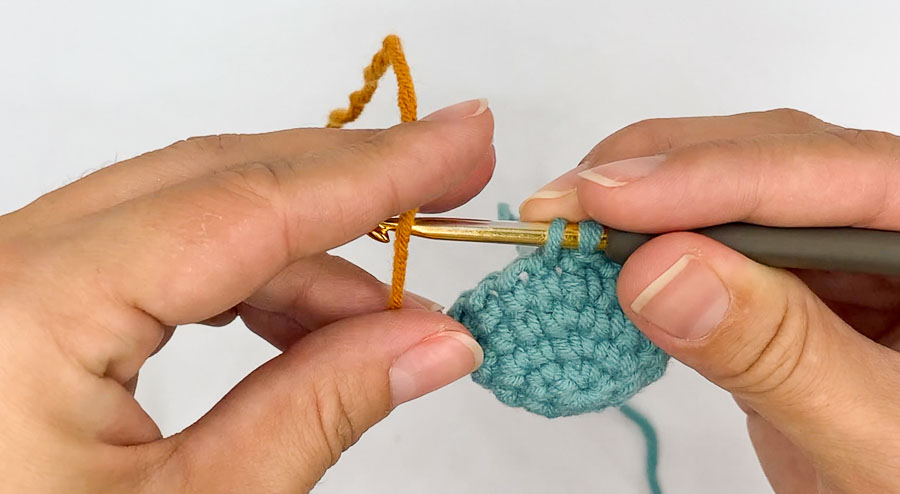
Pull the mustard loop through the two loops on your hook. You have just finished your single crochet with the new colour.
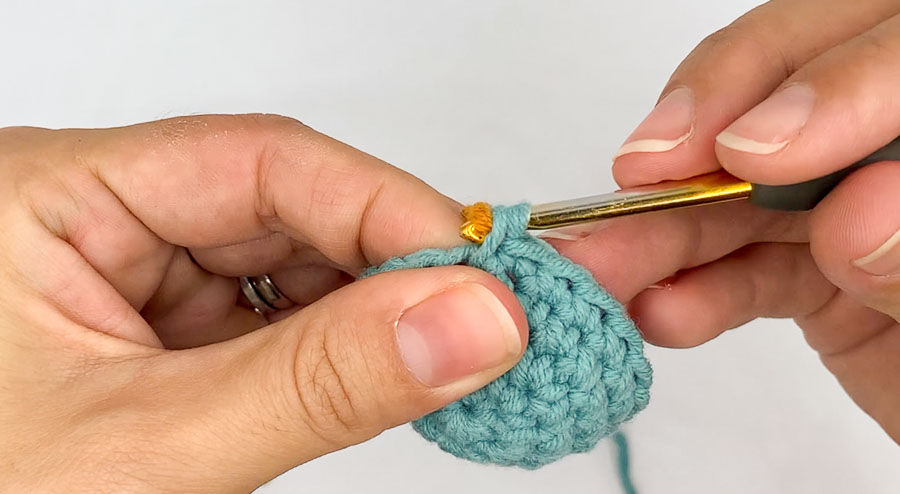
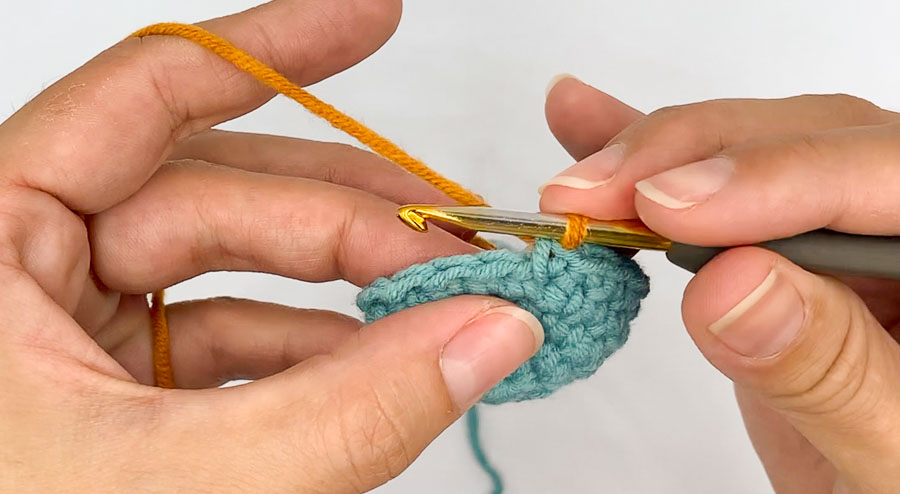
Slip stitch in next stitch. Pull the yarn ends slightly to tighten up the slip stitch.
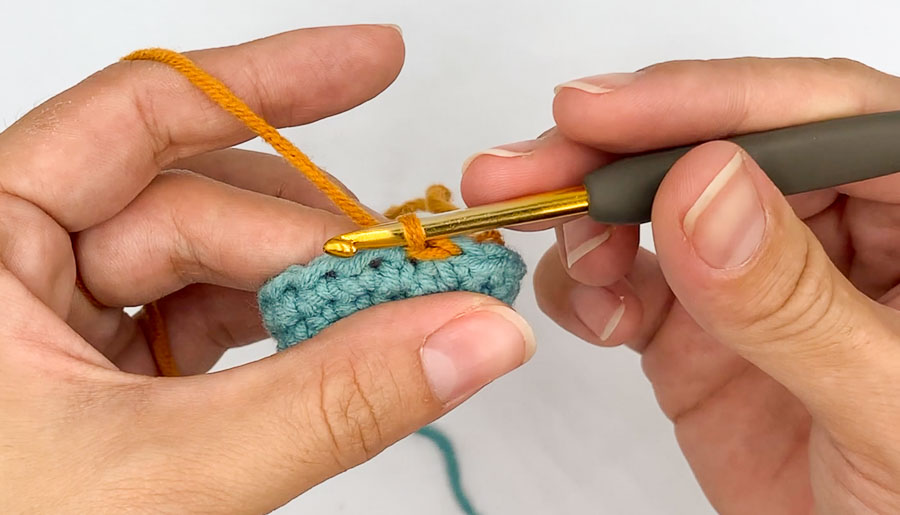
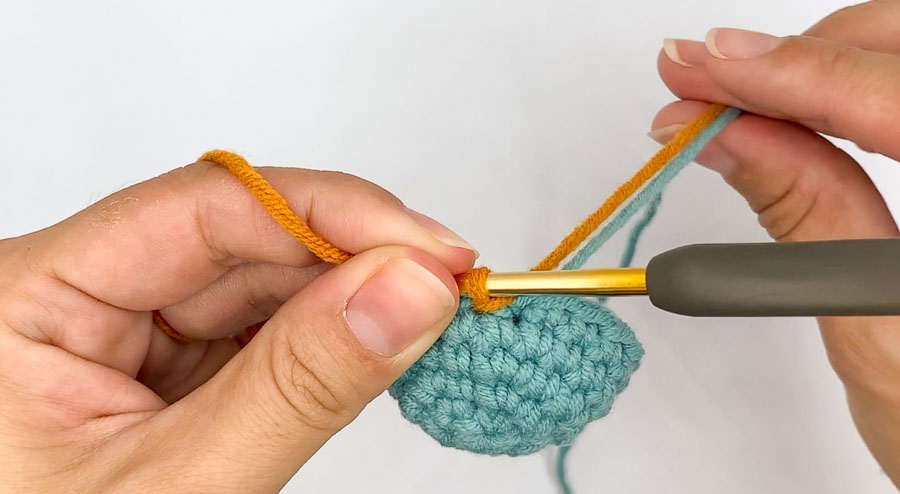
Loosen up slightly the loop on your hook (important) and chain 1. (This chain will be the first stitch of your second round). Single Crochet in next stitch, and continue your round.
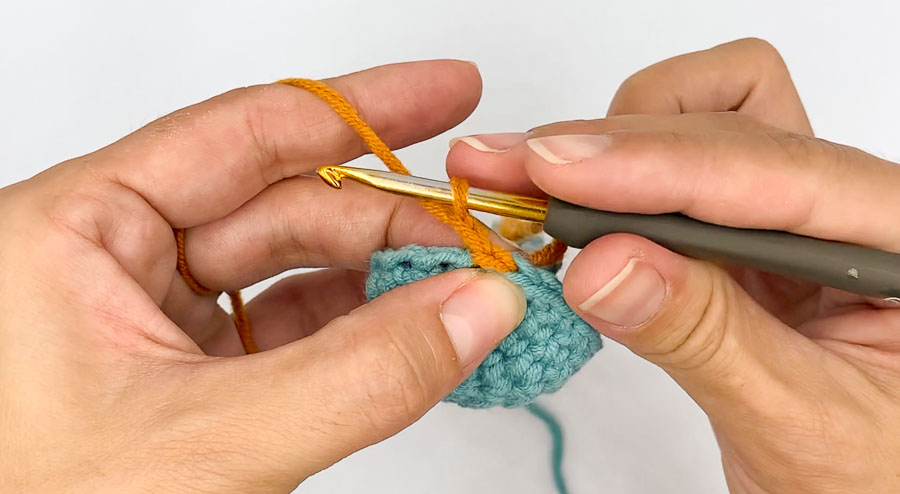
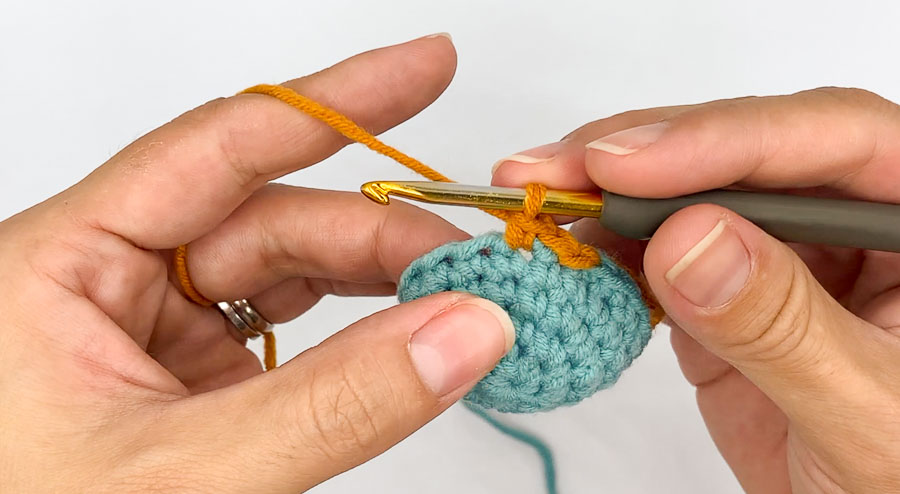
At the end of your round, single crochet in the last blue stitch. This is the last stitch of your first mustard round. Then to start your second round of mustard, skip the sl st, and single crochet in the chain right after your sl st. This is the first stitch of your new round.
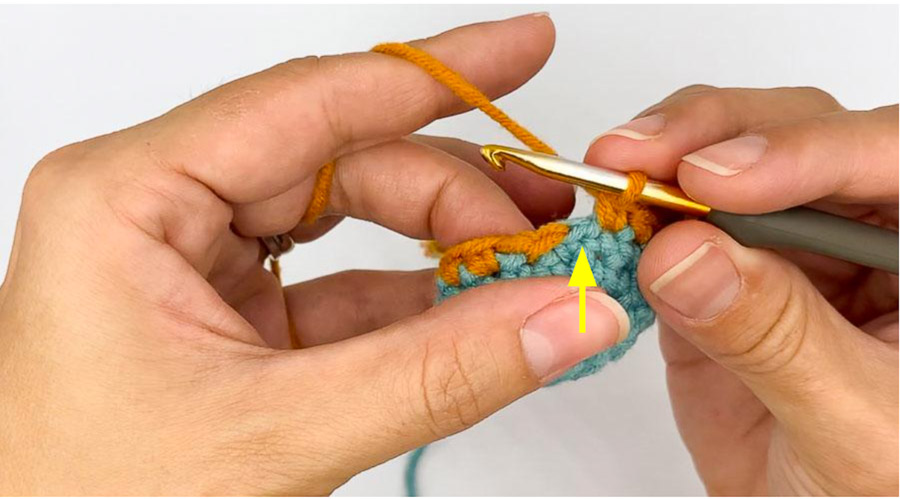
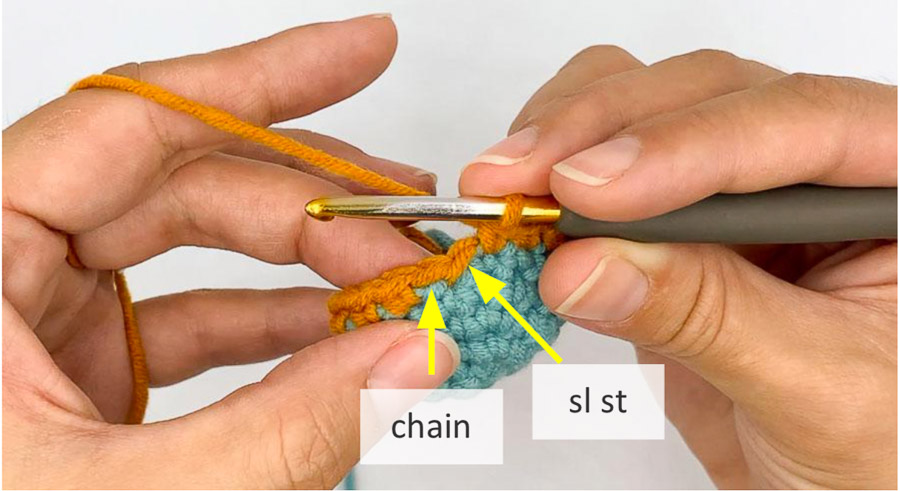
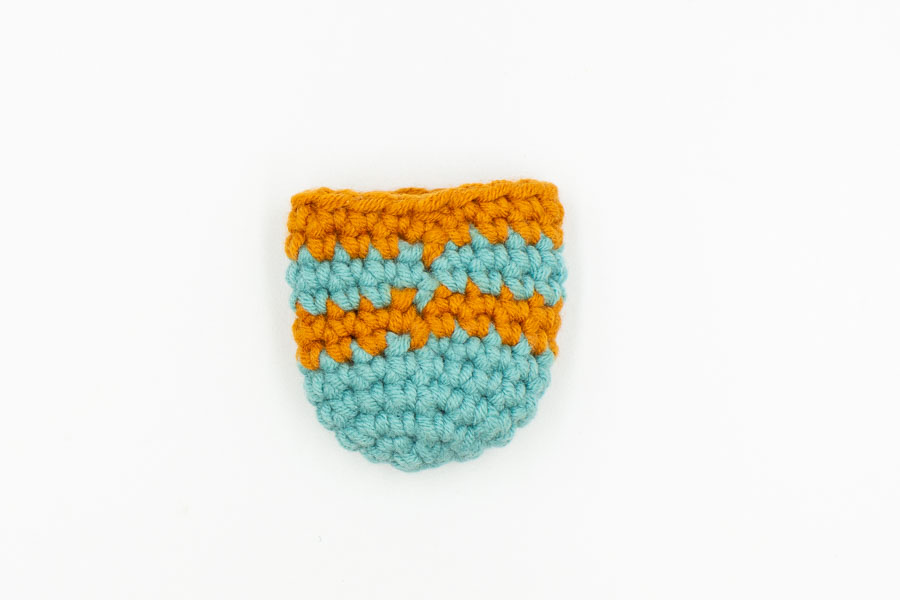
Sc in next stitch and keep going with your single crochet or other pattern instructions. Now with this technique, you can obtain stripes like this:
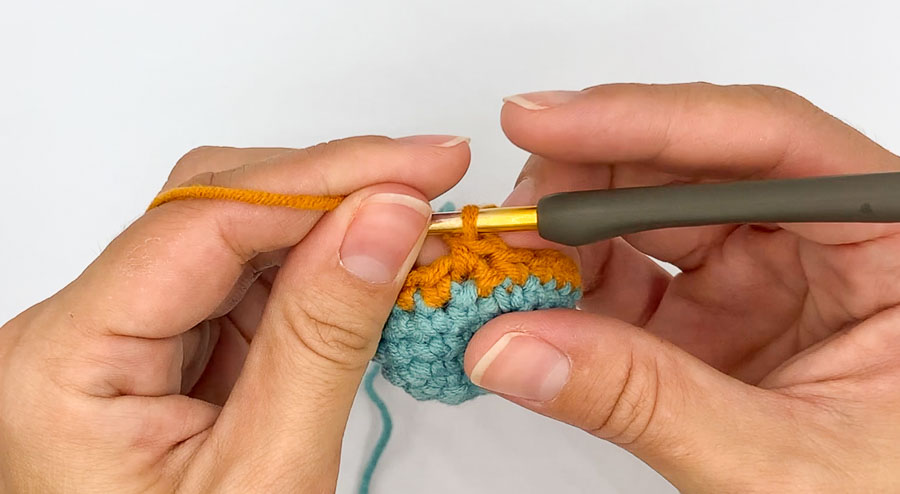
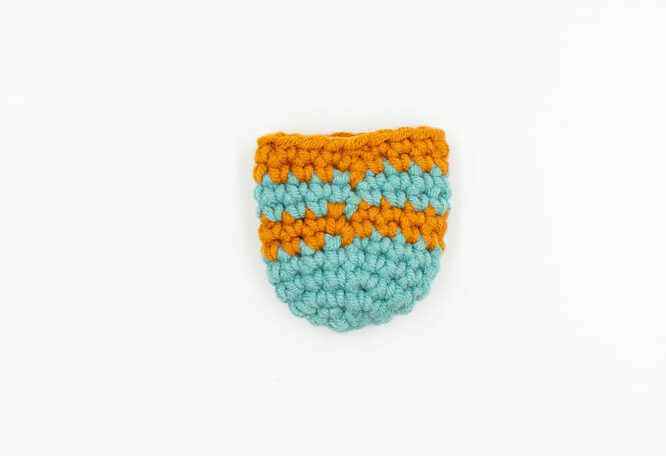
And you’re done! Congratulations!
If you liked this tutorial don’t hesitate to share it with your crochet friends, and you can find more on my blog here.

