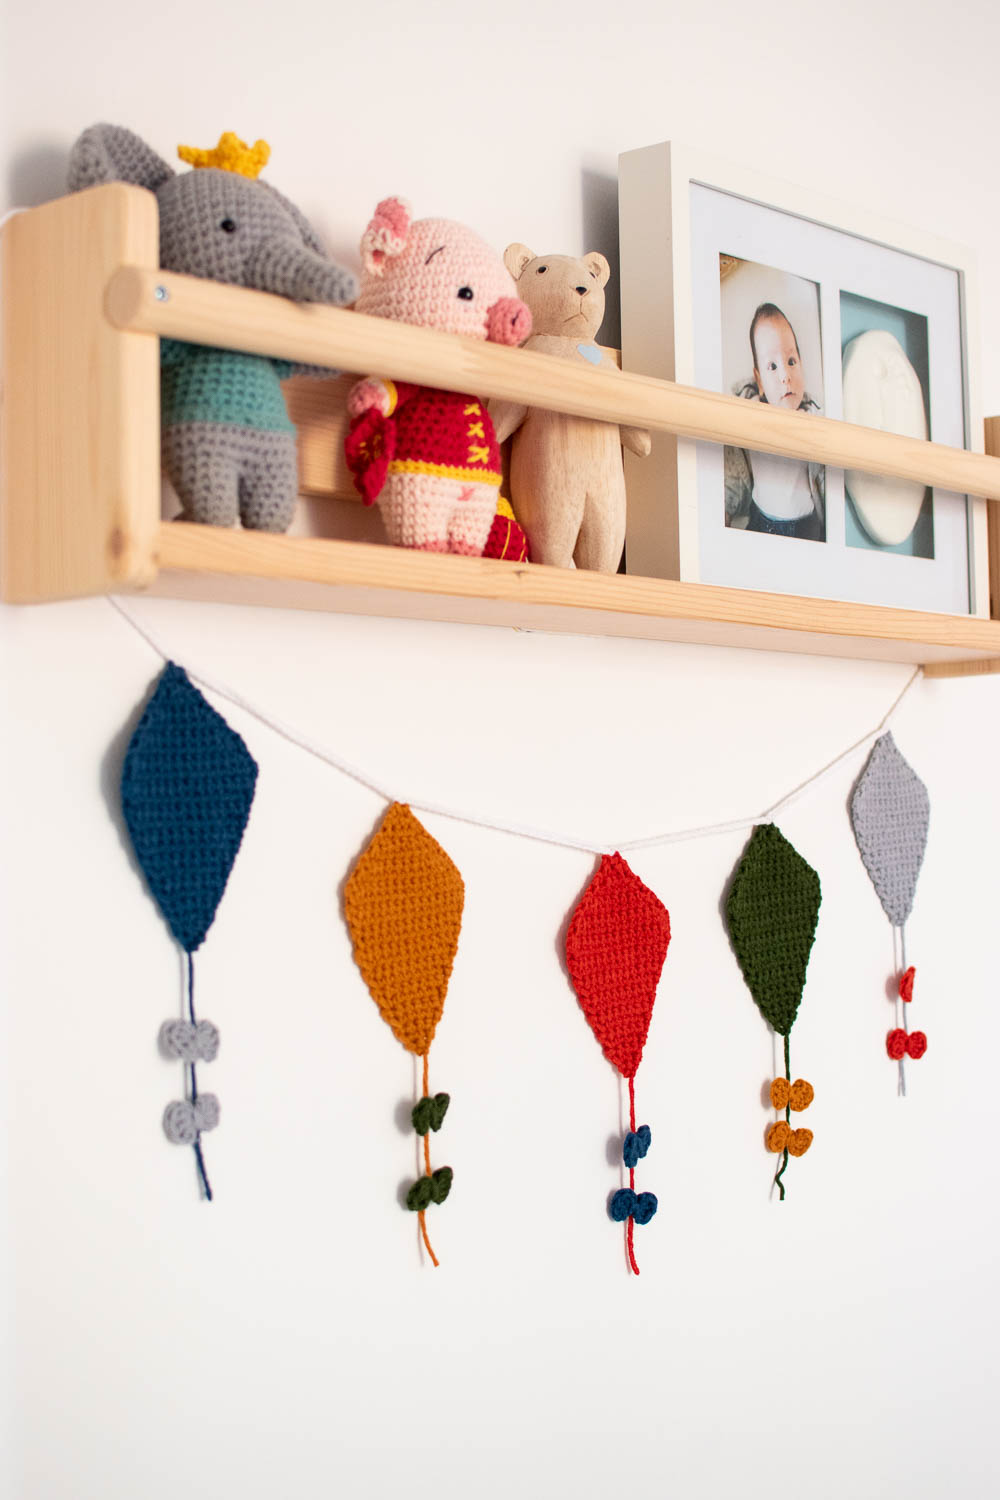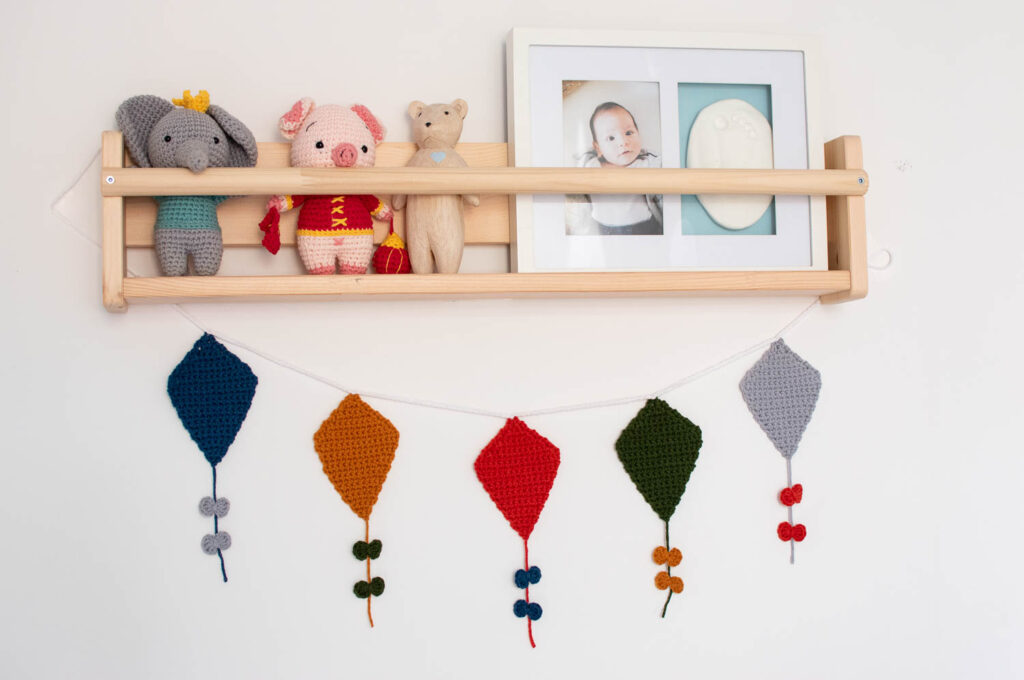
Another poetic decoration for a baby room: a kite garland with adorable mini-bows. Easy to make, easy to offer, endless possibility of colour combination. This kite garland crochet pattern is great for beginners to practice different kinds of basic crochet stitches like single crochet, increase and decrease on a flat piece worked in rows. The bows use double crochet but I promise it’s not as hard as it sounds, and it’s a guaranteed WOW effect.
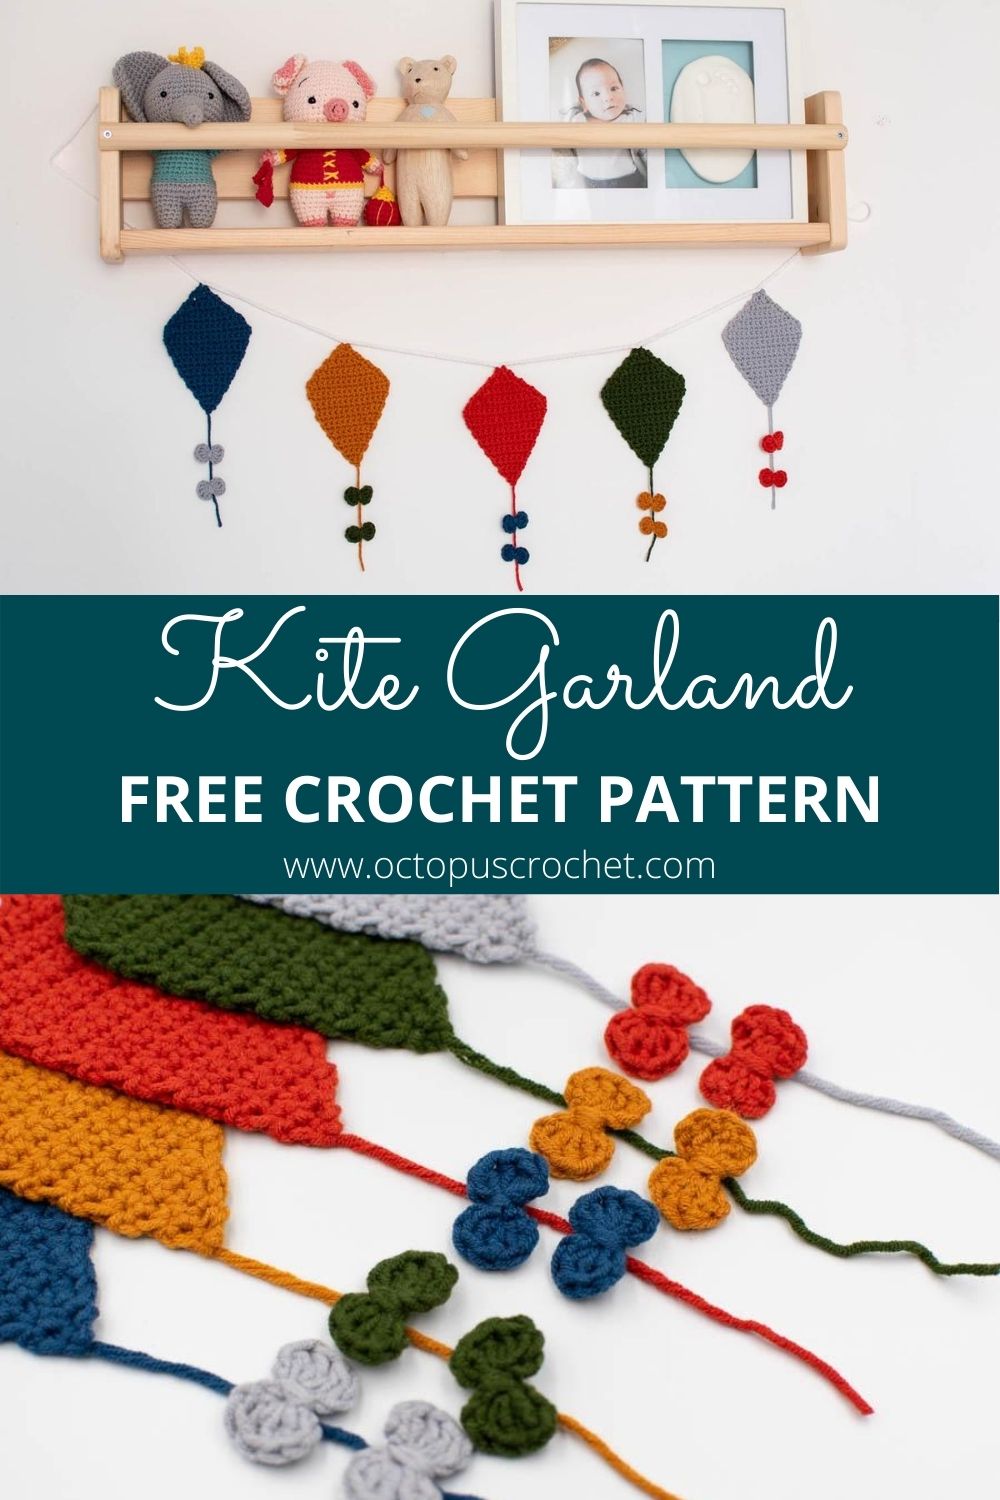
No time right now? Pin this tutorial for later.
*This blog contains affiliate links for products I use, believe in or recommend. This means I will earn a small commission if you make a purchase from one of these links, and of course it is at no extra cost for you. It helps me to keep Octopus Crochet going and to keep publishing new free patterns and tutorials for you to enjoy, so thank you! You can check my full disclosure here.
I LOVE bunting, I feel it automatically brings joy to the room. It’s festive, colourful, light, simple and efficient. I was looking for inspiration for a while to make a garland with something more than just triangles, then the first movie I watched in 13 months (since my baby was born!) was Mary Poppins returns! Bam! The little boy’s kite struck me. Ok I’ll admit I liked the balloons too… maybe next time.
The colours inspiration comes from a Fabelab blanket, but the cool part is that you can bring your own inspirations to life with literally all the colours in the yarn world. You can do a mono or bi-colour garland with one colour for the kites and another for the bows. You can choose one colour and do a colour gradient to finally use all the shades of pink or blue or green you have accumulated with different projects. Or you can just play and combine different colours. In all cases your garland will be very unique.
Scroll down for the free pattern or you can also directly purchase a nice add-free pdf version of this pattern in my shop on Etsy for a small fee. The pdf version has all the pictures, instructions, and it’s ready-to-print to carry along with you wherever you want to sit and crochet!
BEFORE YOU START YOUR KITE GARLAND CROCHET PATTERN
MATERIAL
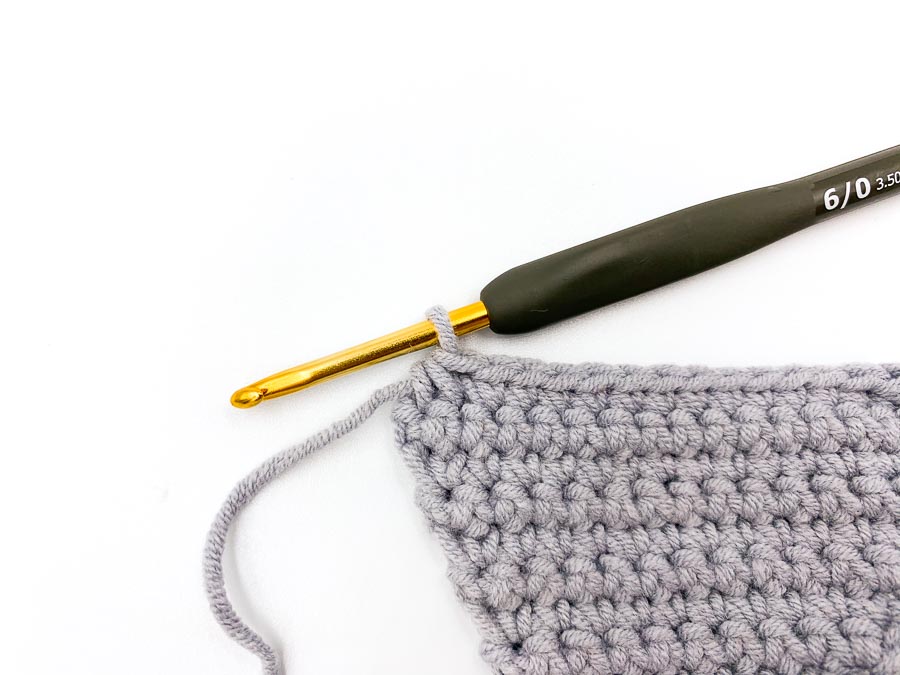
- 3.5mm / US E-4 crochet hook
- Yarn: #3 / DK / light worsted yarn, 8ply, 80% Cotton 20% Milk Fiber, in dark blue, mustard, red, dark green, light grey, and white. I use a local shop yarn.
- Tapestry needle
GAUGE AND SIZE
- The gauge for this pattern is really not critical, as long as you use the same tension for all your kites so that they end up with the same size.
- With the material mentioned above, my kite lozenges are 12 cm (4.7″) high and 8.5 cm (3.1″) wide, plus 11 cm (4.3″) for the tail.
- Bows width is 2.5 cm (0.8″).
PATTERN NOTES AND SPECIAL TECHNIQUES
- The number before the abbreviation represents how many times to work one type of stitch into consecutive stitches from the previous round. Ex: 3inc = work one increase into each of the next 3 stitches.
- You can block your kites to keep them flat.
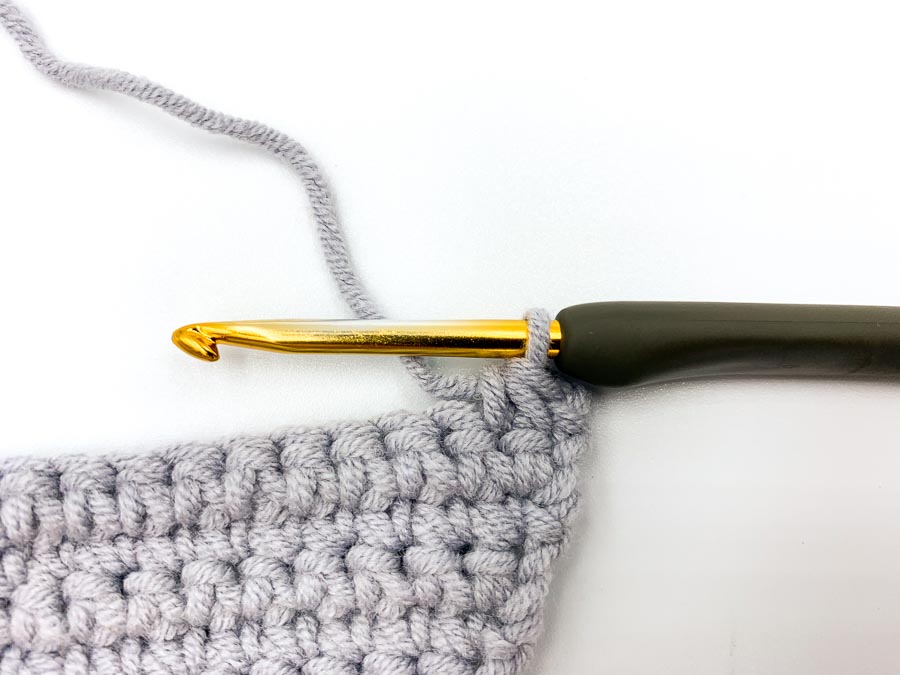
- In the kite pattern, the chain at the end of each row (to turn) does not count as a stitch.
- If you are a beginner you can check how to make a normal decrease in a detailed video and step by step tutorial on my blog here.
ABBREVIATIONS
This tutorial follows US crochet notations.
- ch: chain
- sc: single crochet
- dc: double crochet
- inc: increase (= work 2sc in the next stitch)
- dec: single crochet decrease (single crochet 2 sts together)
- st(s): stitch(es)
- sl st: slip stitch
- [number]: total number of stitches of the round/row
THE KITE GARLAND CROCHET PATTERN
THE KITE
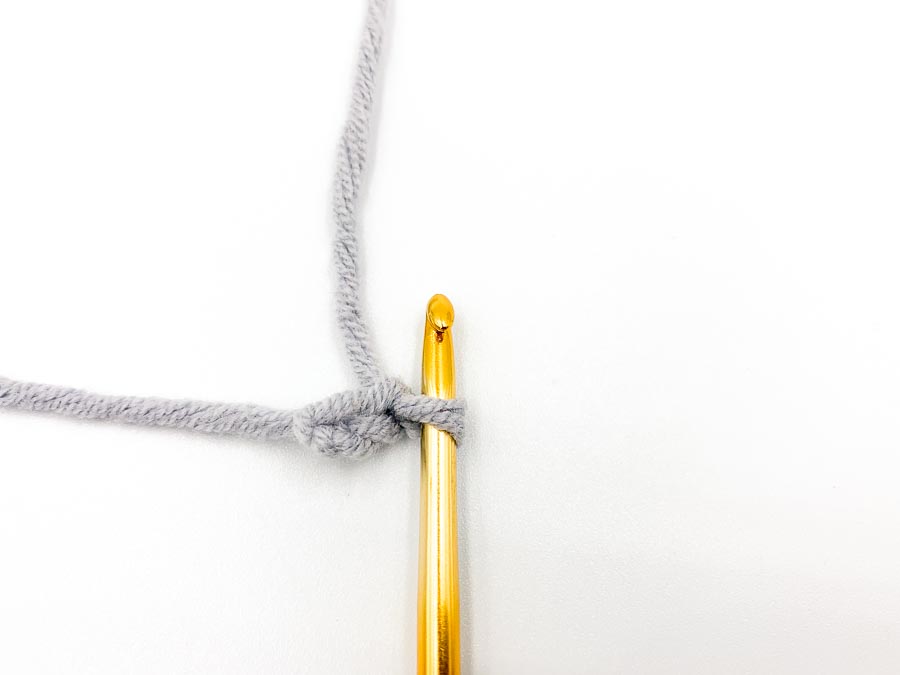
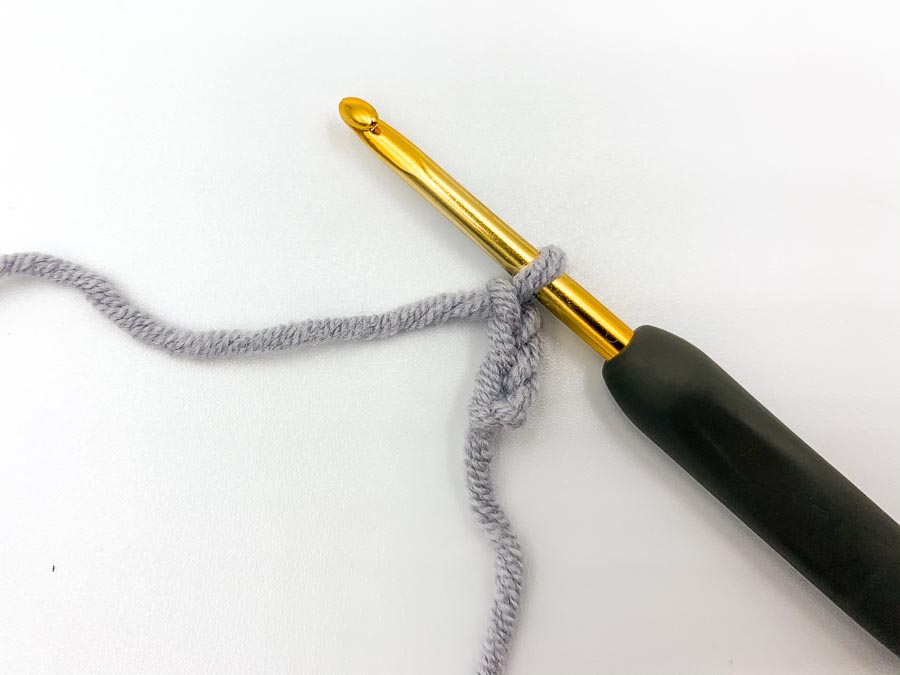
Make a slip knot, leaving a 12 cm (5.1″) tail to attach the bows (you can make this tail shorter once you’re done, after attaching the bows). Chain 2.
Row 1: in the second chain from the hook, inc, ch 1, turn. [2]
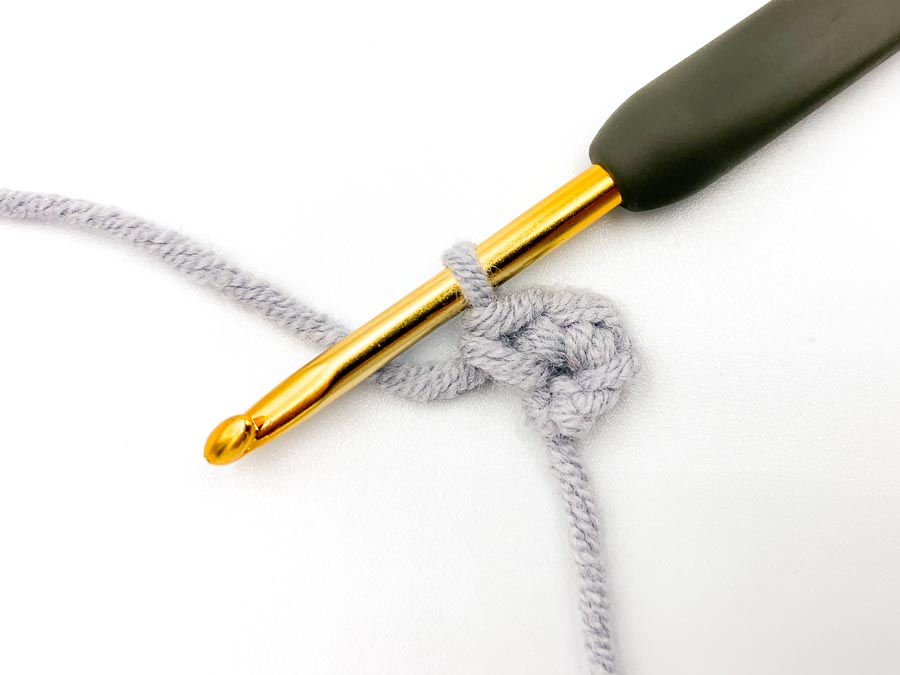
Row 2: sc, inc, ch 1, turn. [3]
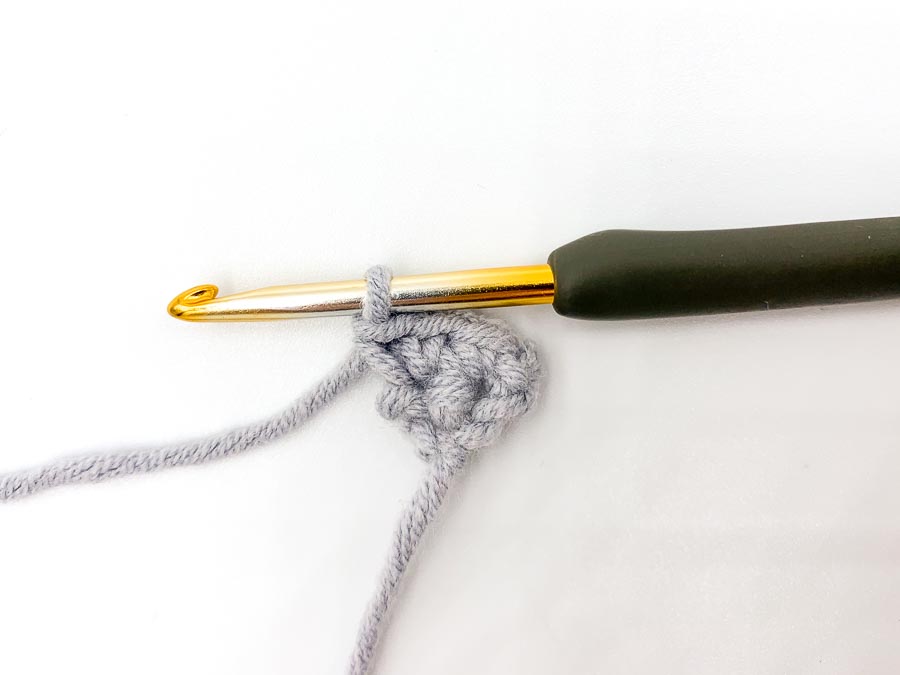
Row 3: 2sc, inc, ch 1, turn. [4]
Row 4: 3sc, inc, ch 1, turn. [5]
Row 5: 4sc, inc, ch 1, turn. [6]
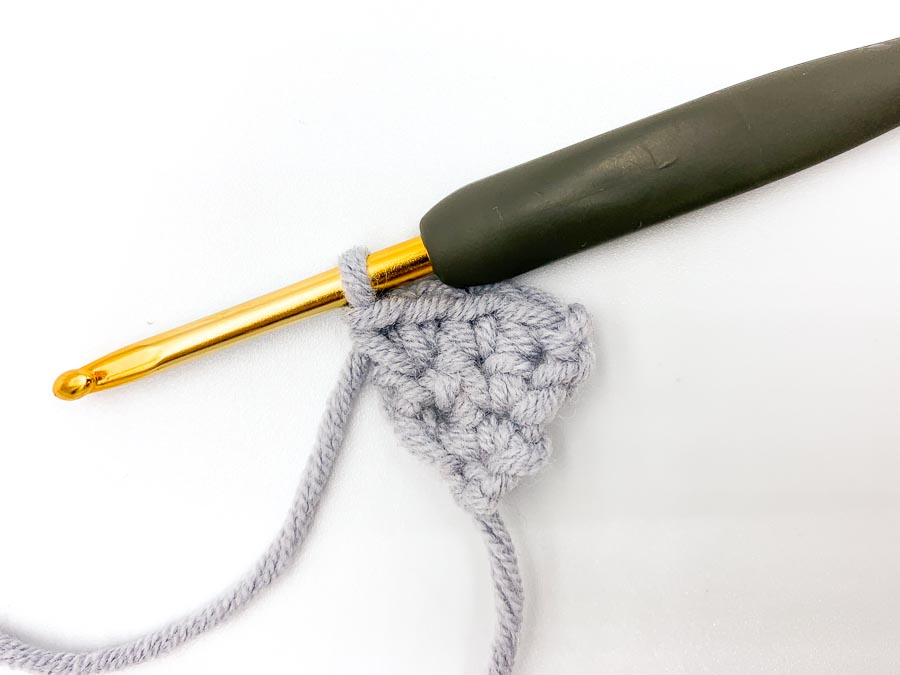
Row 6: 5sc, inc, ch 1, turn. [7]
Row 7: 6sc, inc, ch 1, turn. [8]
Row 8: 7sc, inc, ch 1, turn. [9]
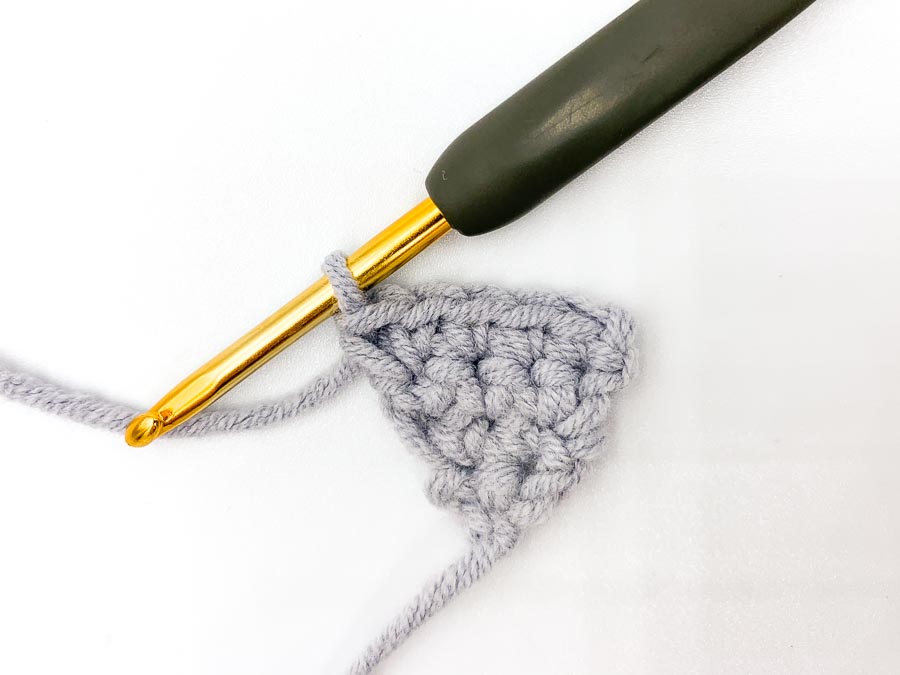
Row 9: 8sc, inc, ch 1, turn. [10]
Row 10: 9sc, inc, ch 1, turn. [11]
Row 11: 10sc, inc, ch 1, turn. [12]
Row 12: 11sc, inc, ch 1, turn. [13]
Row 13: 12sc, inc, ch 1, turn. [14]
Row 14: 13sc, inc, ch 1, turn. [15]
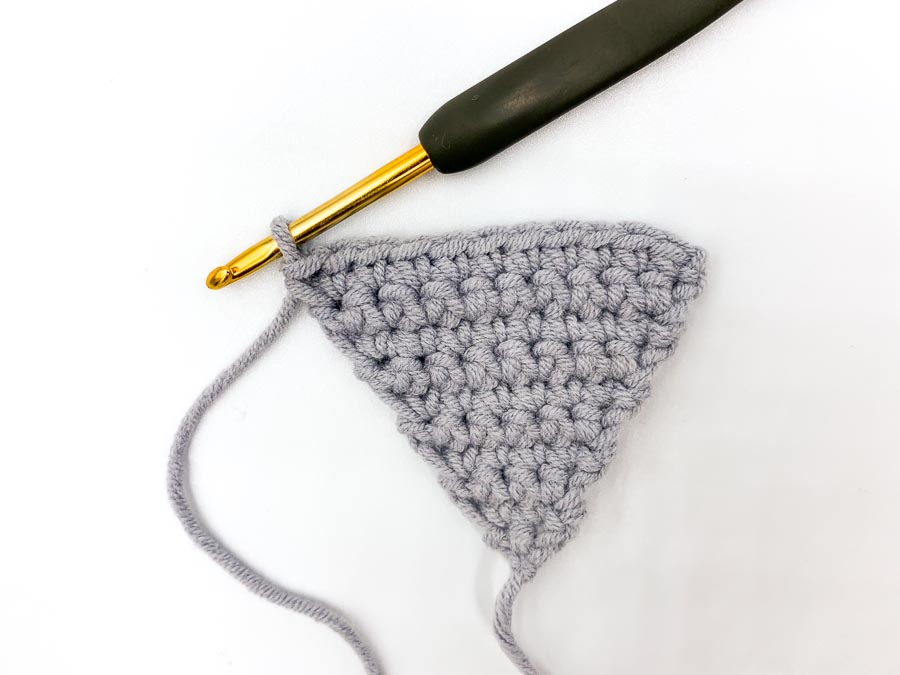
Row 15: 14sc, inc, ch 1, turn. [16]
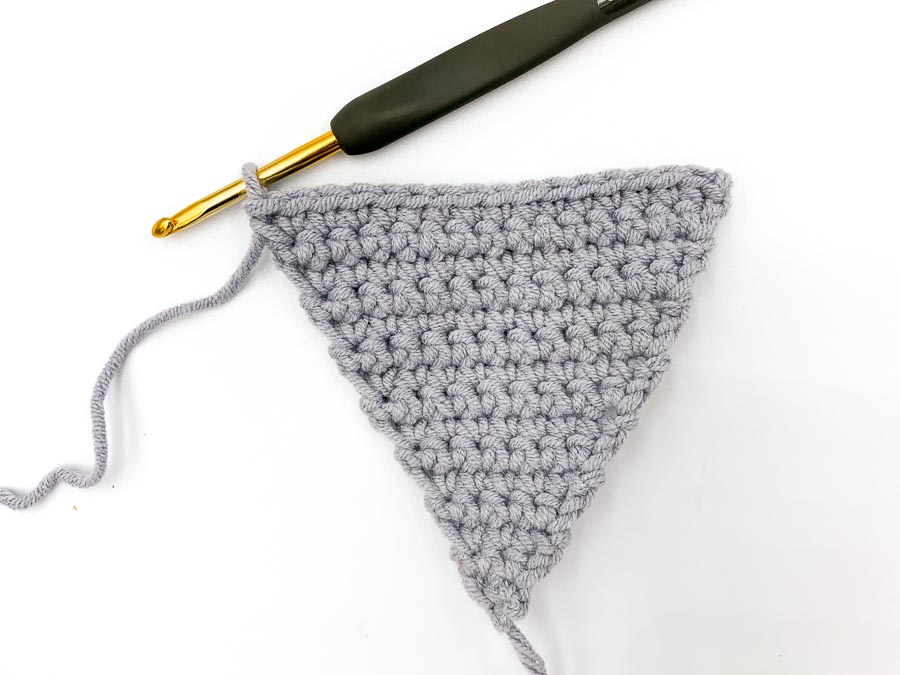
Row 16: dec, 12sc, dec, ch 1, turn. [14]
Row 17: dec, 10sc, dec, ch 1, turn. [12]
Row 18: dec, 8sc, dec, ch 1, turn. [10]
Row 19: dec, 6sc, dec, ch 1, turn. [8]
Row 20: dec, 4sc, dec, ch 1, turn. [6]
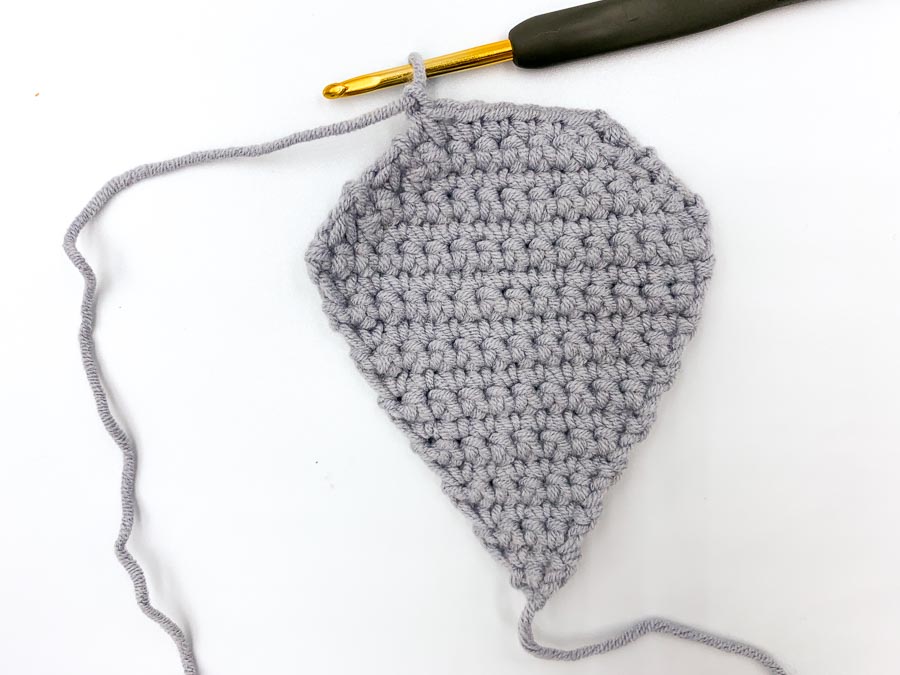
Row 21: dec, 2sc, dec, ch 1, turn. [4]
Row 22: dec, dec, ch 1, turn. [2]
Row 23: dec. [1]
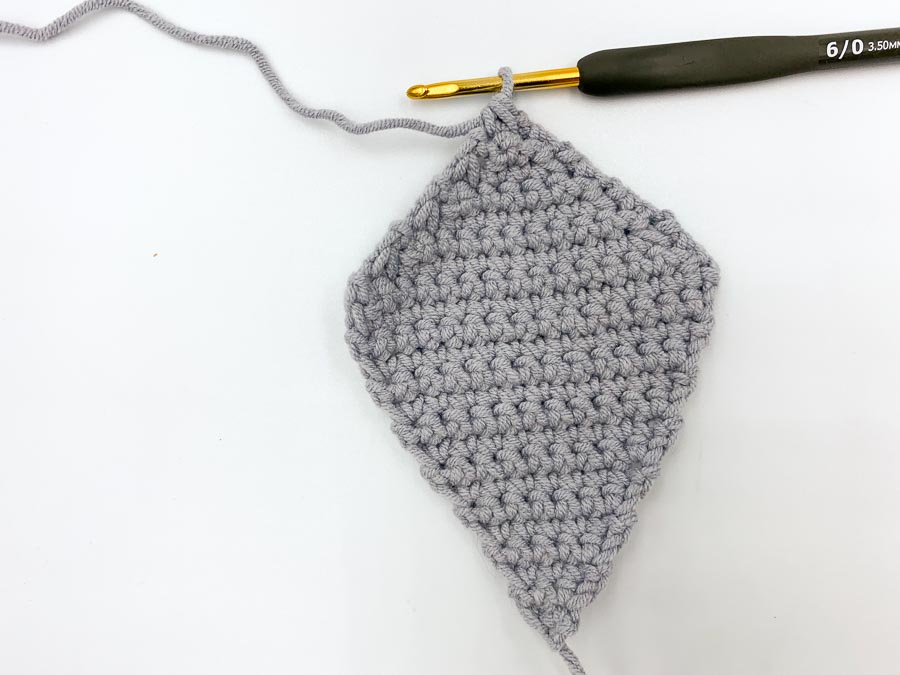
Fasten off. Weave in end, but keep the bottom tail as the string of the kite, where you will attach the bows.
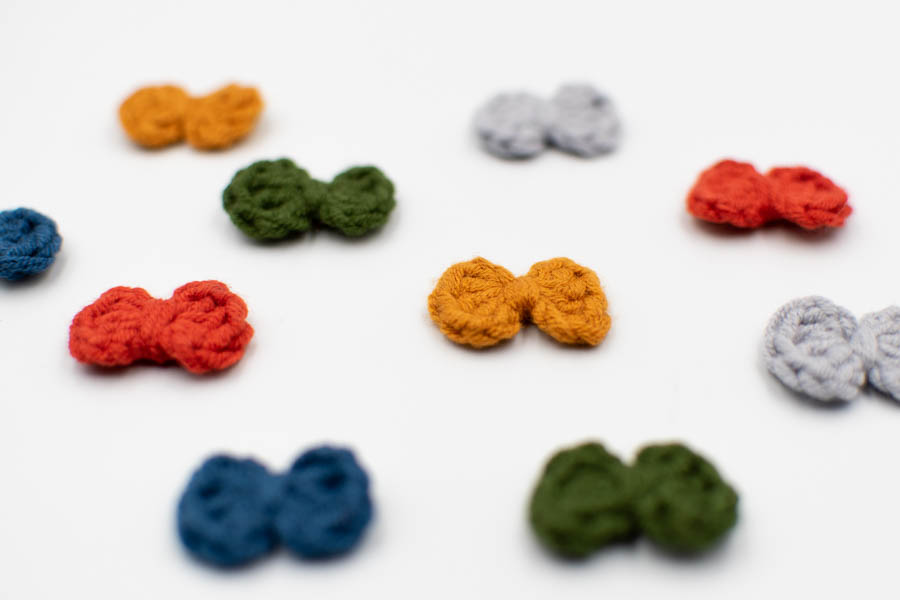
THE BOWS
Make a slip knot and chain 3.
Round 1: 3dc into the third chain from the hook (= into the first chain). Ch 2, sl st in the same st. Ch 2, 3dc into the same st, ch 2, sl st in the same st.


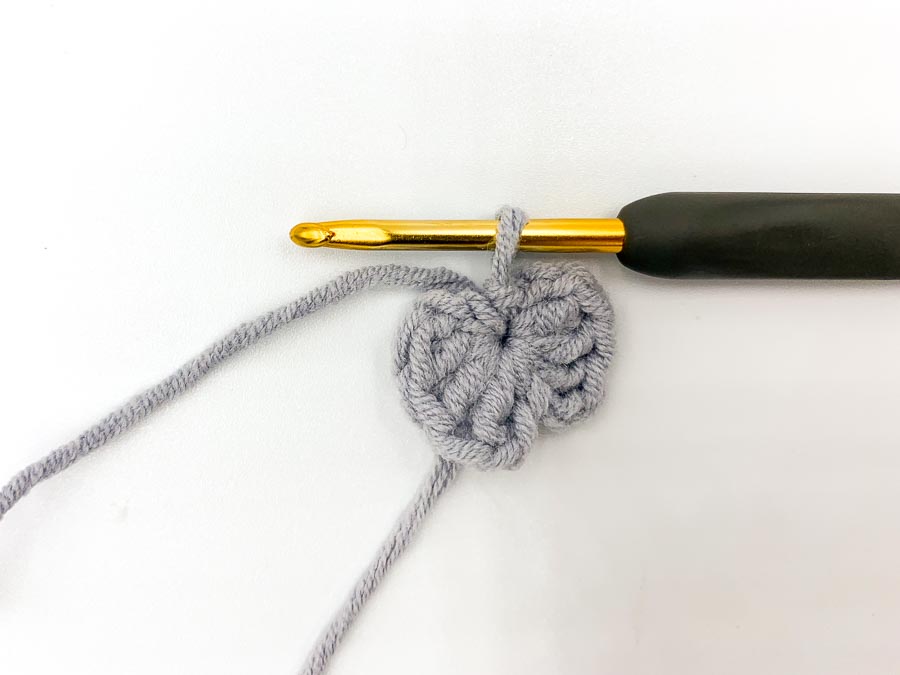
Fasten off. Wrap the yarn 3 times around the center, make a knot with the other tail at the back to secure it and weave in ends.

Make 2 bows per kite, you can mix the colours to your liking!
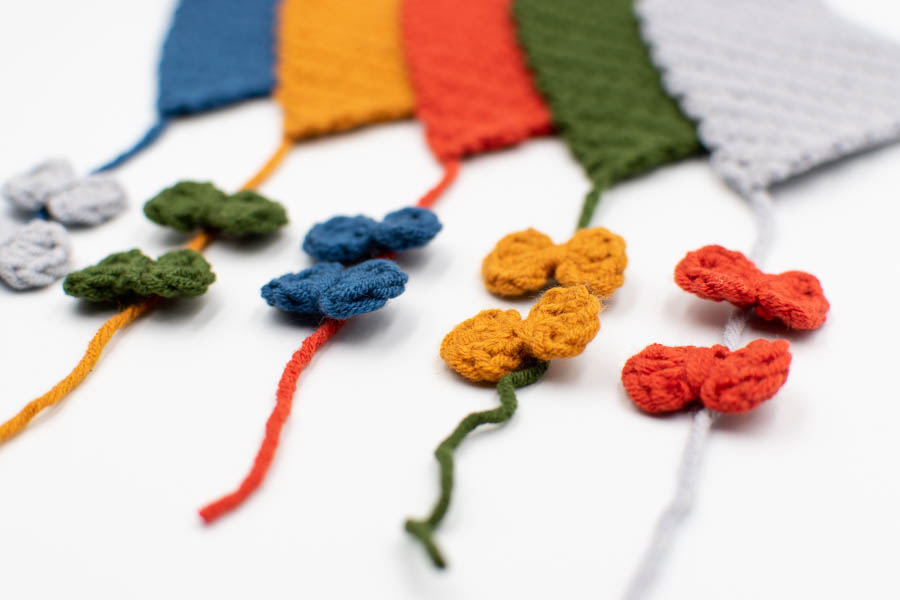
To attach the bow to the kite, thread your tapestry needle with the kite tail, and go through the back of your bow. Position the bows on the tail, the way you like it!
THE STRING TO HANG THE KITES
With the white yarn make a slip knot. Leave a long tail to be able to attach the garland where you intend to. Chain 20.
If you are right-handed, look at the kite positions from left to right, and attach the last one first (in my case the grey one) with a slip stitch at the top of the kite.
Chain 30 and attach the next kite with a slip stitch at the top of the kite (the green one).
Keep going with 30 chain between each kite.
After the last kite, chain 20 and fasten off, leaving a long tail.
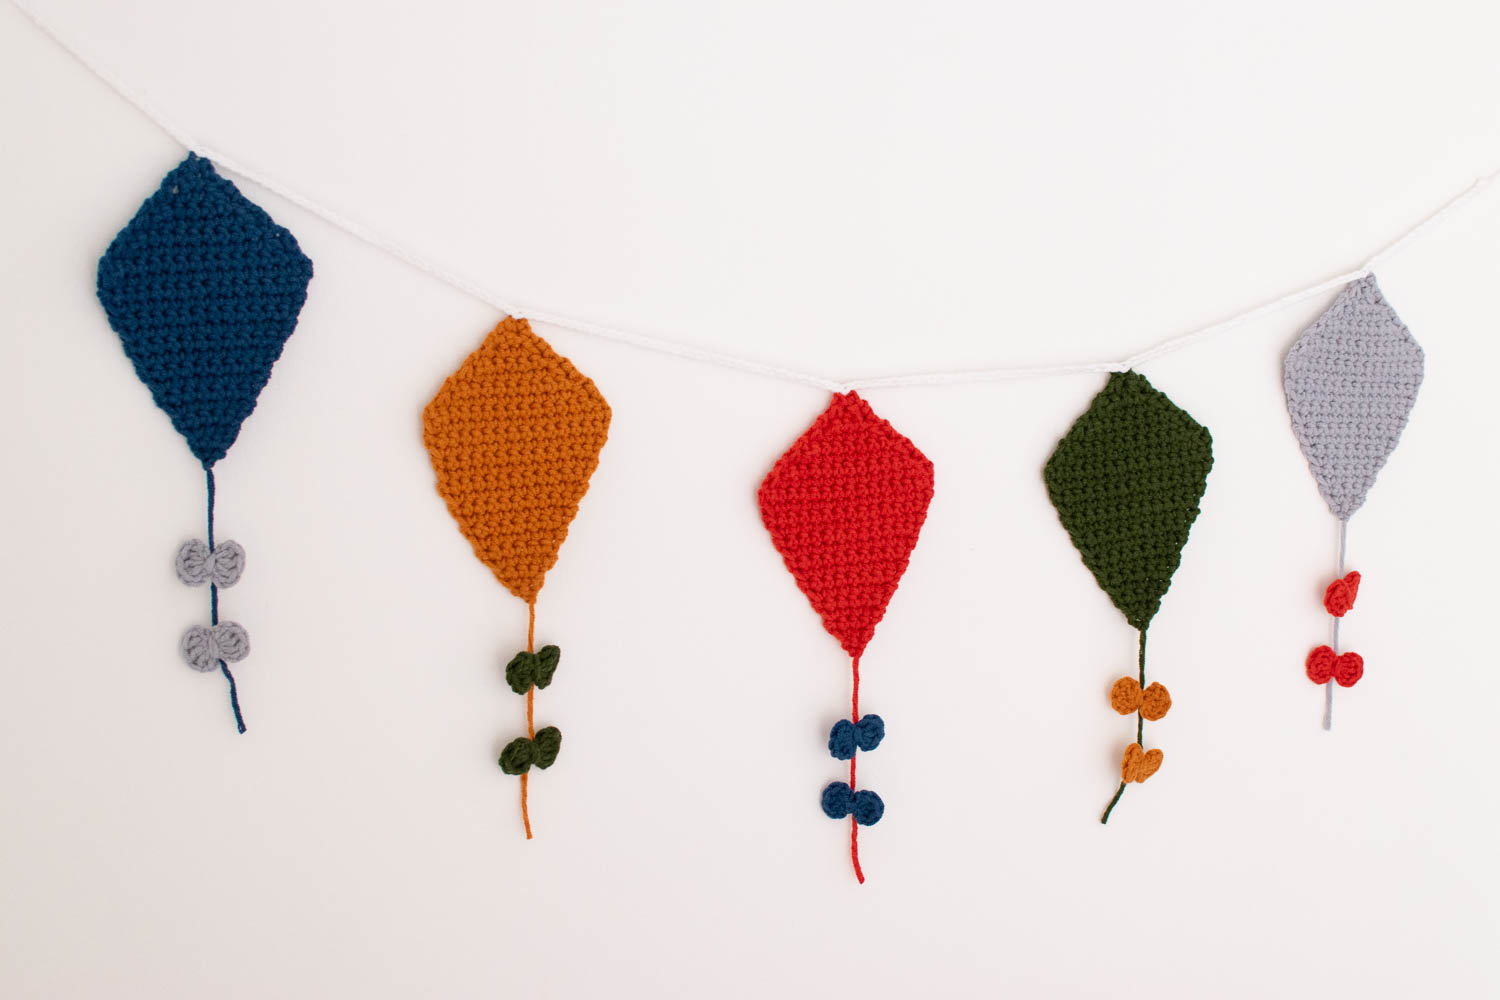
Congratulations! Now you just have to find the perfect spot in your baby room to hang it!
I’d be really happy to see your finished garland! Tag me on Instagram you can find me at @octopuscrochetdesign. If you liked this kite garland crochet pattern, don’t hesitate to share it with your crochet friends!