Sharing is caring!
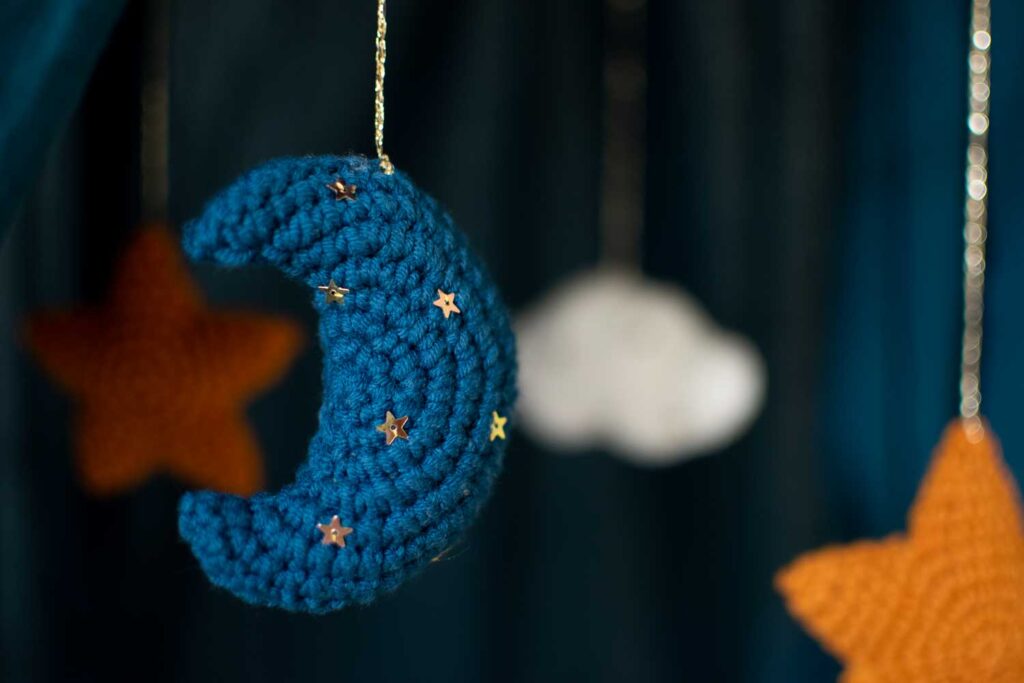
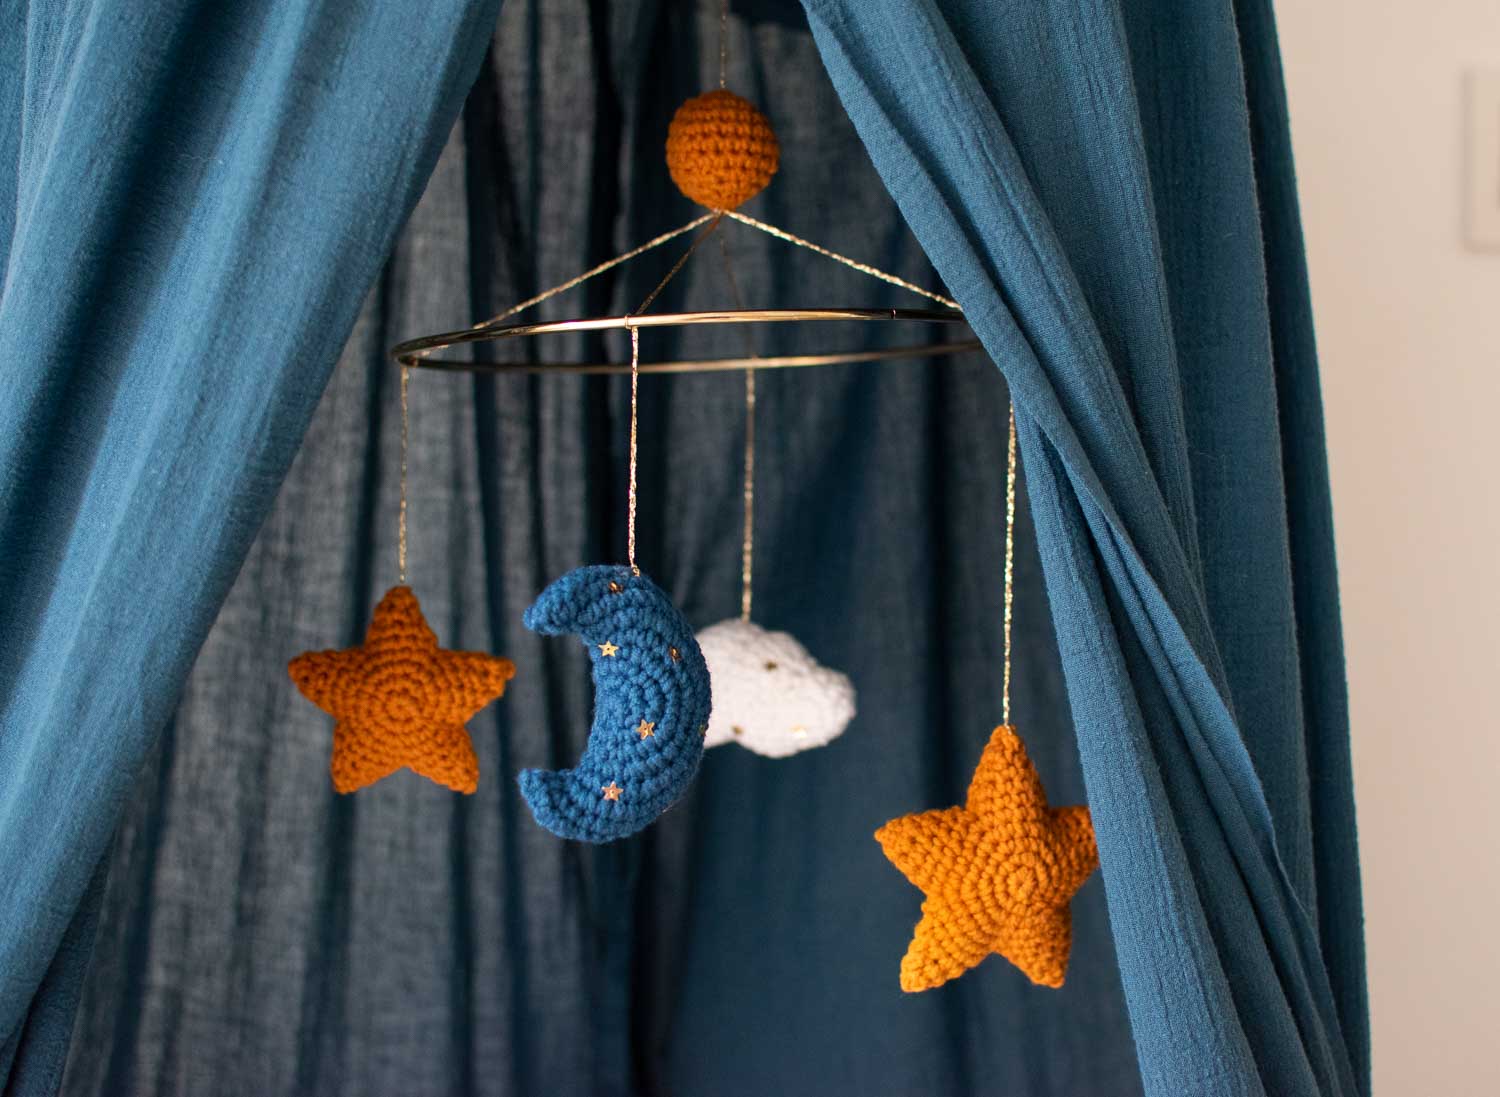
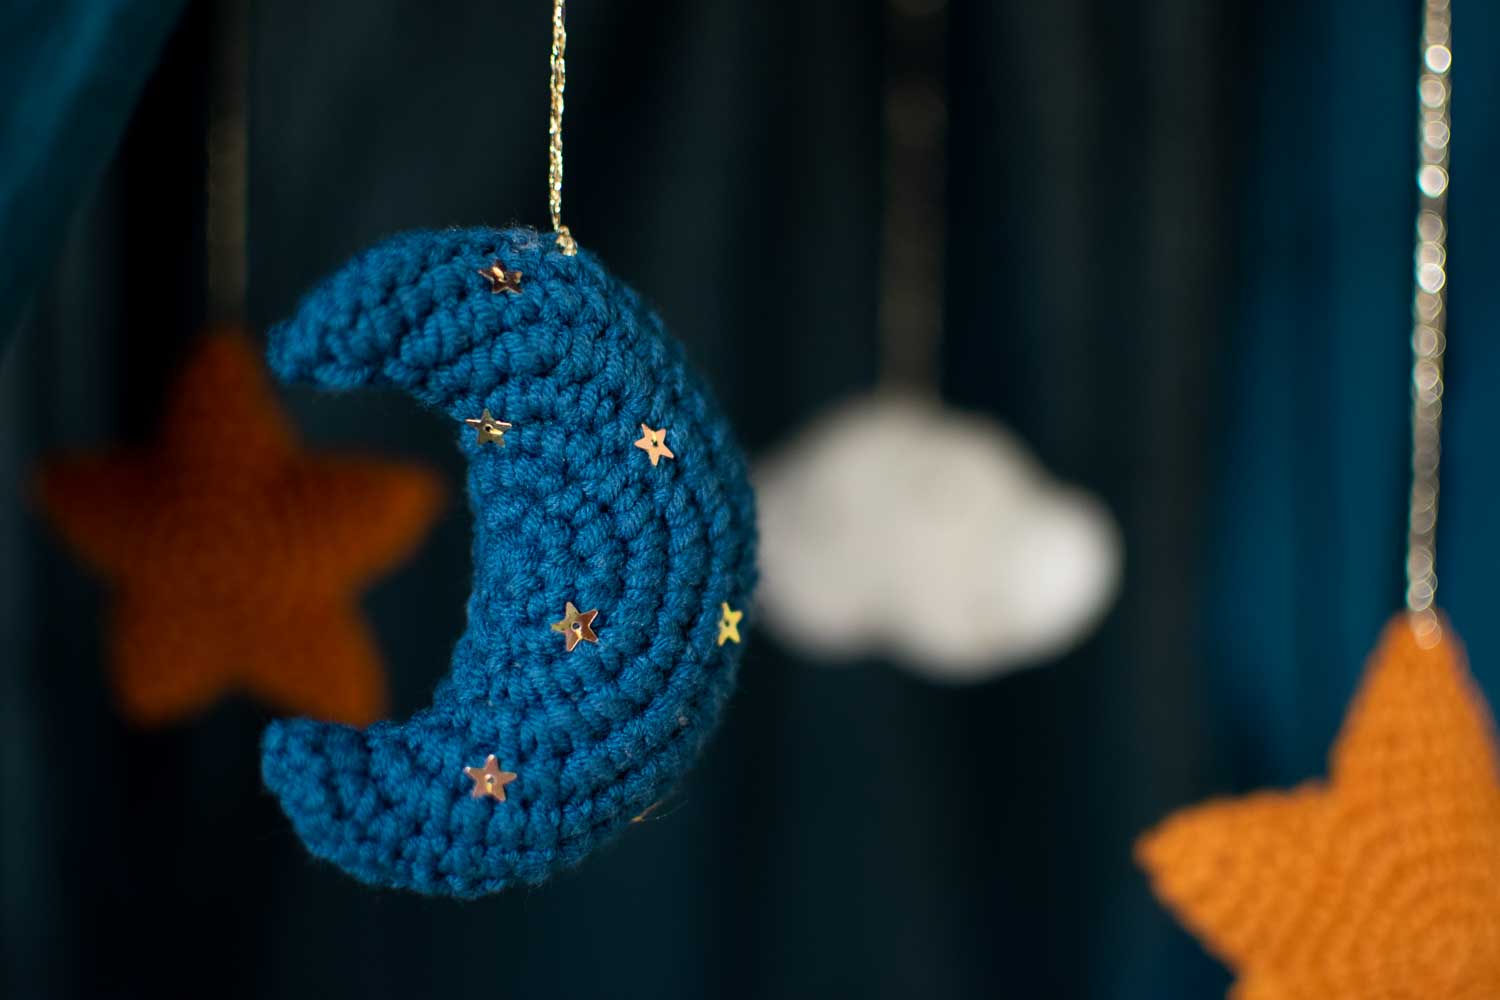
“Shoot for the moon, even if you miss, you’ll land among the stars.” I guess that’s what inspired me to create the ornaments of a dreamy mobile for my baby. This moon crochet pattern has the perfect size for a mobile, and is a great pattern for beginners.
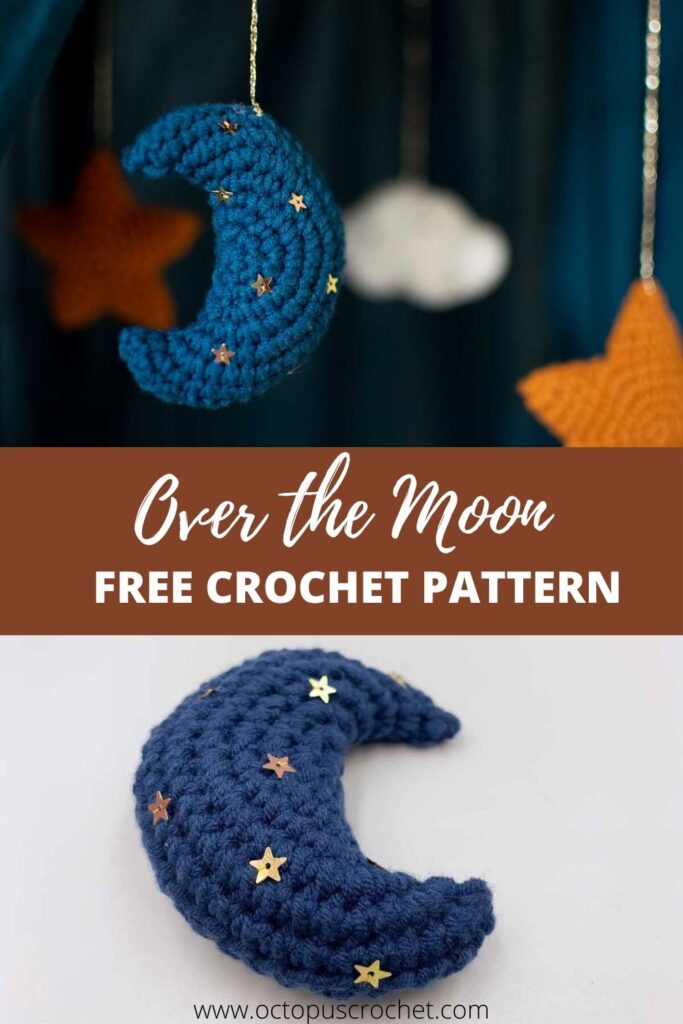
No time right now? Pin this tutorial for later.
*This blog contains affiliate links for products I use, believe in or recommend. This means I will earn a small commission if you make a purchase from one of these links, and of course it is at no extra cost for you. It helps me to keep Octopus Crochet going and to keep publishing new free patterns and tutorials for you to enjoy, so thank you! You can check my full disclosure here.
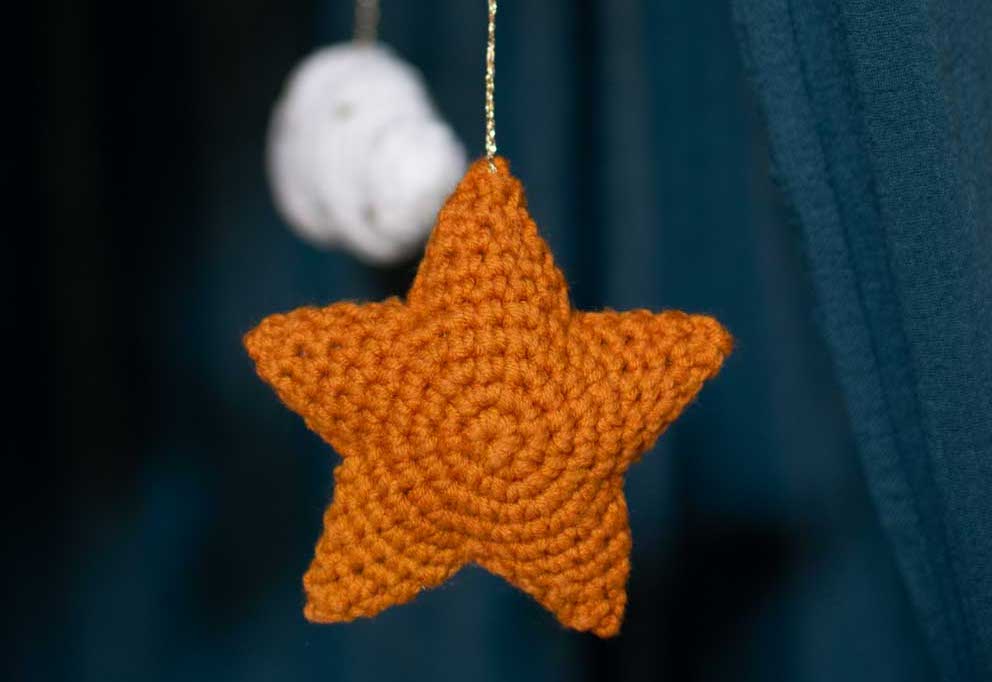
I had this idea in my head of a baby mobile with a crescent moon, stars, cloud, and shimmering star sequins here and there. Although it seems like a pretty basic shape and there are plenty of moon patterns out there, I couldn’t find the exact size and shape I had in mind for this mobile, so I created one more!
Scroll down for the free version, or you can purchase a nice add-free pdf version of this pattern in my shops on Ravelry and Etsy for a small fee. The pdf version has all the pictures, instructions, and it’s ready-to-print because it’s not always convenient to crochet in front of a laptop.
ALL YOU NEED TO KNOW BEFORE YOU START
MATERIAL
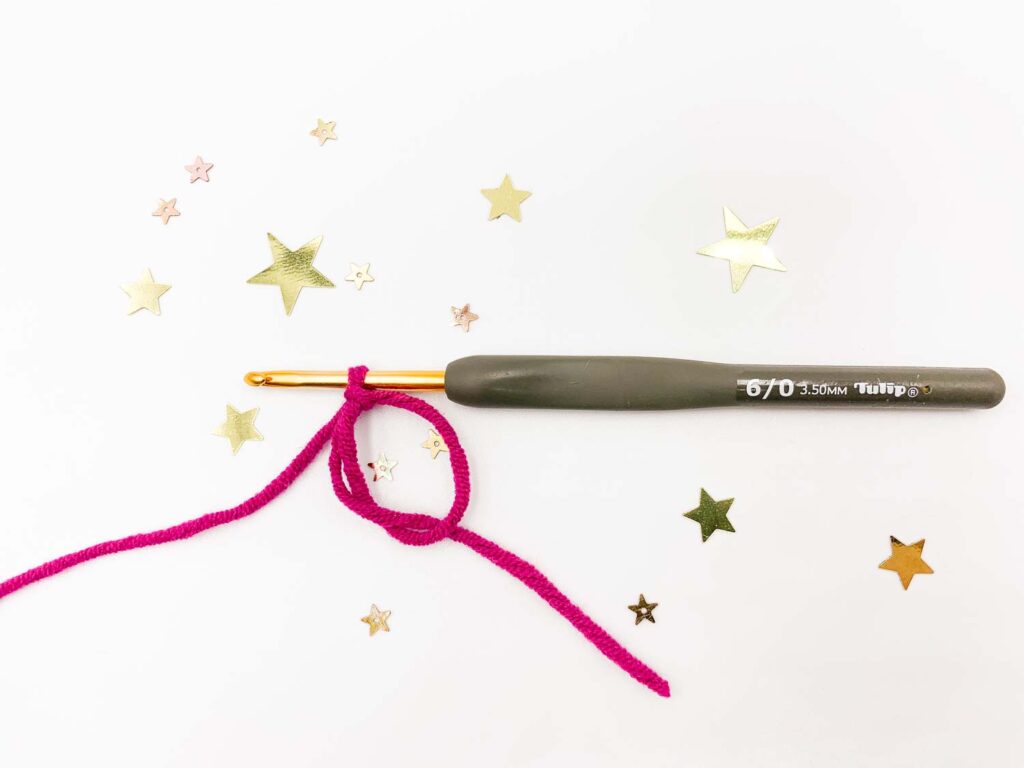
- 3.5mm / US E-4 crochet hook
- Yarn: #3 / DK / light worsted yarn, 8ply, 80% Cotton 20% Milk Fiber, in dark blue.
- Fiberfill
- Star shaped sequins with a hole to embroider
- Yellow sewing thread (or any other color similar to your sequins’ color)
- Sewing needle
- Tapestry needle
- Stitch marker(s) (or a piece of thread to mark your round beginning)
GAUGE AND SIZE
- The gauge for this pattern is : 5-round circle=5cm (2”) with a 3.5mm hook. Find out how to measure gauge for amigurumis in my tutorial here.
- When gauge is achieved, the moon is 8 cm (3.1″) high
PATTERN NOTES AND SPECIAL TECHNIQUES
- This pattern is worked in continuous spiral rounds (i.e. without closing the rounds with a slip stitch). It may help to mark the first stitch of each round with a stitch
- If you are a beginner and need a reminder on how to make a magic ring, you can find a detailed tutorial on my blog here.
- The number before the abbreviation represents how many times to work one type of stitch into consecutive stitches from the previous round. Ex : 3inc = work one increase into each of the next 3 stitches.
ABBREVIATIONS
This tutorial follows US crochet notations.
- sc = single crochet
- inc = increase (= work 2sc in the next stitch)
- st = stitch
- (…) x 2: repeat whatever is in between the parenthesis the number of times indicated
- [number]: total number of stitches of the round
- Rnd(s): round/s
OVER THE MOON FREE PATTERN
Rnd 1: work 6 sc into a magic ring. [6]
Rnd 2: 6inc. [12]
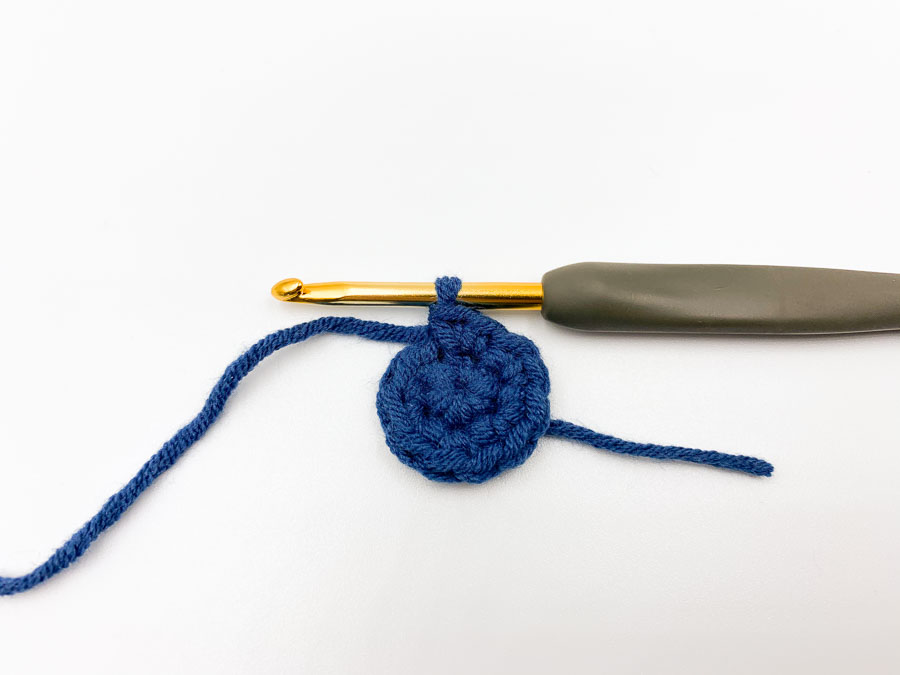
Rnd 3: (inc, sc) repeat 6 times. [18]
Rnd 4: (inc, sc) repeat 9 times. [27]
Rnd 5: 2inc, 4sc, inc, 4sc, 4inc, 4sc, inc, 5sc, 2inc. [37]
Rnd 6: 2inc, (sc, inc) x 8, inc, (sc, inc) x 9. [57]
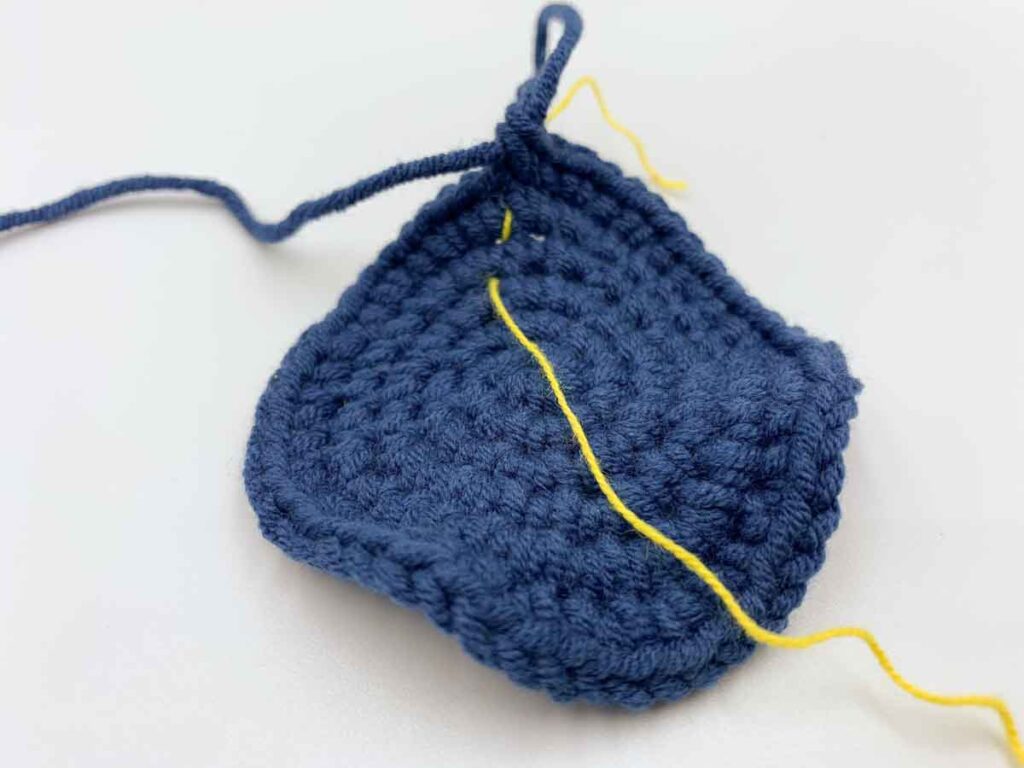
Rnd 7: 2inc, 12sc, inc, 12sc, 4inc, 12sc, inc, 11sc, 2inc. [67]
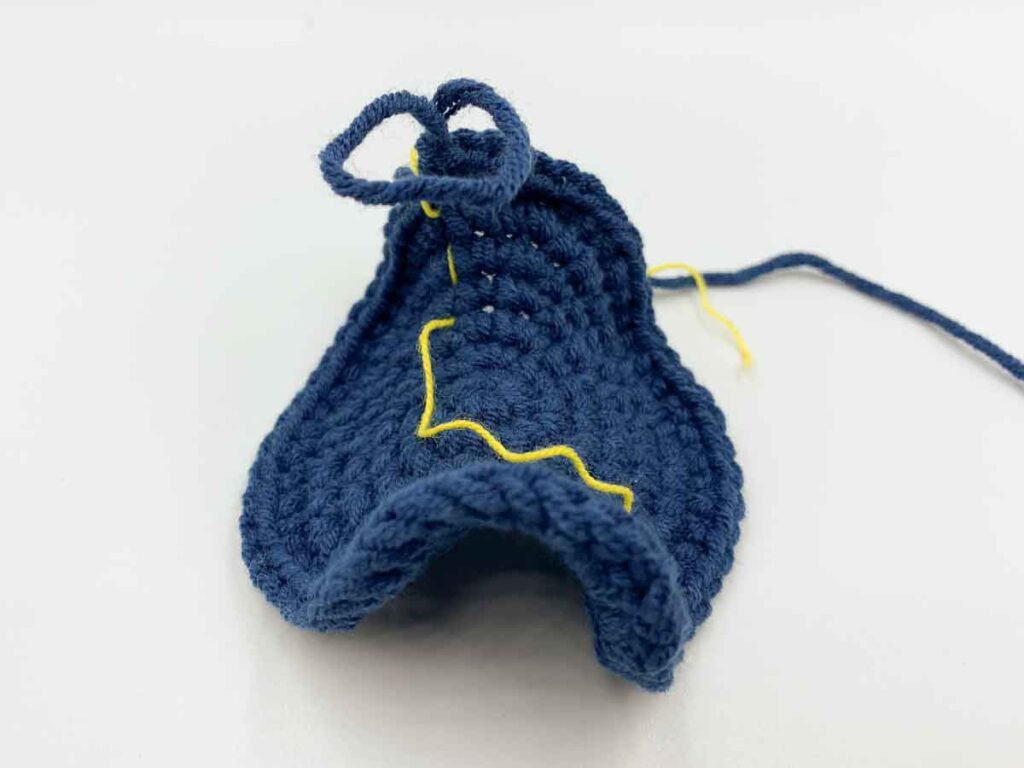
Rnd 8: 2inc, 30sc, 4inc, 29sc, 2inc. [75]
Fasten off leaving a long tail of at least 60cm (24 in). Fold in two at the level of the first stitch of the round (so that both sides are identical), with the wrong side inside.
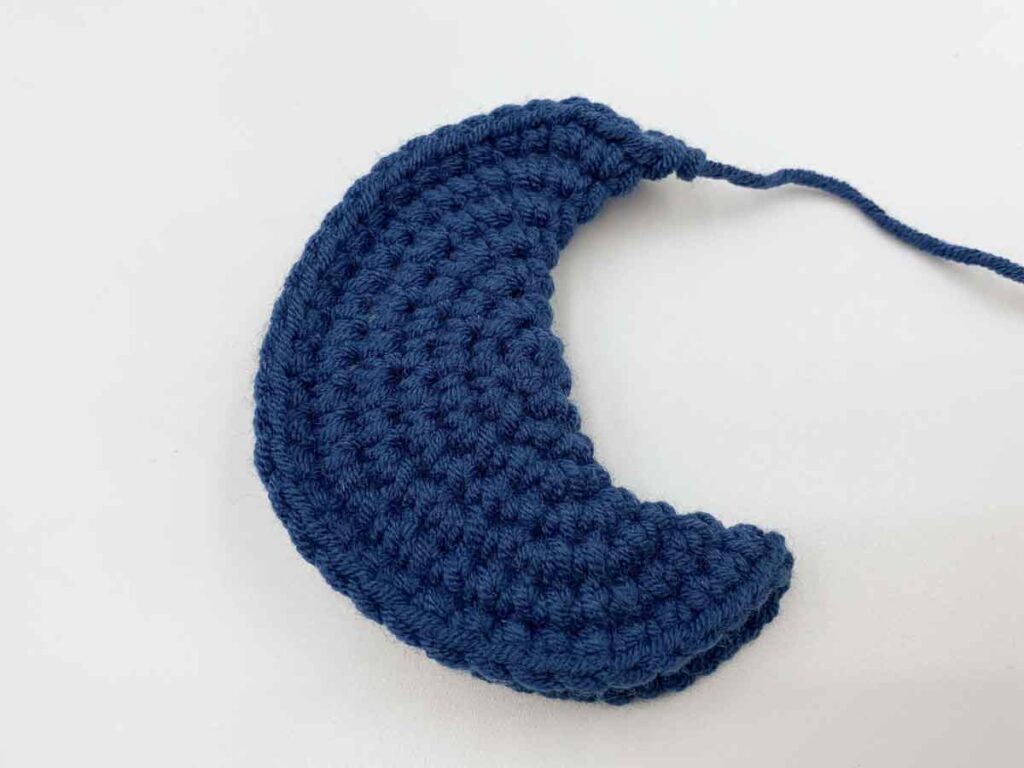
Start sewing both edges together : insert your tapestry needle from inside to outside, under both loops of the opposite stitch.
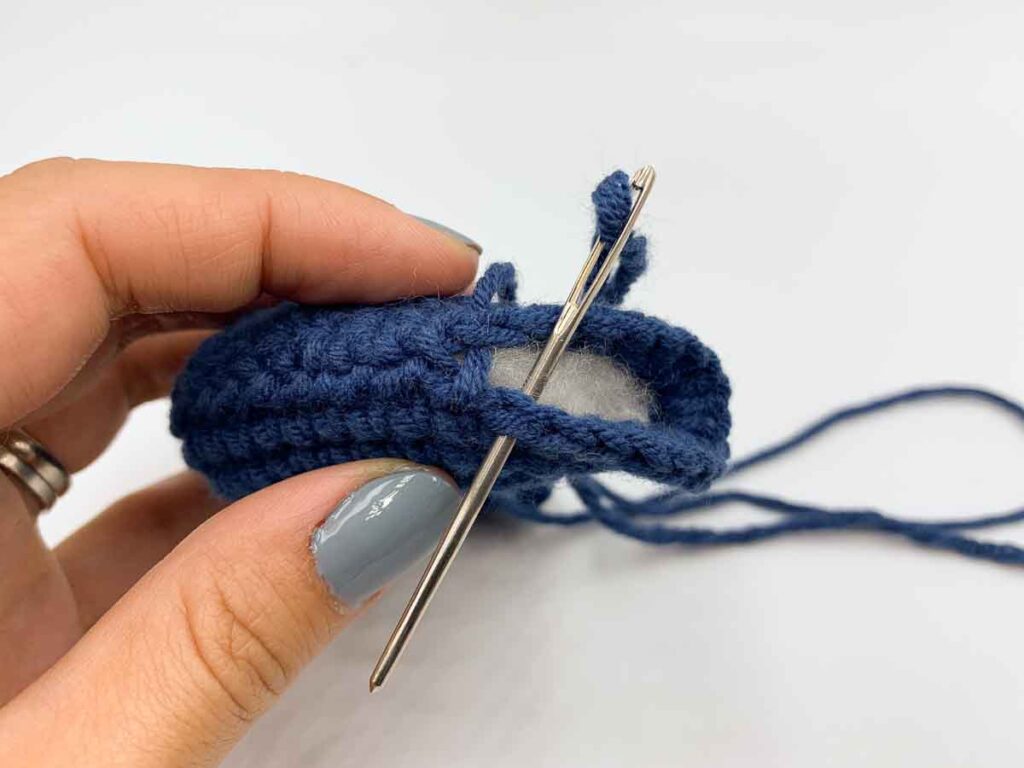
And repeat on the opposite edge : insert your needle from inside to outside under both loops of the next stitch on the opposite edge.
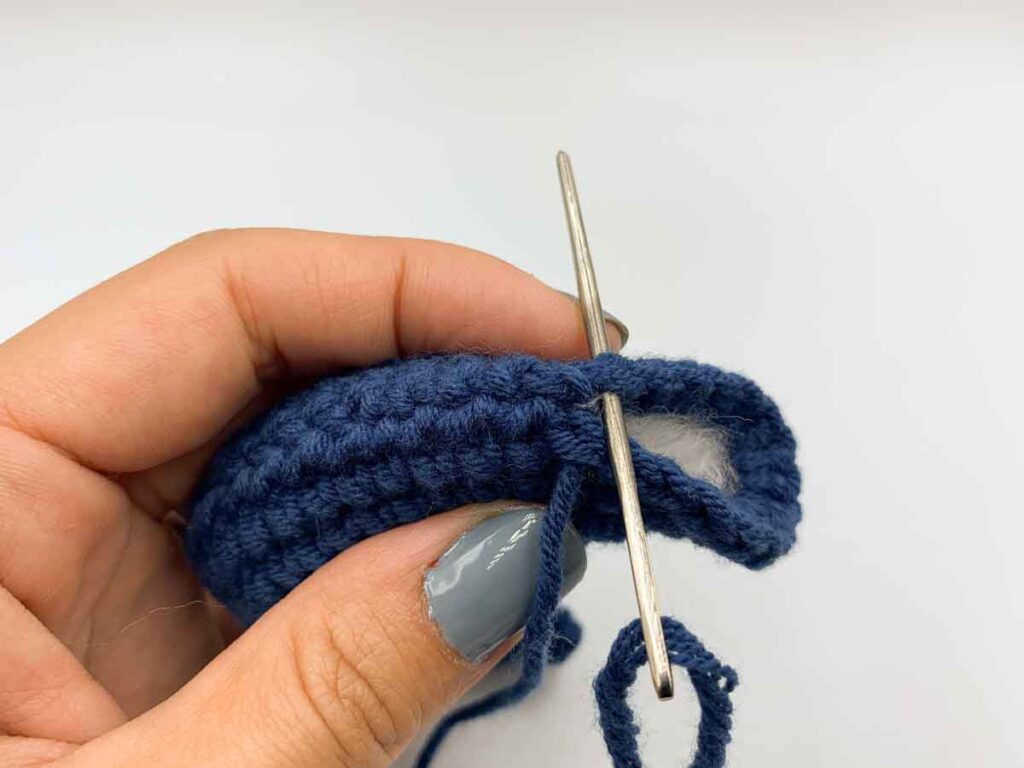
Stuff with fiberfill along the way and before closing. Stuff lightly to shape the moon easily and nicely, and keep it slightly flat.
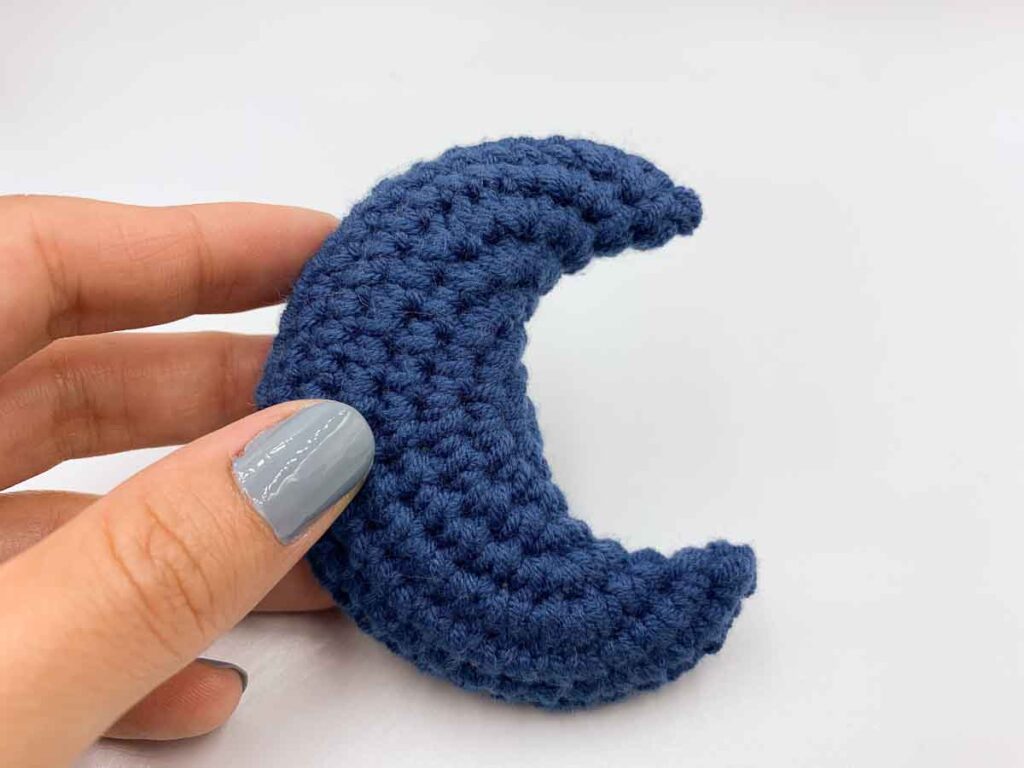
Finally, embroider star sequins (or beads, up to you!).
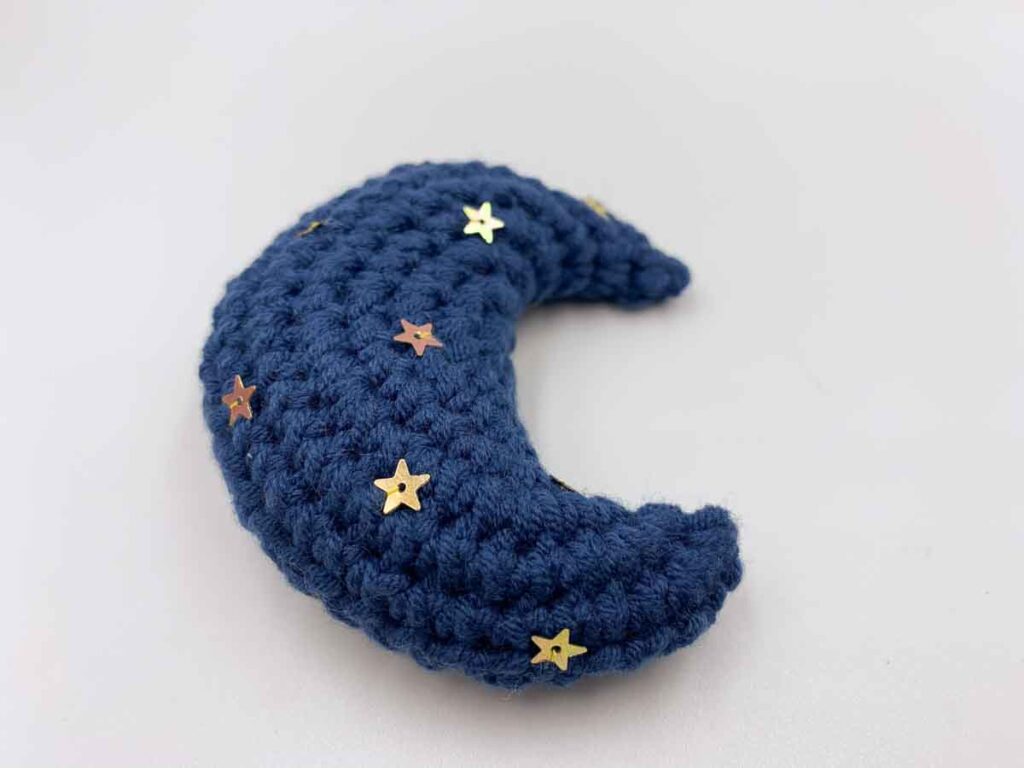
And you’re done! Congratulations! If you liked this pattern share it with your crochet friends !

