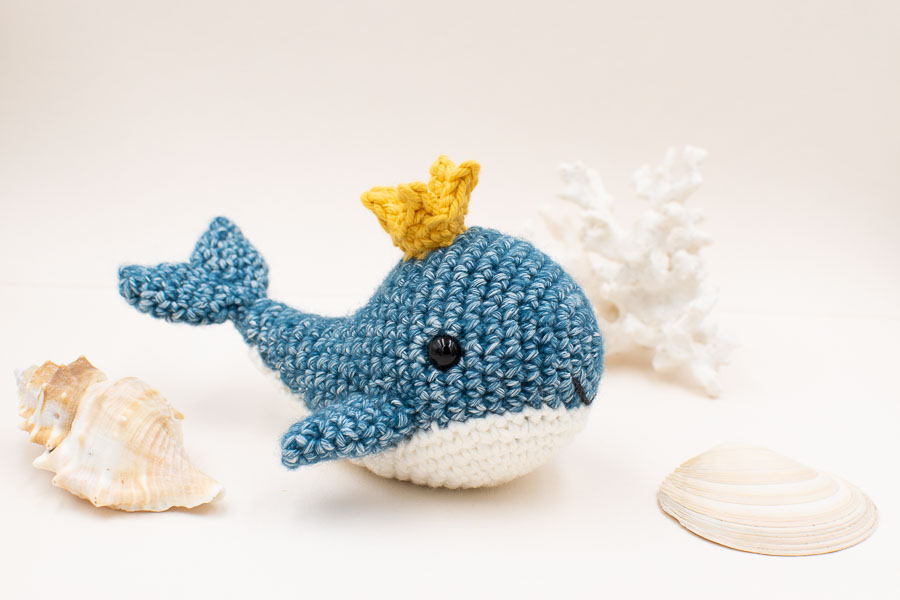
Summer is calling! If you are still looking for something cute and easy to crochet for your baby room, this baby whale amigurumi pattern is for you! Read more about the inspiration or scroll down for the free version.
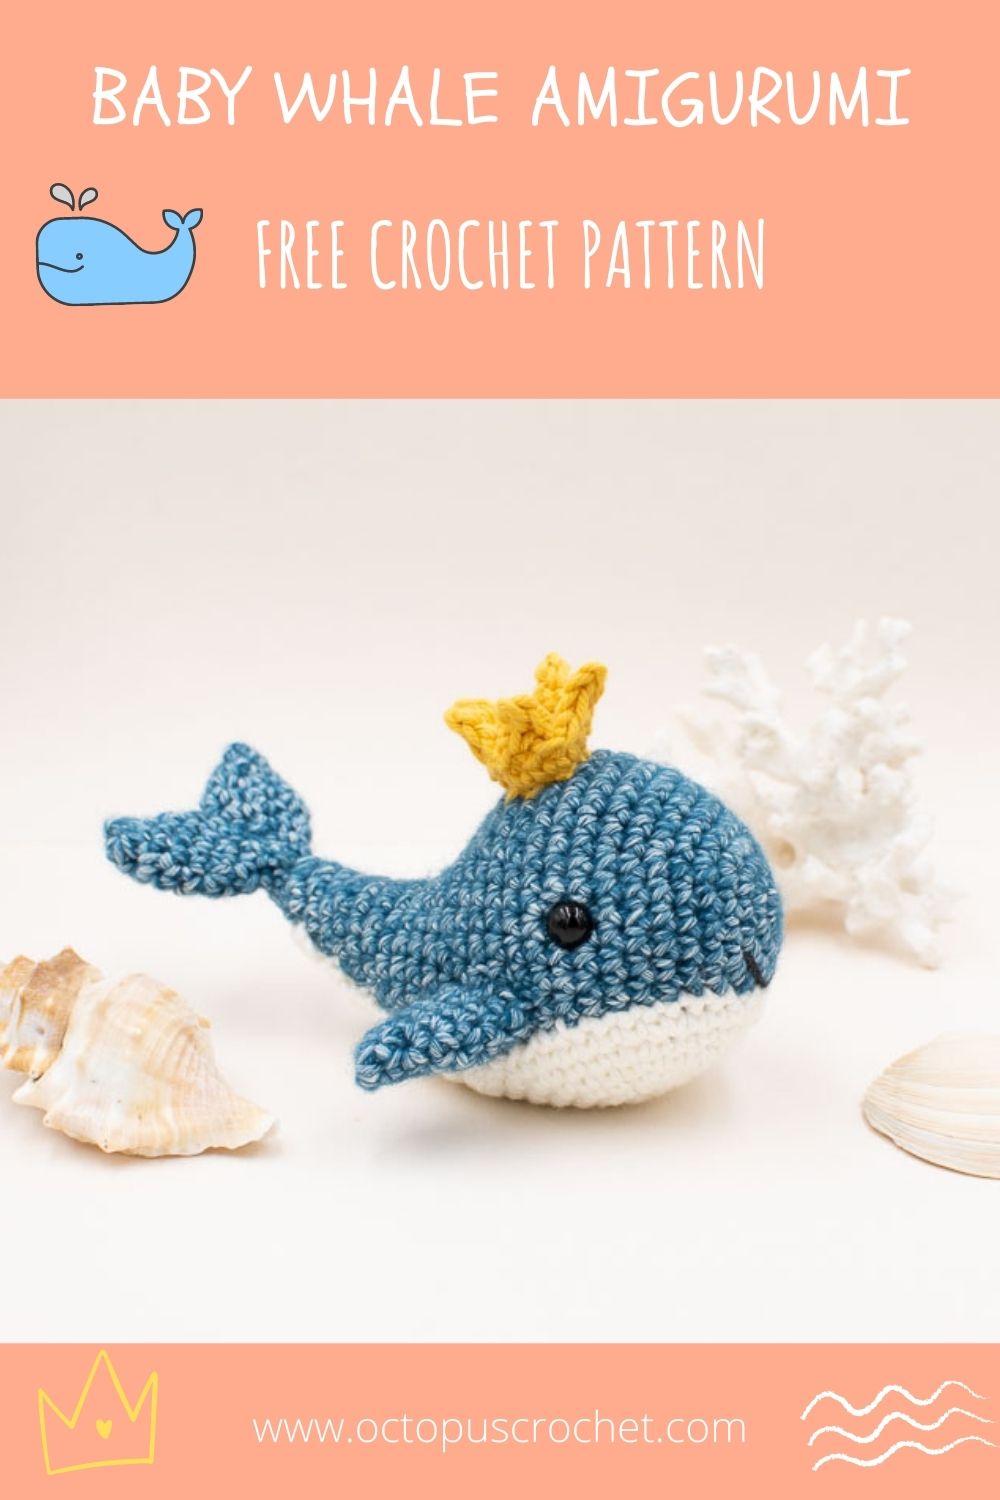
No time right now? Pin this tutorial for later.
*This blog contains affiliate links for products I use, believe in or recommend. This means I will earn a small commission if you make a purchase from one of these links, and of course it is at no extra cost for you. It helps me to keep Octopus Crochet going and to keep publishing new free patterns and tutorials for you to enjoy, so thank you! You can check my full disclosure here.
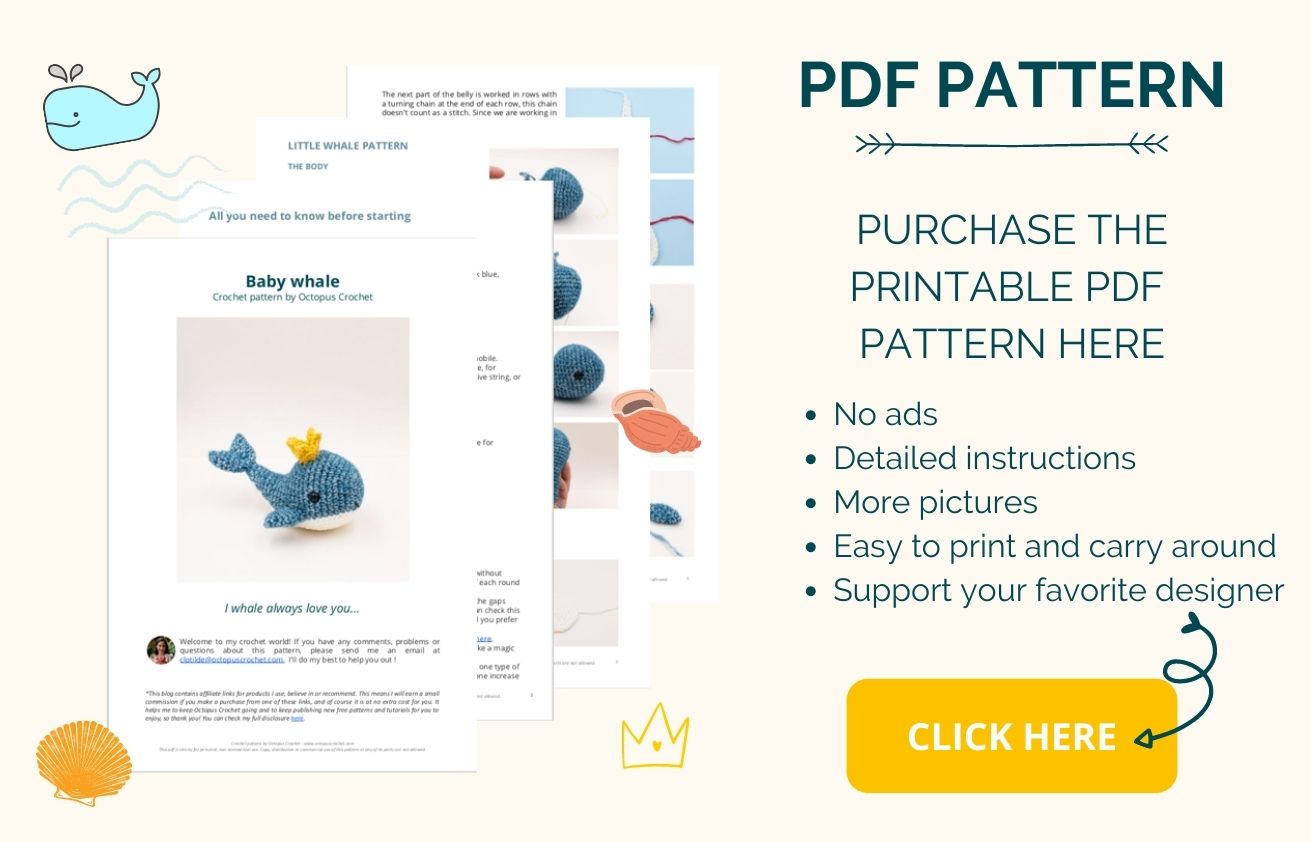
If you prefer to purchase an inexpensive add-free pdf version of this pattern I’ve got you covered. The premium pdf version has all the instructions, more step by step pictures, no ad, and it’s ready-to-print for you to carry around everywhere you can crochet and are not in front of a laptop. This baby whale amigurumi pattern is available in my shop on Etsy and Ravelry.
BABY WHALE AMIGURUMI PATTERN: THE INSPIRATION
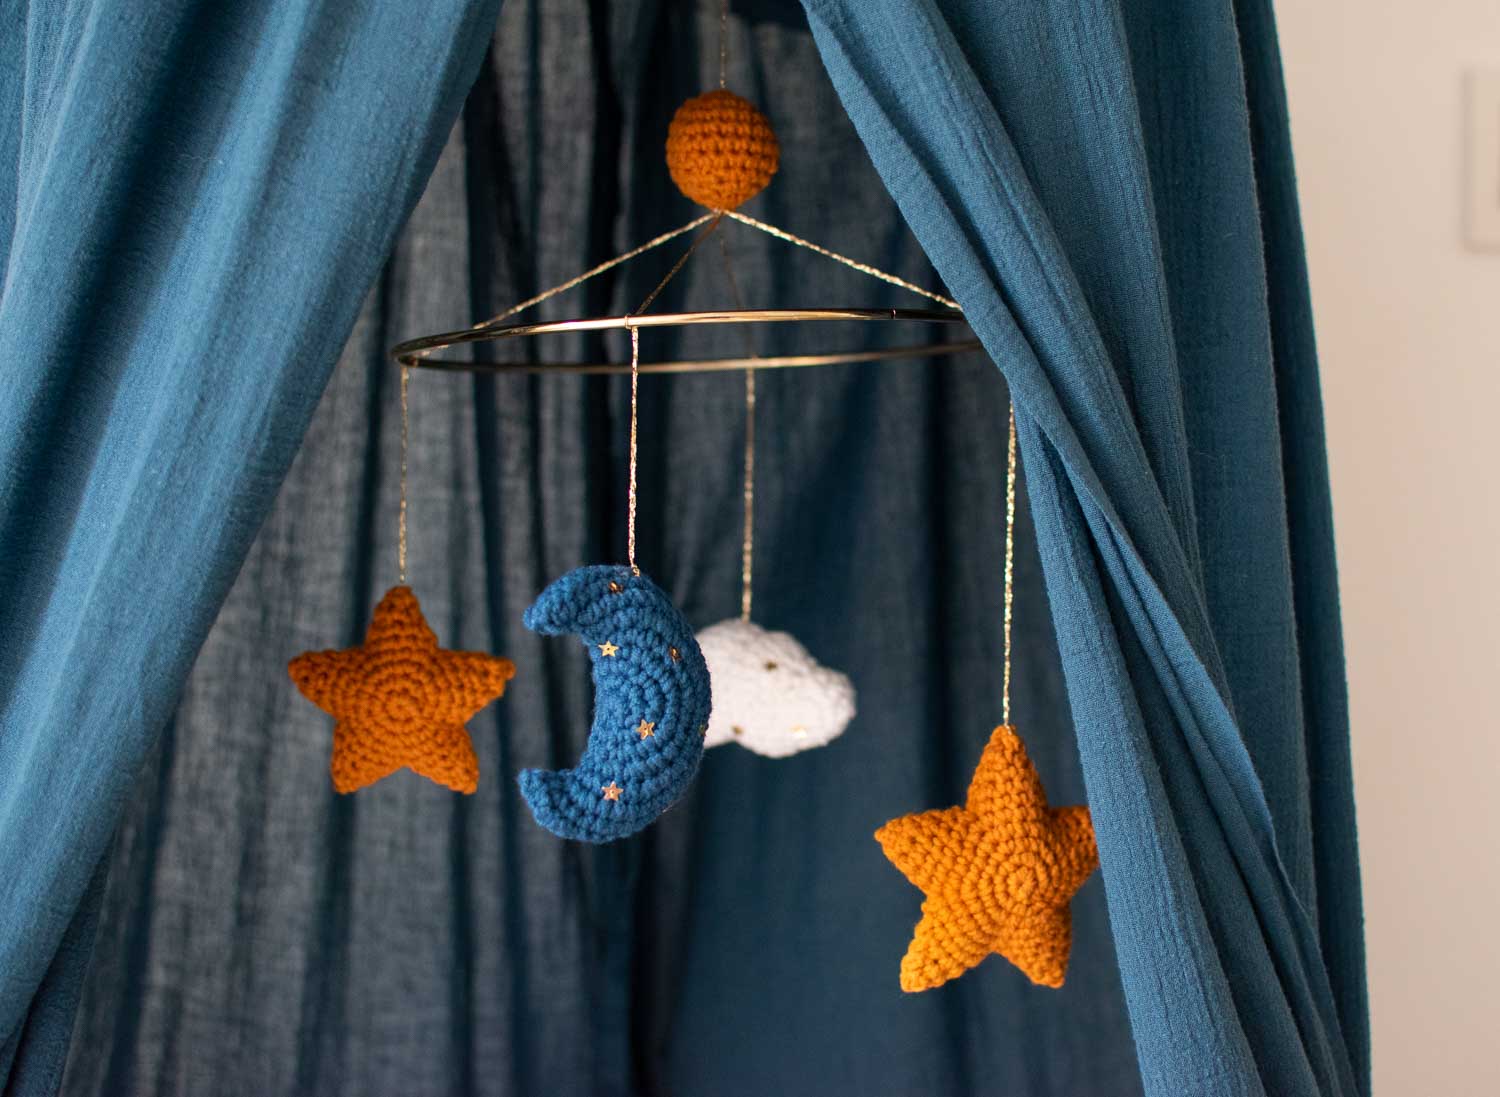
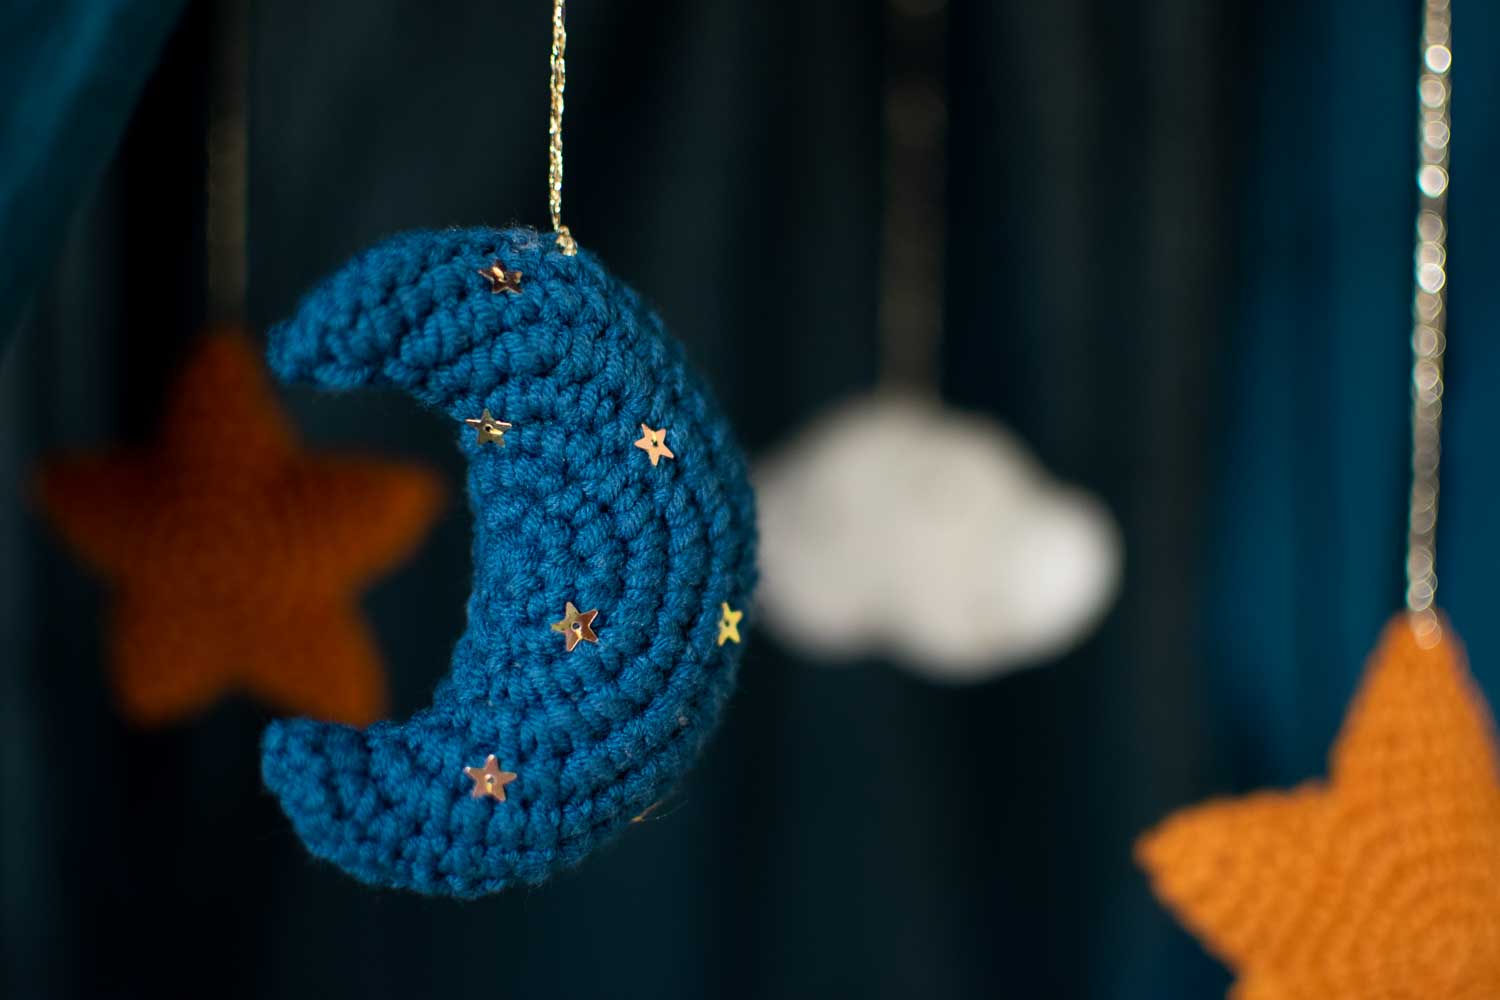
It’s been a while that I wanted to make a baby mobile with a sea theme, so I started working on this cutie. Actually I already had ideas of the final mobile assembly before making the whale, and then I got caught up in the details and figured it could also just make a cute amigurumi toy by itself. So I’ll make another post with different options of mobiles including this baby whale amigurumi, and for now I’m just sharing this pattern for you guys!
BEFORE YOU START
- Purchase the ad-free printable pdf on Etsy here.
- Add this pattern to your Ravelry queue here.
- Pin this polar bear pattern to your Pinterest boards here.
MATERIAL
- 2.5mm crochet hook
- Yarn:
- Scheepjes Stone Washed 805 Blue Apatite
- DMC Cotton Perle N°8 shade 310 (black) to embroider the mouth
- DMC Happy Cotton: shades #794 (mustard yellow) and #761 (off-white) for the crown and the belly. This yarn is a #3 /DK-light 100% cotton, and I use the 2.5mm hook.
- Tapestry needle
- Fiberfill
- Stitch marker or a strand of thinner yarn
- A pair of 8mm safety eyes
- Ball point pins for assembly
LEVEL
Beginners.
GAUGE AND SIZE
With the above material: 5-round circle = 5cm (2″). Find out how to measure gauge for amigurumis in my tutorial here.
With the material mentioned above and when gauge is achieved:
- The whale is 12cm long (4.7″) and 6cm high without the crown (2.3″)
- The crown is 2cm high (0.8″)
PATTERN NOTES AND SPECIAL TECHNIQUES
-
The number before the abbreviation represents how many times to work one type of stitch into consecutive stitches from the previous round (unless stated otherwise). Ex: 3inc = work one increase into each of the next 3 stitches.
-
This pattern is worked in continuous spiral rounds (i.e. without closing the rounds with a slip stitch) unless stated otherwise. It may help to mark the first stitch of each round with a stitch marker.
-
For amigurumi in general, I always use an invisible decrease (unless stated otherwise) to minimize the gaps between these stitches so that the fiberfill doesn’t show too much. You can check this simple technique in a video tutorial here, but if it’s too much hassle and you prefer to start right away you can also work with normal decrease, no big deal!
STITCHES AND ABBREVIATIONS (US CROCHET TERMS)
st: stitch/es
sc: single crochet
sl st: slip stitch
inc: single crochet increase (work 2 sc into the same st)
dec: single crochet decrease (single crochet two stitches together)
[number]: total number of stitches of the round
Rnd: round
(…) x 2: repeat whatever is in between the parenthesis the number of times indicated
BABY WHALE AMIGURUMI PATTERN
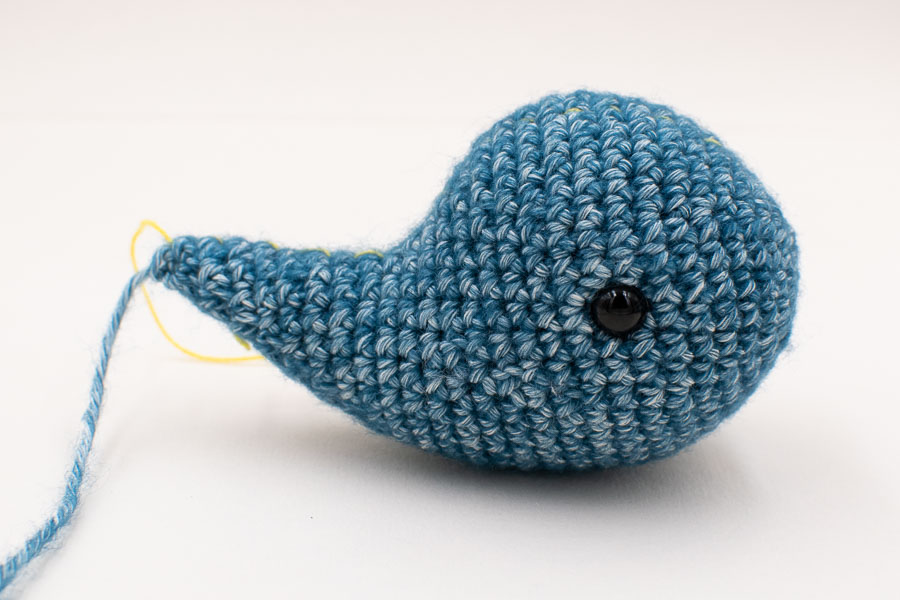
THE BODY
With blue yarn.
Rnd 1: work 6sc into a magic ring. [6]
Rnd 2: 6inc. [12]
Rnd 3: (sc, inc) x 6. [18]
Rnd 4: (2sc, inc) x 6. [24]
Rnd 5: (3sc, inc) x 6. [30]
Rnd 6: sc around. [30]
Rnd 7: (4sc, inc) x 6. [36]
Rnd 8: sc around. [36]
Rnd 9: (5sc, inc) x 6. [42]
Rnd 10 – 12: (mark the first stitch of round 10 with a stitch marker or a strand of thinner yarn, it will help you to place the eyes later on) sc around. [42]
Rnd 13: (5sc, dec) x 6. [36]
Rnd 14: sc around. [36]
Rnd 15: (4sc, dec) x 6. [30]
Rnd 16: 2dec, 22sc, 2dec. [26]
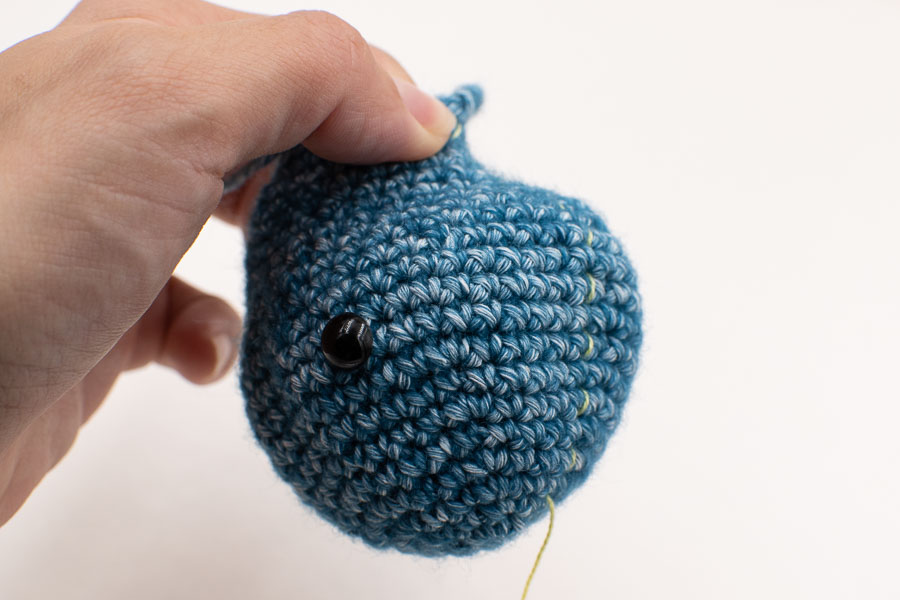
Insert one safety eye between round 10 and 11, 9 stitches after the first stitch of round 10. Insert the second safety eye on the other side, also between round 10 and 11, 11 stitches before the last stitch of round 10.
Rnd 17: dec, 4sc, dec, 10sc, dec, 4sc, dec. [22]
Start stuffing.
Rnd 18: sc around.[22]
Rnd 19: dec, 9sc, dec, 9sc. [20]
Rnd 20: (dec, 8sc) x 2. [18]
Rnd 21: inc, 6sc, 2dec, 6sc, inc. [18]
Rnd 22: 7sc, 2dec, 7sc. [16]
Rnd 23: inc, 5sc, 2dec, 5sc, inc. [16]
Rnd 24: inc, sc, dec, 2sc, 2dec, 2sc, dec, sc, inc. [14]
Keep stuffing along the way.
Rnd 25: inc, sc, dec, sc, 2dec, sc, dec, sc, inc. [12]
Rnd 26: inc, dec, sc, 2dec, sc, dec, inc. [10]
Rnd 27: inc, 4dec, inc. [8]
Fasten off, finish stuffing and sew closed, weave the yarn tail inside.
THE BELLY
With off-white yarn.
Rnd 1: Work 6sc into a magic ring. [6]
Rnd 2: inc in each. [12]
Rnd 3: (sc, inc) x 6. [18]
Rnd 4: (2sc, inc) x 6. [24]
Rnd 5: (3sc, inc) x 6. [30]
Rnd 6: (2sc, inc, 2sc) x 6. [36]
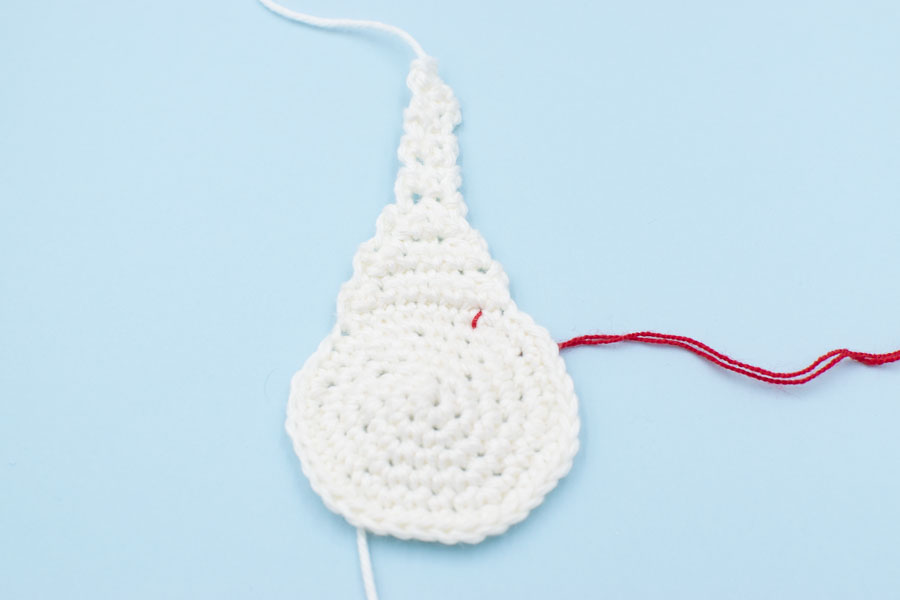
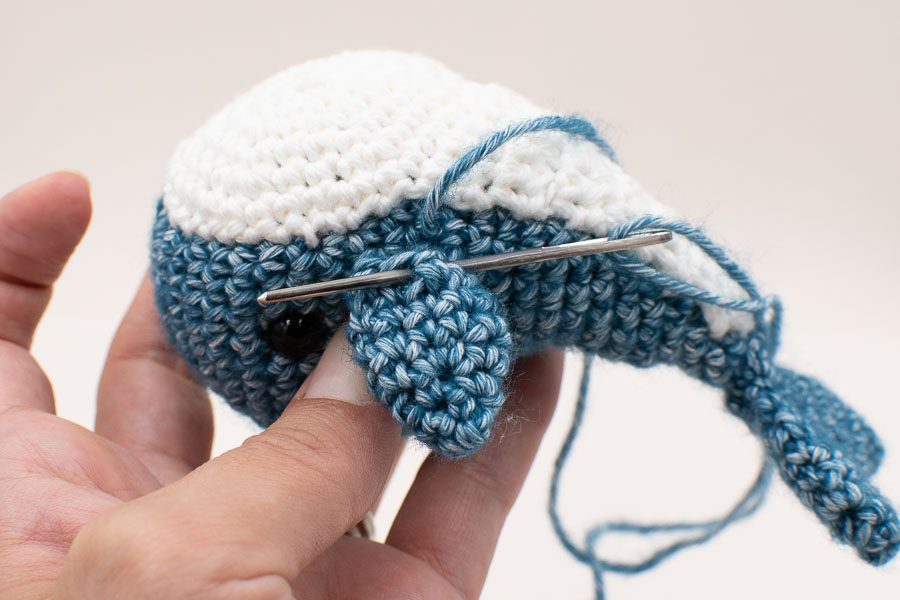
The next part of the belly is worked in rows with a turning chain at the end of each row, this chain doesn’t count as a stitch. Since we are working in rows, the decreases are standard decreases (and not invisible decreases).
The red thread of yarn on the pictures indicates the first stitch of row 7: as you can notice, row 8 goes 1 stitch beyond this stitch marker.
Row 7: 7sc, chain 1, turn. [7]
Row 8: dec, 6sc, chain 1, turn. [7]
Row 9: dec, 5 sc, chain 1, turn. [6]
Row 10: dec, 4sc, chain 1, turn. [5]
Row 11: dec, 3sc, chain 1, turn. [4]
Row 12: dec, 2sc, chain 1, turn. [3]
Row 13: dec, sc, chain 1, turn. [2]
Row 14 – 19: 2sc, chain 1, turn. [2]
Row 20: dec. [1]
Fasten off, leave a long tail for sewing to the body (twice the perimeter of the belly).
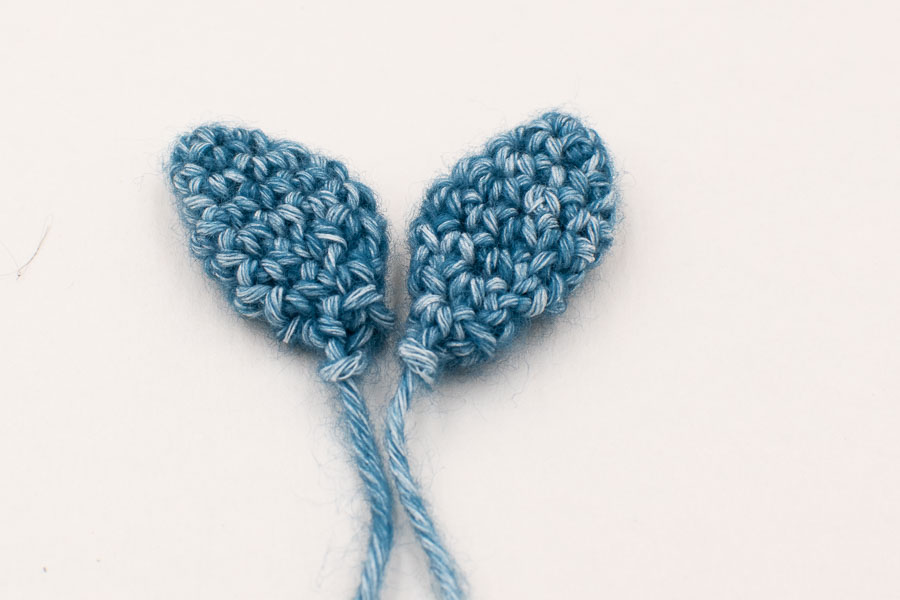
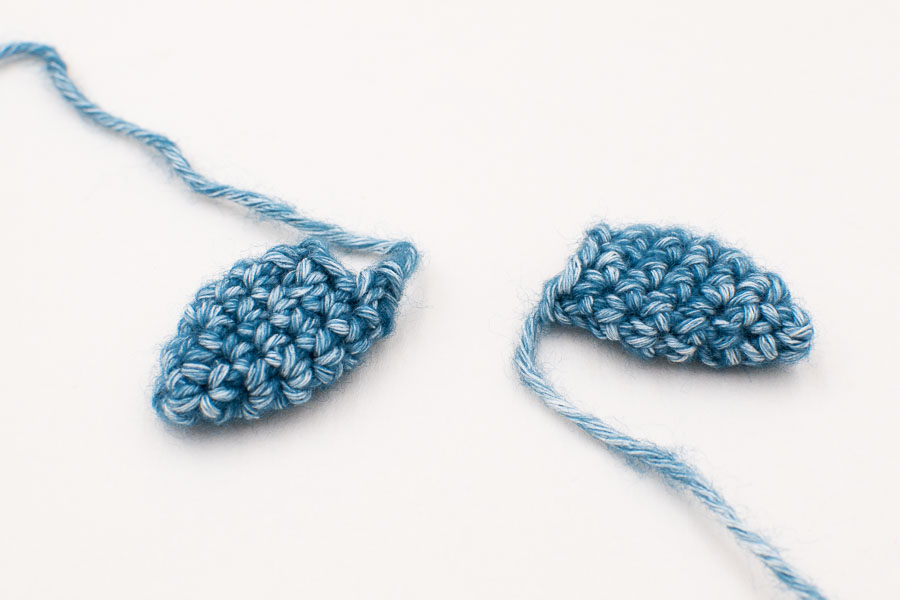
THE TAIL
The tail is formed by two fins sewn together.
Rnd 1: Work 4sc into a magic ring. [4]
Rnd 2: 4sc. [4]
Rnd 3: (inc, sc) x 2. [6]
Rnd 4: (inc, sc) x 3. [9]
Rnd 5 – 6 : sc around. [9]
Rnd 7: (dec, sc) x 3. [6]
Rnd 8: (dec, sc) x 2. [4]
Fasten off, don’t stuff, flatten, and leave a tail. Make a second one. You’ll use one yarn end to sew the two fins together, and the second one to sew to the body.
Assemble the two fins together to shape the tail.
THE FINS (make 2)
Rnd 1: Work 4sc into a magic ring. [4]
Rnd 2: 4sc. [4]
Rnd 3: (inc, sc) x 2. [6]
Rnd 4: (inc, sc) x 3. [9]
Rnd 5 – 6: sc around. [9]
Rnd 7: (dec, sc) x 3. [6]
Fasten off, don’t stuff, and leave a tail for sewing to the body. Make a second one.
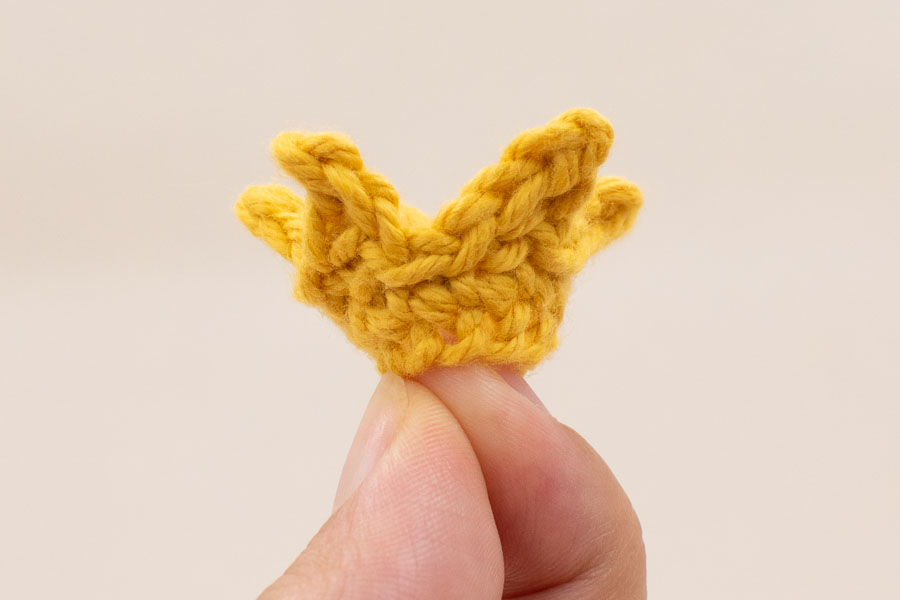
THE CROWN
Make a slip knot. Chain 10. Slip stitch to the first chain to join.
Row 1: sc in each st around (start in the next available stitch and make the last sc in the sl st). [10]
Row 2: (sl st, chain 3, sl st in 2nd chain from the hook, sc in the next chain, sl st in next available stitch) x 5.
At the end of this row you should have a 5 pointed crown.
Fasten off, leaving a tail for sewing. Thread your tapestry needle with the tail, and insert it under the back loop of the next stitch, then weave it on the inside of the crown, and use it to sew the crown to the body after you’ve pinned it in place.
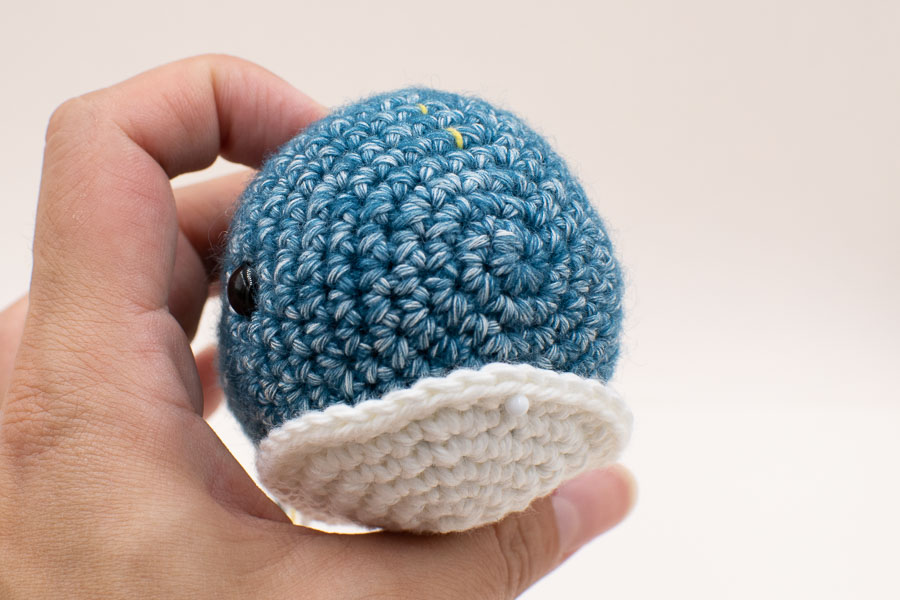
ASSEMBLY
Before starting sewing, I strongly recommend to pin all pieces together to have a first view of the final result. It’s quite hard to estimate where one piece should go when the other ones are not yet assembled. It’s a bit messy because all the tails of the different parts will be hanging, but it might save you disappointment and frustration: once a piece is sewn, it’s difficult to unstitch if you find it too low or to high.
Be careful not to prick yourself with the pins as the pins might go through or be just under the surface. When you start sewing, you can remove the other pieces, and you’ll pin them back at the right place easily later, now that you’ve seen where everything should go.
-
Sew the tail to the body.
-
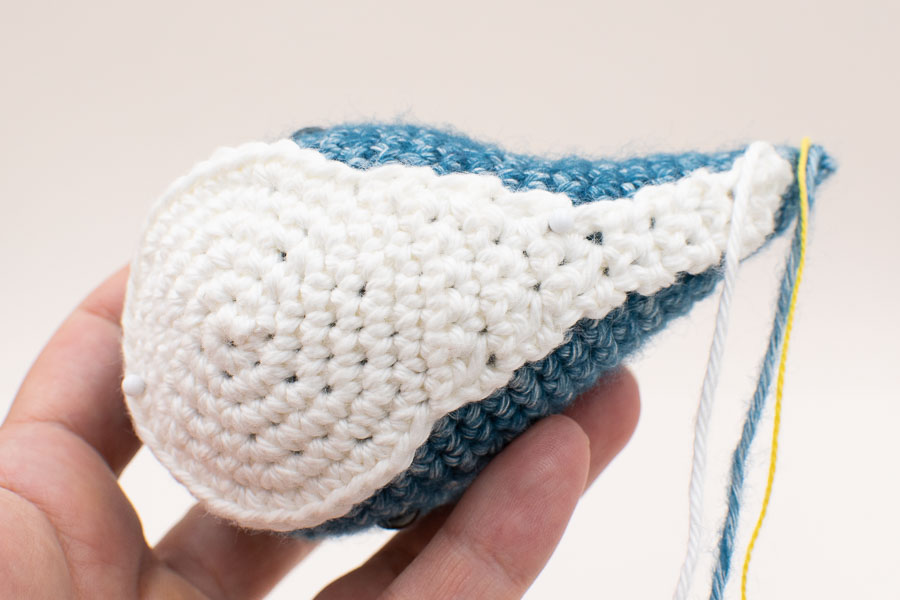
Sew the belly to the body: position the white round part after round 3 of the body, and approximately 3-4 stitches away from the eyes on each side.
-
Sew the fins to the body: make them flat, and the front of the fins should be sewn between round 12 and 13 of the body (so 2 rounds behind the eyes), approximately one row above the belly.
-
Sew the crown to the head, I like it slightly leaning on one side but it’s up to you!
- Embroider the mouth between round 3 and 4, with a lenght of approximately 6 stitches of round 3 (but that’s really up to your liking!)
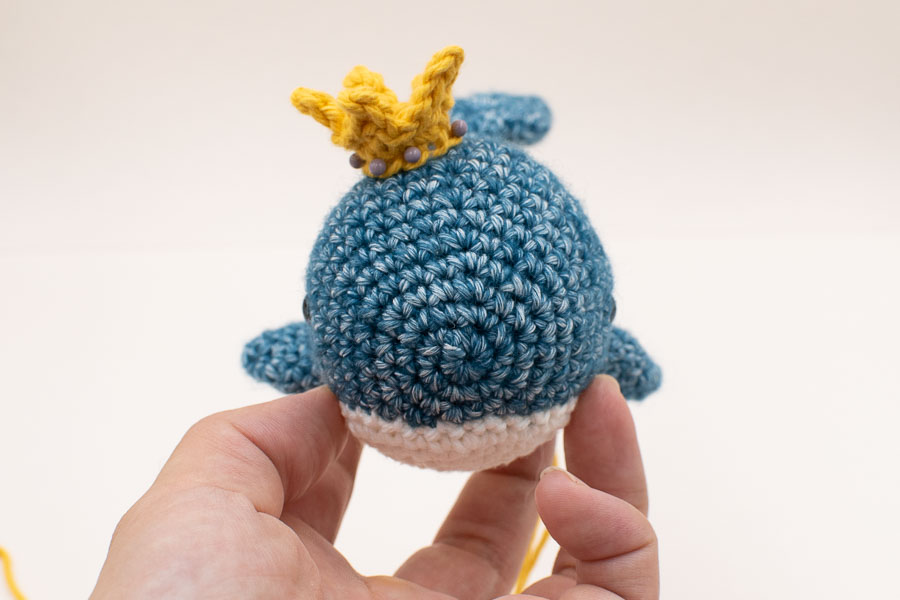
And you’re done! Congratulations! Now you can just leave it this way or use it in a baby mobile!
Let’s connect on Instagram !
I’d be really happy to see your finished whale! Tag me on Instagram, you can find me as @octopuscrochetdesign and use the hashtag #octopuscrochetdesign
I look forward to seeing it!