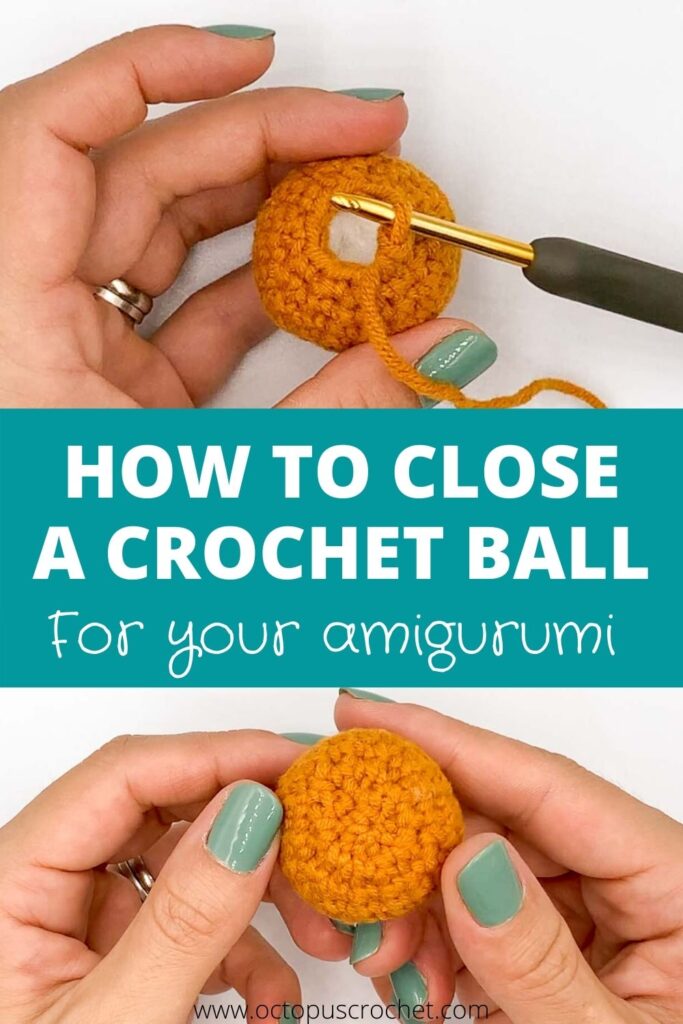
You’ve started an amigurumi projects, you’ve been through all the techniques, magic ring, increase, decrease, you’ve done the head of your amigurumi, you’re almost there and just after the last round, the pattern states: fasten off and “sew closed”. What do you mean “sew closed”? In this tutorial I’ll show you how to close a crochet ball for your amigurumi projects. It’s a basic for beginners, but doing it properly makes a difference in your finishing touches, and when you’ve spent time to crochet a certain shape, you don’t want to mess it up at the last step!
No time right now? Pin this tutorial for later.
BEFORE YOU START
MATERIAL
At this point you have probably already made a ball with the material indicated in your pattern, and you just want to close it, so it doesn’t really matter which yarn, hook or color you’re using.
So you’ll just need:
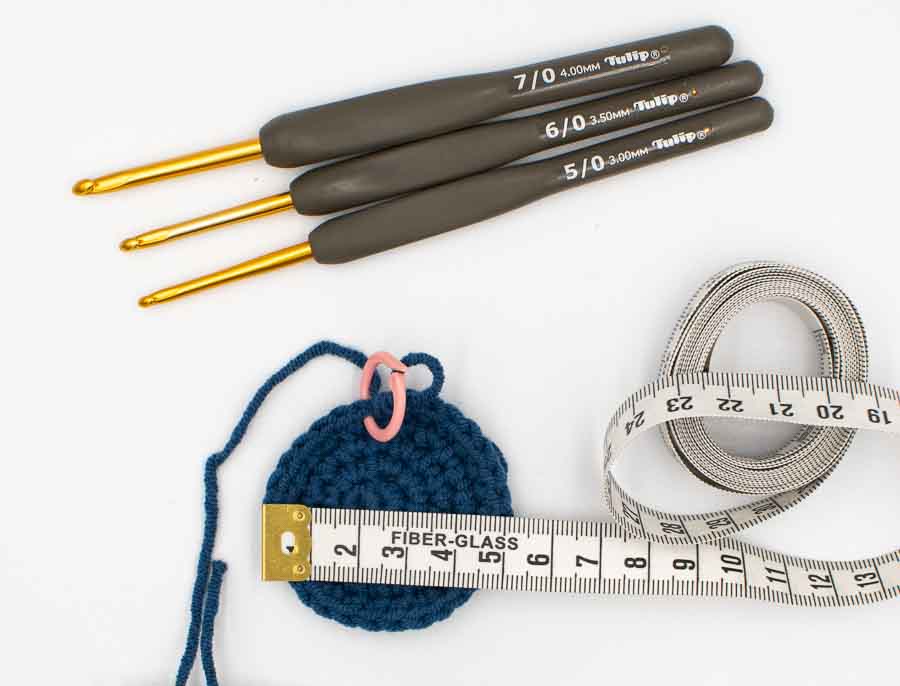
- A tapestry needle
- Fiberfill: if you haven’t filled the ball yet, don’t forget to do it before closing.
VIDEO TUTORIAL
This is an explicative video to show you how to sew closed a ball. I’ve also made a step by step tutorial with pictures below, if it makes it easier for you.
STEP BY STEP TUTORIAL
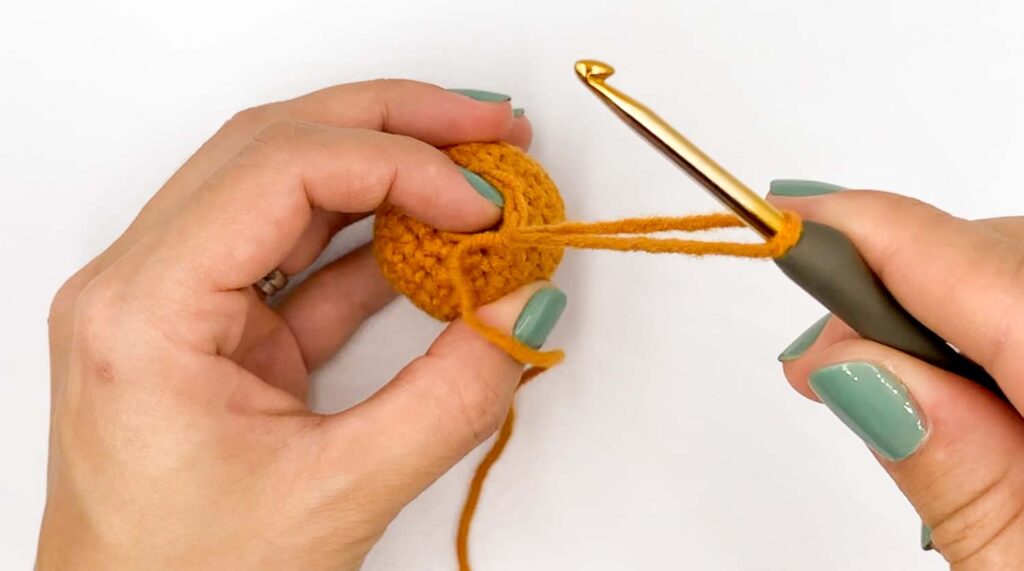
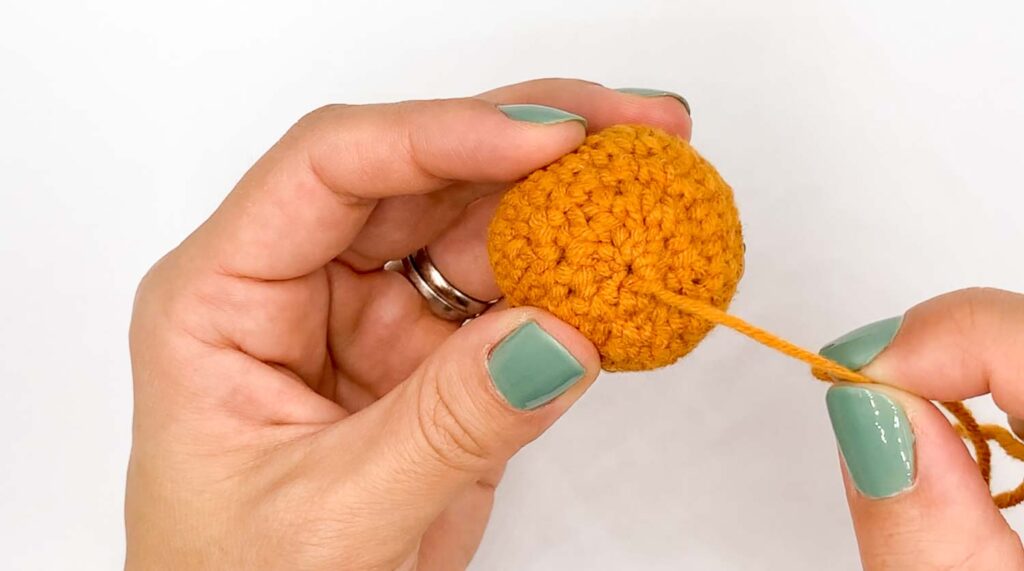
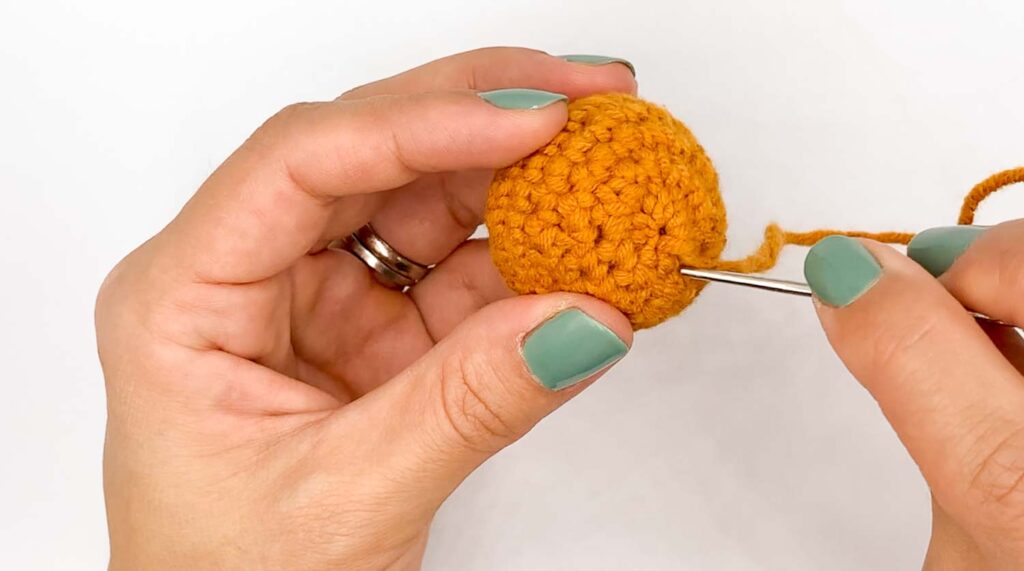
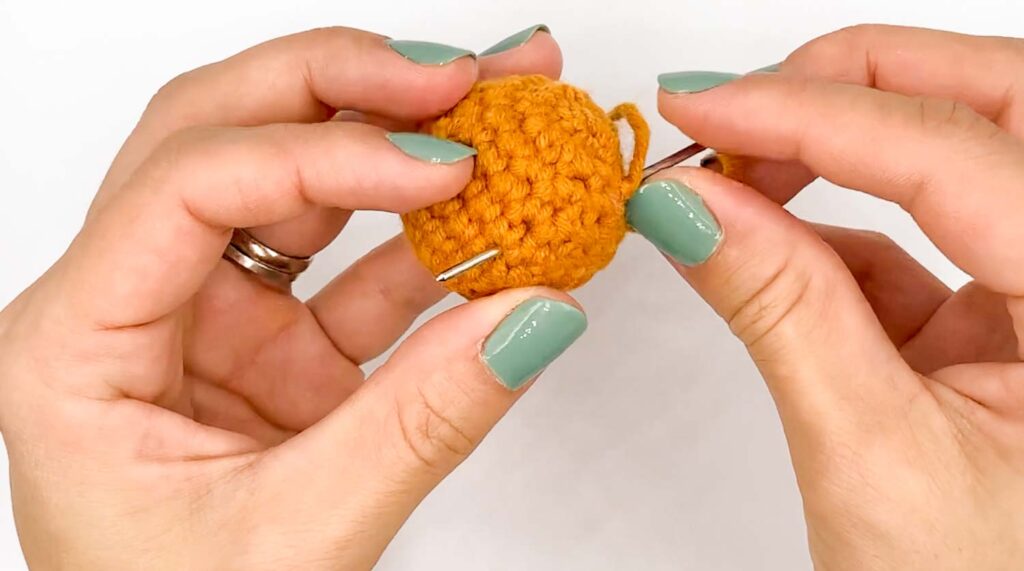
Cut your yarn, leaving a 10cm thread. Pull the thread through your last stitch. Thread your tapestry needle. Insert your tapestry needle from inside to outside under the front loop only of the next stitch.
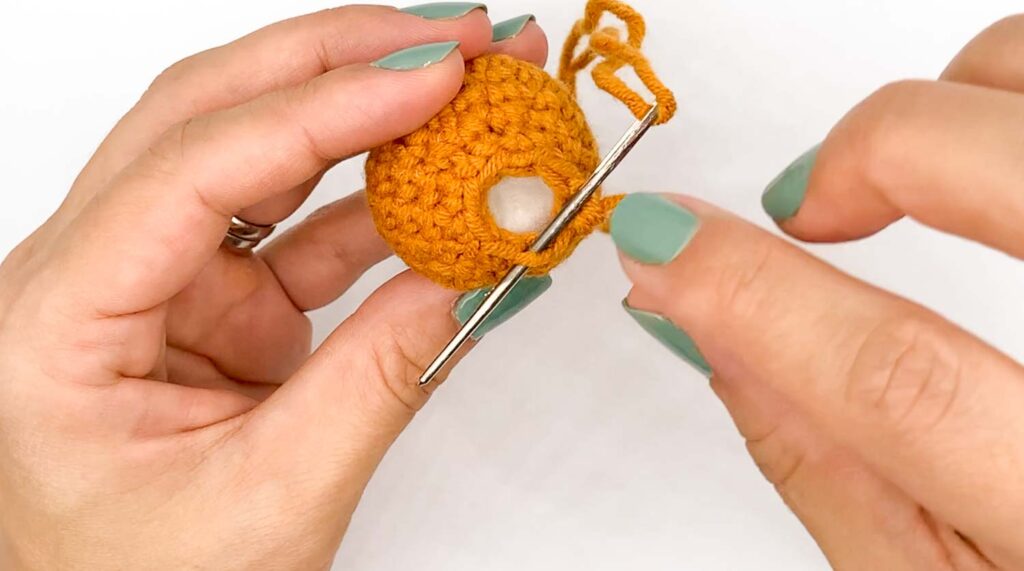
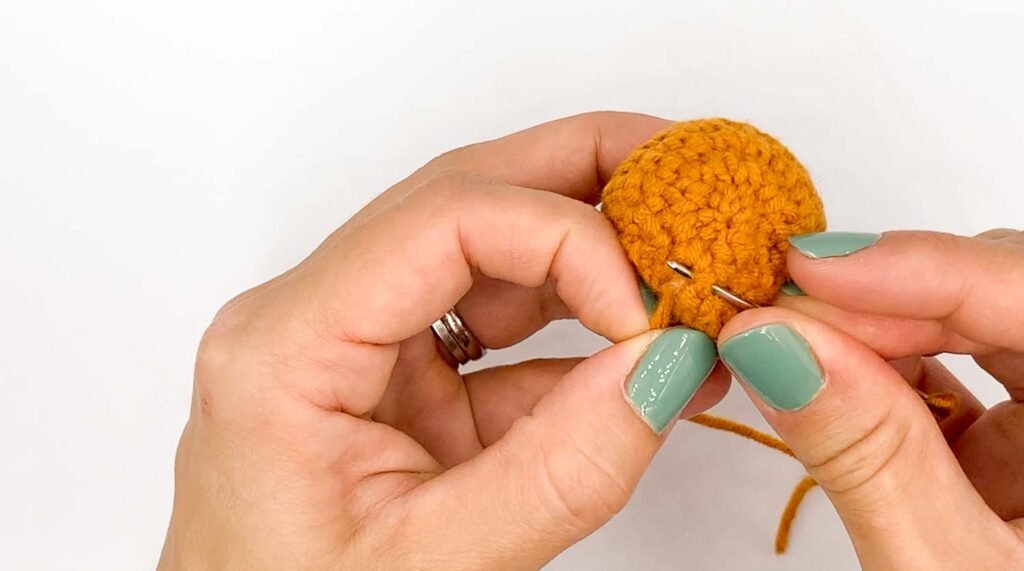
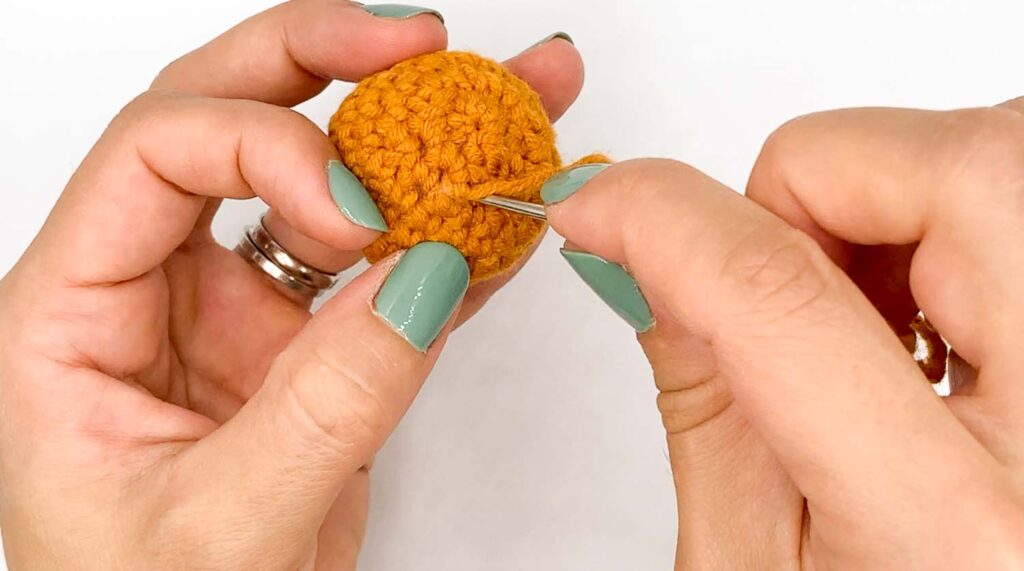
Repeat all over the last round: insert your tapestry needle from inside to outside under the front loop only of the next stitch. Once you arrive at the ned of the round, pull the yarn thread tight, towards the side (avoid pulling it up, otherwise it makes a little bump, you want the bottom of your ball to remain flat).
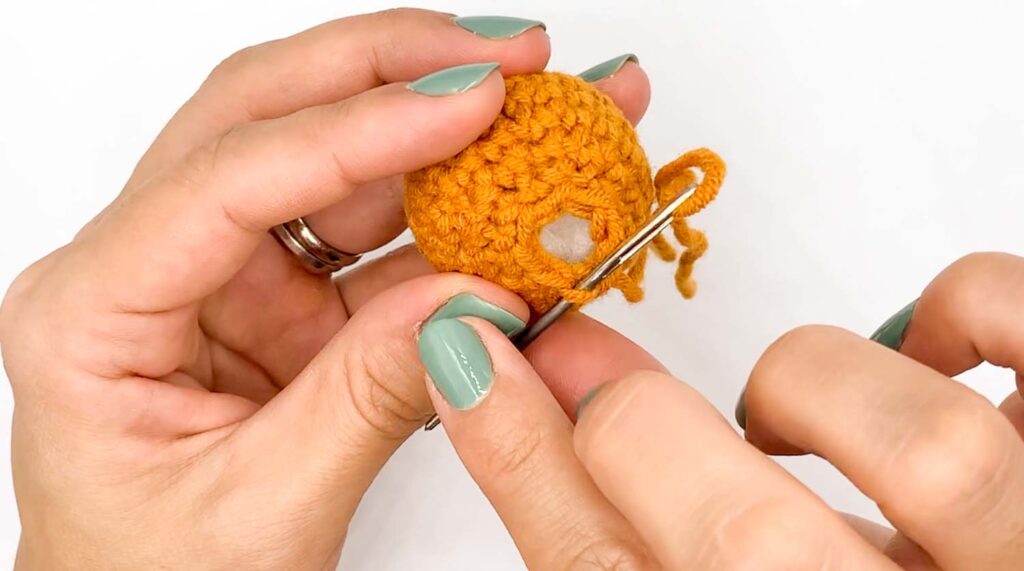
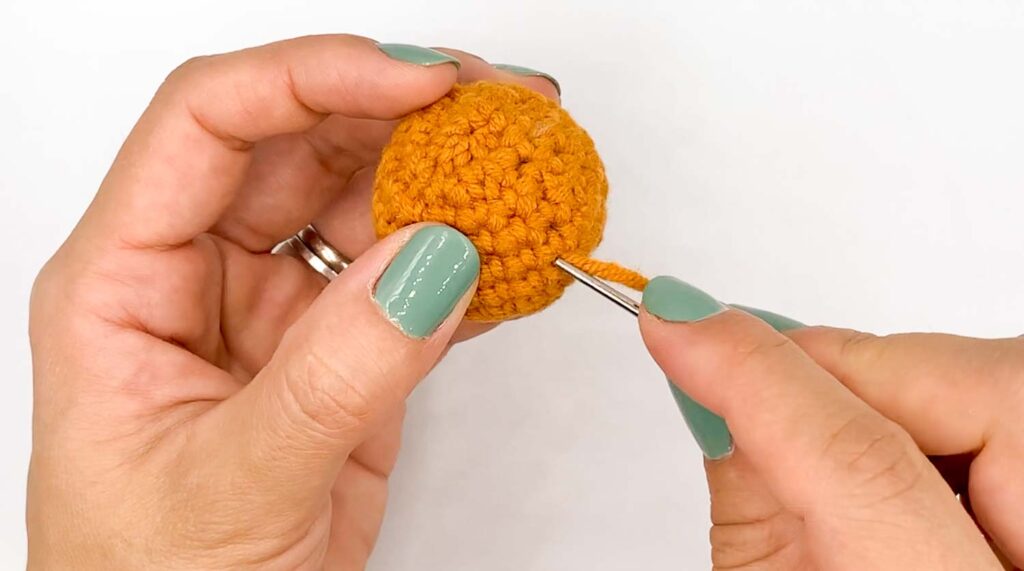
Flatten the ball with your fingers a little bit to shape this bottom nicely. Then insert your needle in the closest hole you can find, it doesn’t really mater which one (just avoid the center one).
Exit the ball with your needle somewhere nearby, and make a simple knot. Once you have made the knot, insert your needle back into the ball, right next to the knot to make it disappear inside the ball.
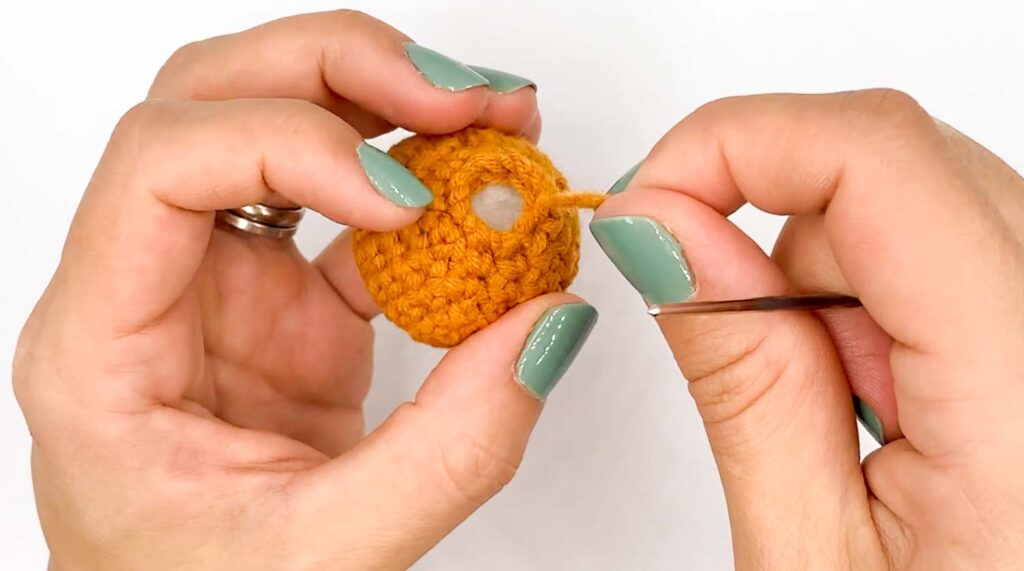
You can exit the ball anywhere. And if you really want to secure it, you can insert your needle back into the ball again, exactly where you just exited, go through the ball again randomly.
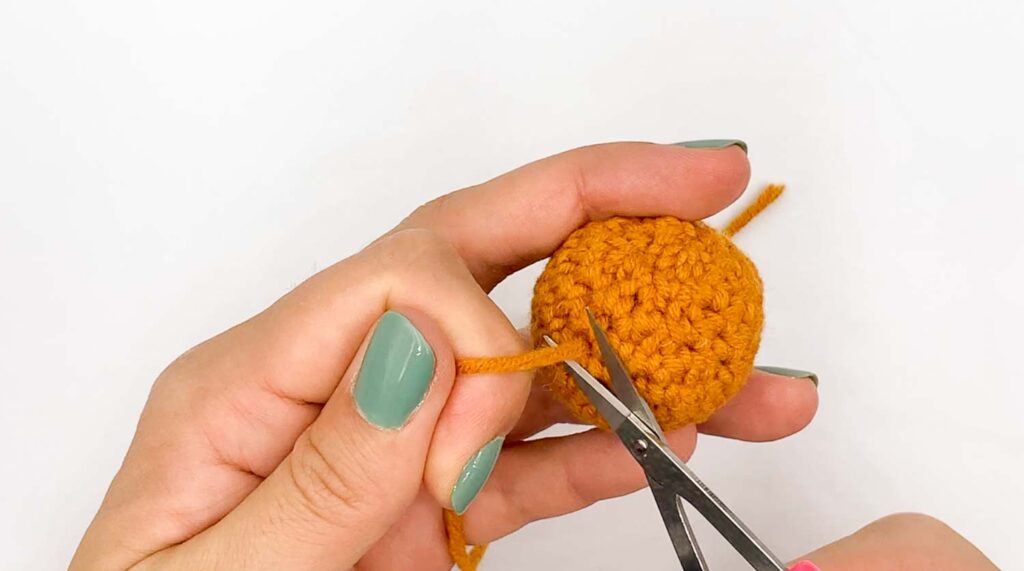
Cut the yarn very close to the edge, and squeeze the ball to make the yarn end disappear inside. Squeeze the ball a few more times to give it a perfect round shape.
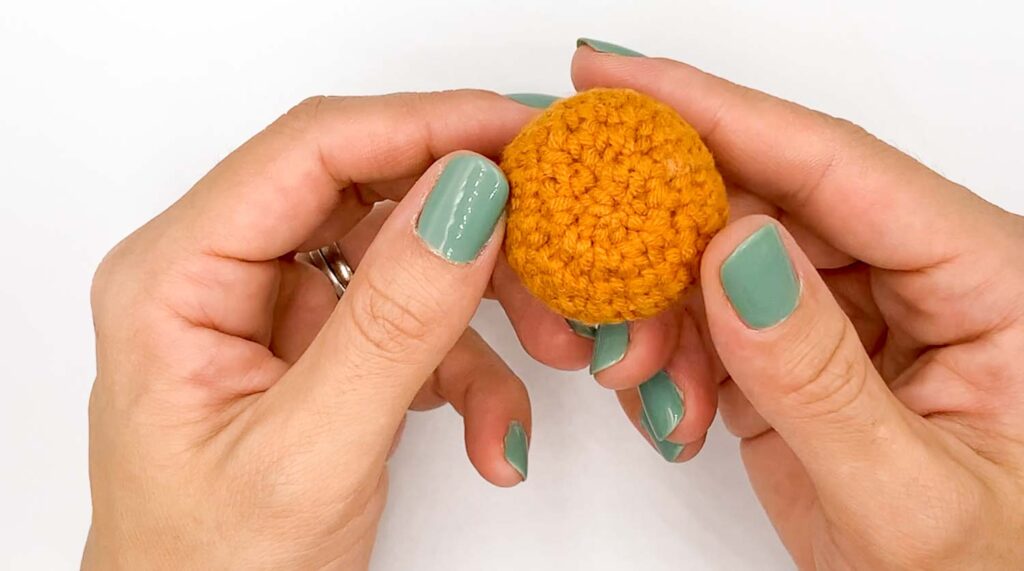
And you’re done! Congratulations!
If you liked this tutorial don’t hesitate to share it with your crochet friends, and you can find more on my blog here.