Sharing is caring!
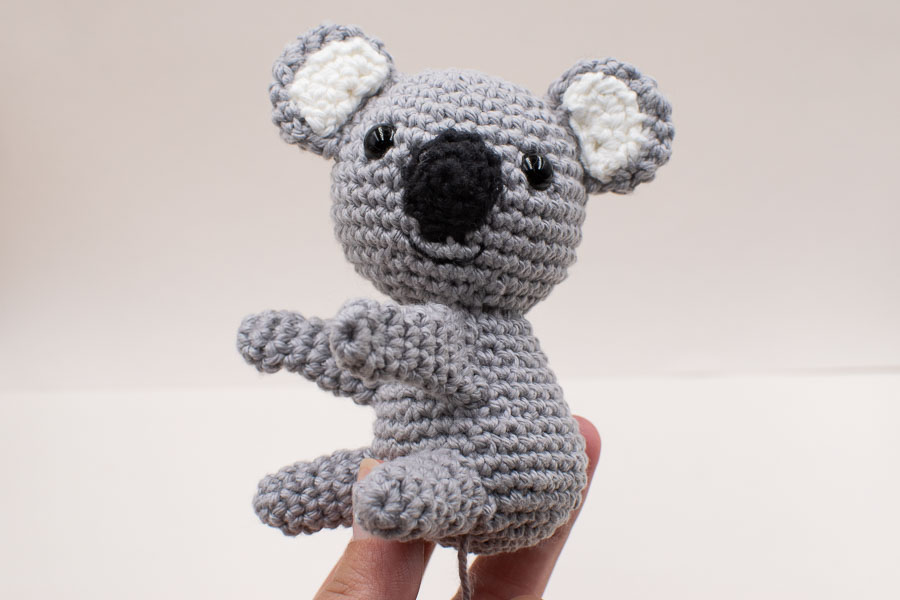
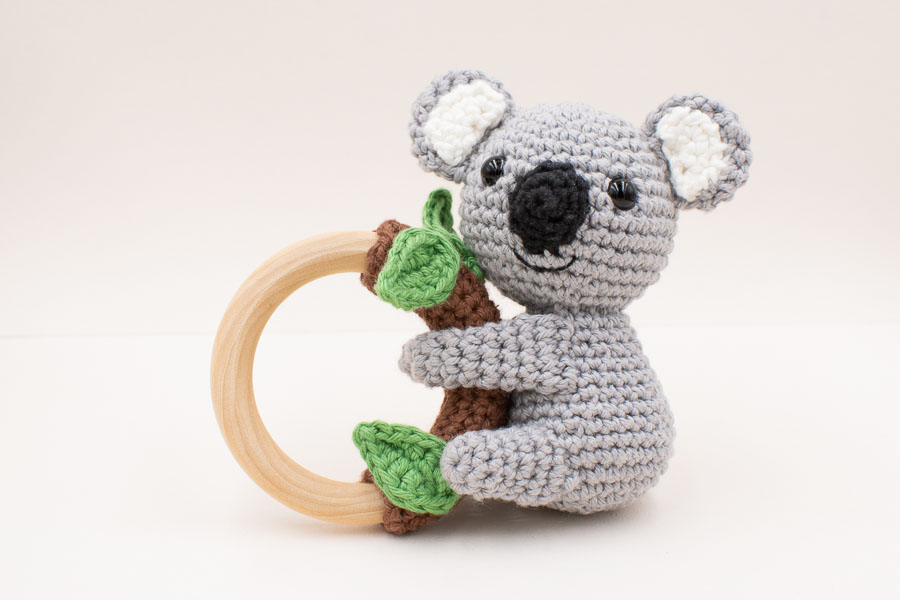
Cool thing about being a designer and a mom, is that all my mommy-friends ask me crochet items for their upcoming babies! So I get direct insights and new ideas directly from the source. The uncool thing is that I have to actually give them the item once it’s done, and you know how much I have a hard time separating from anything I made. Which is why “designer” is a better fit for me than “maker” ! Anyway this Koala was an order from a friend. That’s how I came up with Louis the Koala baby rattle crochet pattern.
Read about my inspiration below, then you can purchase the pdf to get all the step-by-step pictures or scroll down for the free version.
No time right now? Pin this crochet pattern for later.
*This blog contains affiliate links for products I use, believe in or recommend. This means I will earn a small commission if you make a purchase from one of these links, and of course it is at no extra cost for you. It helps me to keep Octopus Crochet going and to keep publishing new free patterns and tutorials for you to enjoy, so thank you! You can check my full disclosure here.
If you prefer to purchase an inexpensive add-free pdf version of this pattern I’ve got you covered. The premium pdf version has all the instructions, more step by step pictures, no ad, and it’s ready-to-print for you to carry around everywhere you can crochet and are not in front of a laptop. Louis the Koala baby rattle crochet pattern is available in my shop on Etsy.
So my friend had a very precise idea of what she wanted and sent me a picture: can you make that? But it was a knitted koala, and I didn’t really like it, I found it lacked some cuteness and details… So I just created my own version, praying she would like it!!!
For the yarn I had to use a classic amigurumi type of yarn, because it had to be quite small to fit on a baby rattle. I really like the DMC Happy Cotton balls, I love the soft cotton feeling and the colours.
Scroll down for the free patterns links below or you can also directly purchase a nice add-free pdf version of this project in my shop on Etsy for a small fee. The pdf version has all the pictures, instructions, and it’s ready-to-print to carry along with you wherever you want to sit and crochet!
Tapestry needle
Fiberfill
Stitch marker or a strand of thinner yarn.
A pair of 8mm safety eyes
Ball point pins for assembly
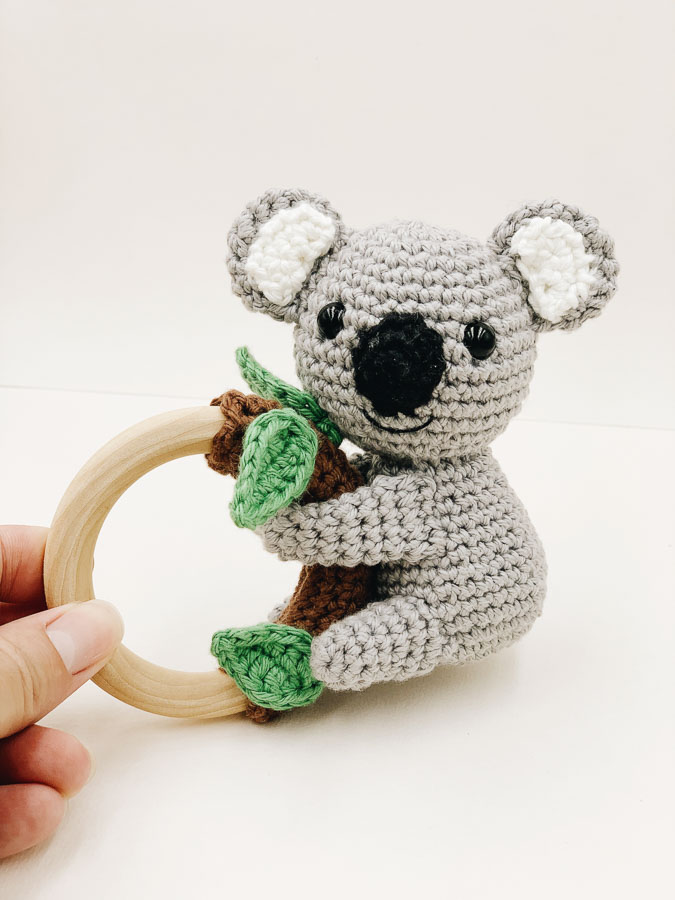
Wooden teething ring (7cm/2,75″ total diameter, or bigger)
Adventurous beginners to intermediate.
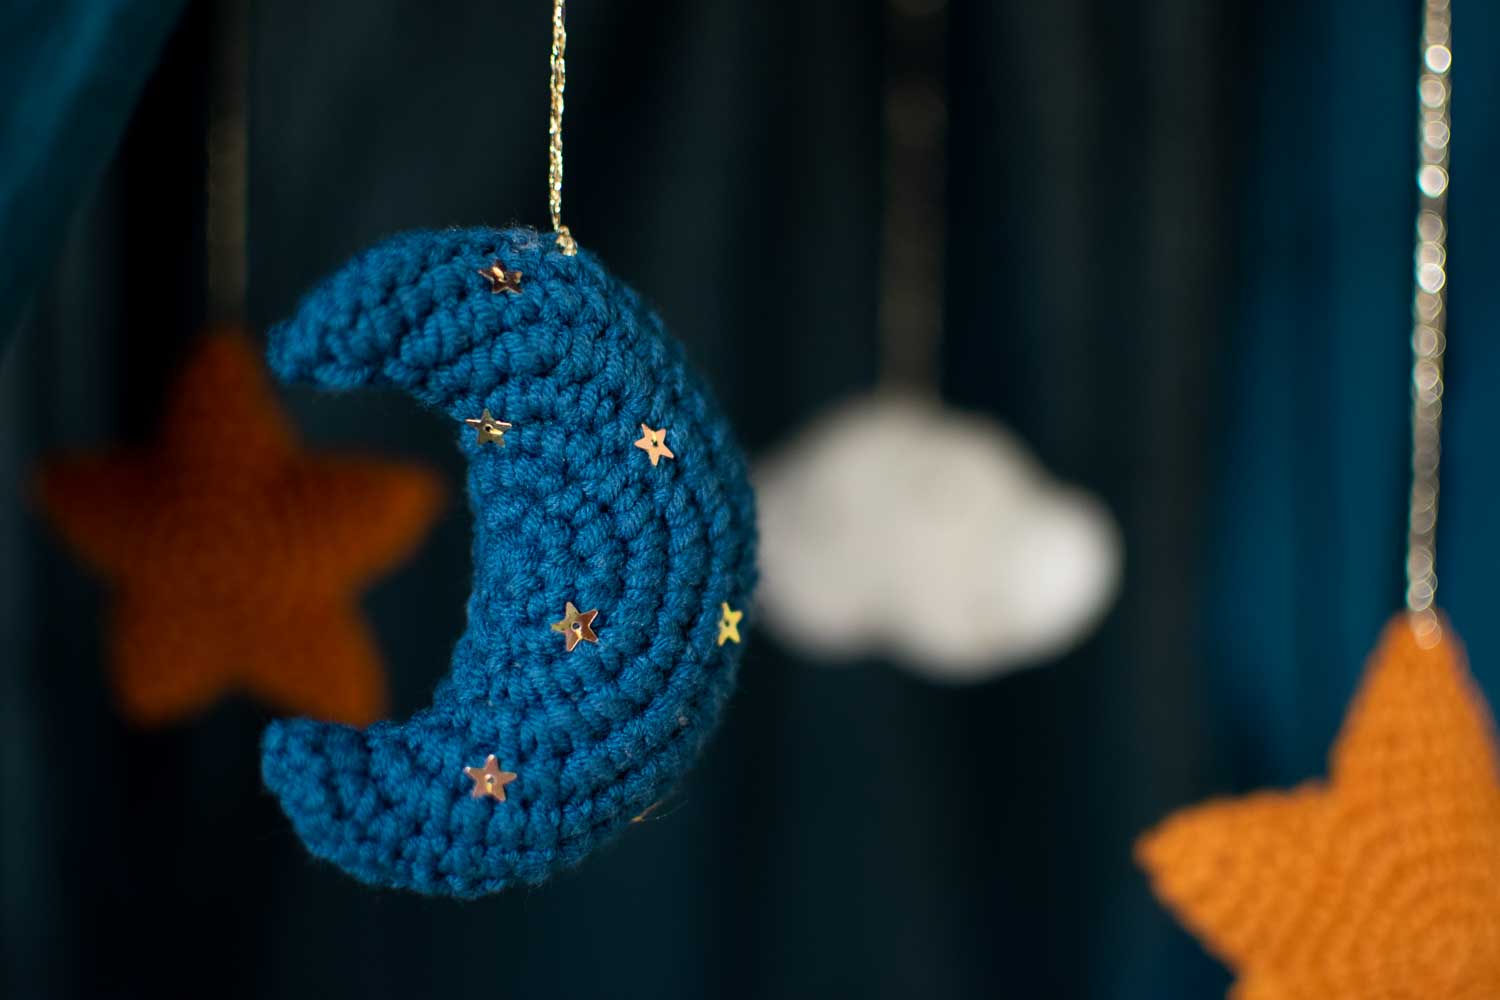
Gauge for the moon with the above material: 5-round circle = 4cm (1.6″).
Find out how to measure gauge for amigurumis in my tutorial here.
With the material mentioned above and when gauge is achieved:
The koala is 11 cm tall (4.3″)
st: stitch/es
sc: single crochet
sl st: slip stitch
inc: single crochet increase (work 2 sc into the same st)
dec: single crochet decrease (single crochet two stitches together).
hdc: half double crochet
[number]: total number of stitches of the round (or row)
Rnd: round
(…) x 2: repeat whatever is in between the parenthesis the number of times indicated
With grey yarn.
Rnd 1: work 6sc into a magic ring. [6]
Rnd 2: 6inc. [12]
Rnd 3: (sc, inc) x 6. [18]
Rnd 4: (2sc, inc) x 6. [24]
Rnd 5: sc around. [24]
Rnd 6: (3sc, inc) x 6. [30]
Rnd 7: sc around. [30]
Rnd 8: (4sc, inc) x 6. [36]
Rnd 9-13: sc around. [36]
Rnd 14: (4sc, dec) x 6. [30]
Rnd 15: (3sc, dec) x 6. [24]
Insert safety eyes between round 8 and 9 with 7 stitches between the 2 eyes.
Rnd 16: (2sc, dec) x 6. [18] Start stuffing.
Rnd 17: (sc, dec) x 6. [12]
Rnd 18: 6dec. [6]
Fasten off, finish stuffing and sew closed.
With black yarn.
Rnd 1: work 4sc into a magic ring. [4]
Rnd 2: 4inc. [8]
Rnd 3: inc, 2sc, 2sl st, 2sc, inc. [10]
Fasten off, leave a long tail for sewing, and make an invisible finish.
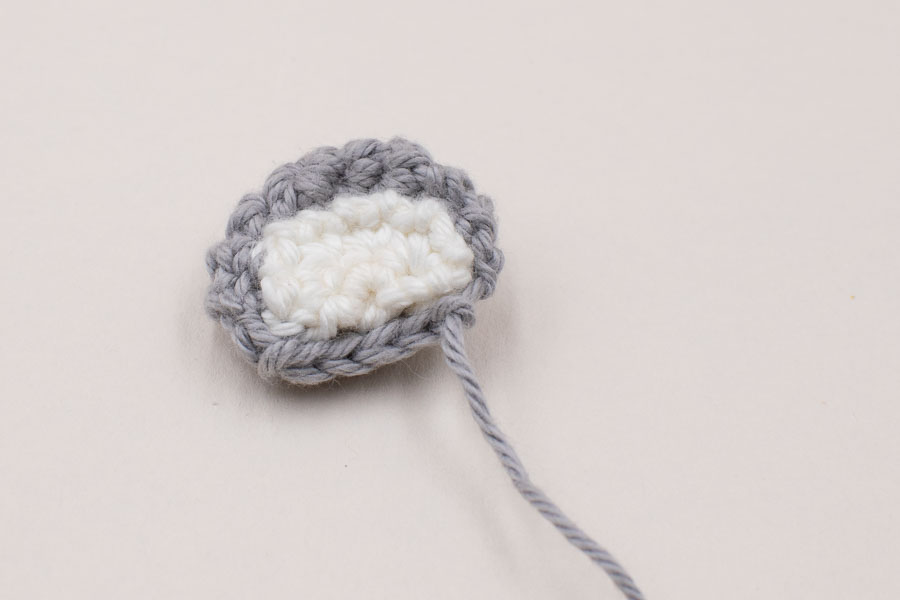
Grey part: with grey yarn
Rnd 1: Work 6sc into a magic ring. [6]
Rnd 2: inc in each. [12]
Rnd 3: (sc, inc) x 6. [18]
Rnd 4: (4sc, dec) x 3. [15]
Rnd 5: (3sc, dec) x 3. [12]
Flatten and crochet both edges together with 5sc.
Fasten off, leave a long tail for sewing.
Inner part with off-white yarn:
This part starts with a magic ring and is worked in rows, the turning chain doesn’t count as a stitch.
Row 1: work 4sc into a magic ring. Tighten up the ring, chain 1, turn. [4]
Row 2: inc in each st around. [8]
Fasten off, leave a long tail for sewing.
Sew the inner ear to the grey part of the ear.
Rnd 1: Work 6sc into a magic ring. [6]
Rnd 2: inc in each. [12]
Rnd 3: (sc, inc) x 6. [18]
Rnd 4: (2sc, inc) x 6. [24]
Rnd 5: (3sc, inc) x 6. [30]
Rnd 6: (2sc, inc, 2sc) x 6. [36]
Rnd 7 – 8: sc around. [36]
Rnd 9: (4sc, dec) x 6. [30]
Rnd 10: sc around.[30]
Rnd 11: (3sc, dec) x 6. [24]
Rnd 12 – 13: sc around. [24]
Start stuffing with fiberfill.
Rnd 14: (2sc, dec) x 6. [18]
Rnd 15 – 16: sc around. [18]
Fasten off, finish stuffing, and leave a long tail to sew to the head later on.
Rnd 1: work 6sc into a magic ring. [6]
Rnd 2 – 4 : sc in each st around. [6]
Rnd 5: (2sc, inc) x 2. [8]
Rnd 6 – 7: sc in each st around. [8]
Rnd 8: (3sc, inc) x 2. [10]
Flatten, don’t stuff, and single crochet both edges together with 4sc.
Fasten off, leave a long tail for sewing. Make a second one.
Rnd 1: work 6sc into a magic ring. [6]
Rnd 2: (inc, 2sc) x 2. [8]
Rnd 3 – 4: sc around. [8]
Rnd 5: (3sc, inc) x 2. [10]
Rnd 6 – 7 : sc around. [10]
Fasten off leaving a long tail for sewing, it’s not absolutely necessary to stuff, it’s up to you. I prefer not to stuff because the toy might be frequently in a baby’s mouth, so whenever I can avoid fiberfill I do.
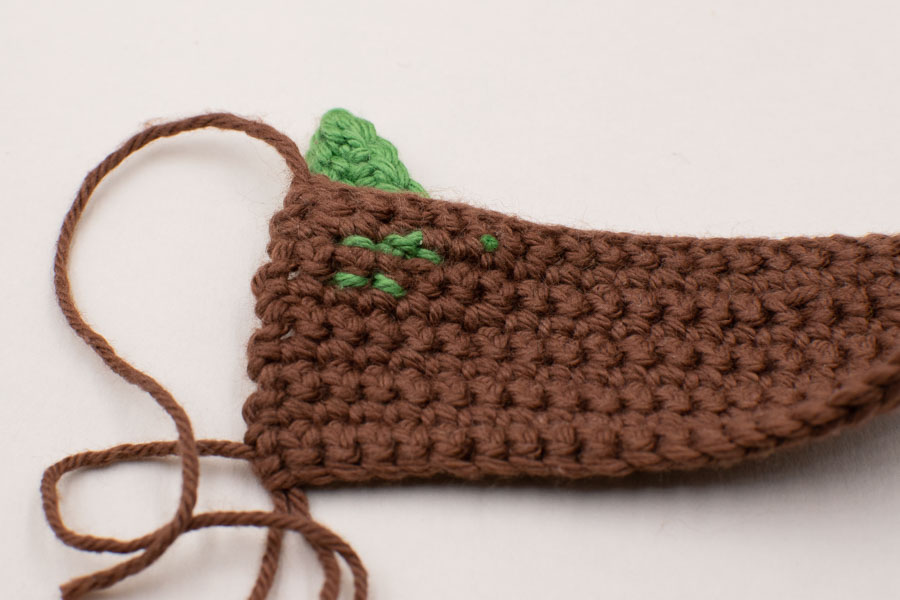
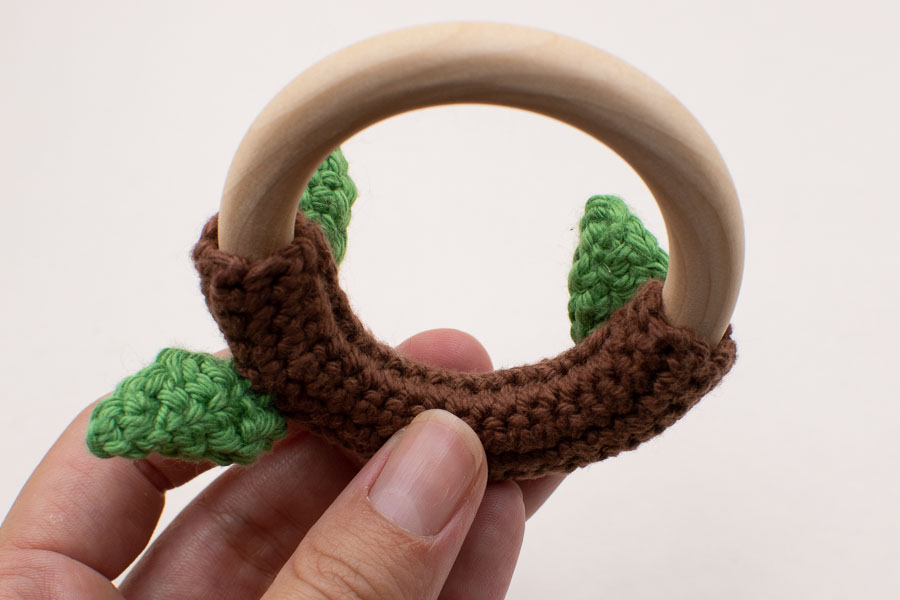
The branch
With brown yarn.
The branch is worked in rows. The turning chain doesn’t count as a stitch.
Adjust the lenght and number or rows to the size of your teething ring.
Make a slip knot, and chain 21.
Row 1: Starting in second chain from the hook, sc across, chain 1, turn. [20]
Row 2 – 9: sc in each st around, chain 1, turn. [20]
Roll your rectangle over your ring to check if you need more rows.
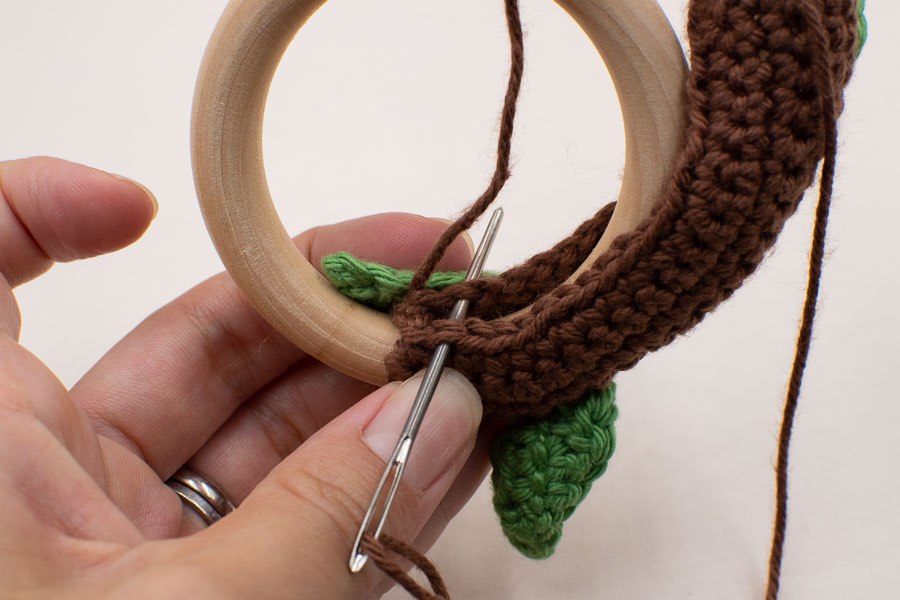
Fasten off, leave a long tail to sew the edges around the ring.
Before sewing it around the ring, make the leaves to be able to attach them to the branch and to hide the yarn tails inside.
The leaves (make 3)
With green yarn. The leaves are worked around the chain.
Make a slip knot, leaving a long enough tail for sewing, and chain 8.
Row 1: Starting in the 2nd chain from the hook, slst, sc, hdc, 2dc, hdc, sc , turn and keep going on the other side of the chain, sc, hdc, dc, hdc, sc, 2 sl st.
Fasten off, make a knot at the back of the leaf to secure the yarn tail, and weave in the yarn tail.
To make sure you sew the leaves tight (remember a baby will pull hard on it), grab a couple of stitches for each leaf, and make tight knots.
Before starting sewing, I strongly recommend to pin all pieces together to have a first view of the final result. It’s quite hard to estimate where one piece should go when the other ones are not yet assembled. It’s a bit messy because all the tails of the different parts will be hanging, but it might save you disapointment and frustration: once a piece is sewned, it’s difficult to unstitch if you find it too low or to high.
Be careful not to prick yourself with the pins as the koala is quite small and the pins might go through or be just under the surface. When you start sewing, you can remove the other pieces, and you’ll pin them back at the right place easily later, now that you’ve seen where everything should go.
1)Sew the nose to the head, the top of the nose should be aligned with the top of the eyes.
2)Sew the ears to the head. The top of the ears are sewn at the third round of the head, the bottom of the ears are 3 stitches away from the eyes.
3)Embroider a smile under the nose.
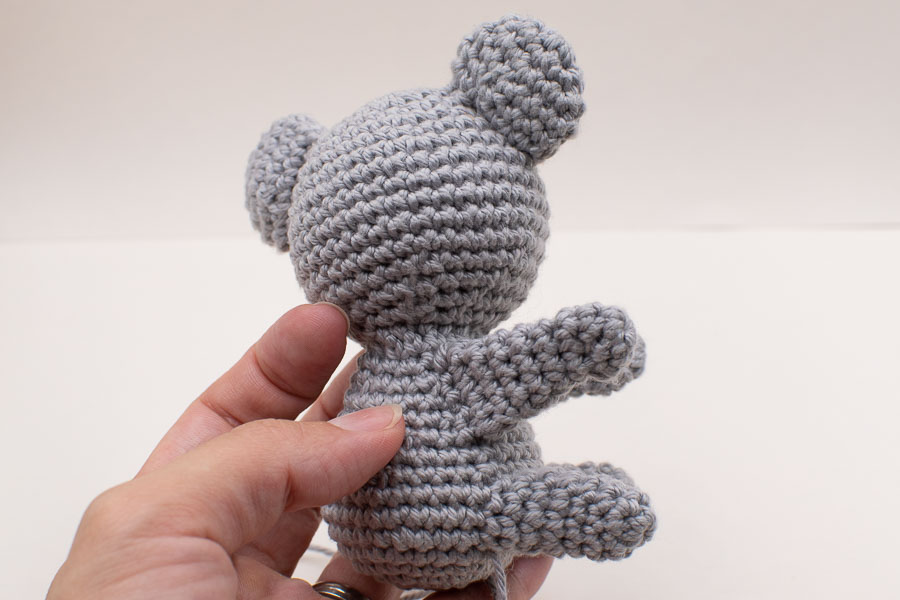
4)Sew the body to the head with a slight angle like on the picture below: your koala is turning his head and looking towards his left side.
5)Sew the arms to the body: the top of the arm is sewn between round 15 and 16 of the body (second to last round). Adjust the position depending on how you sewn the body to the head: place the koala on the rattle and pin both arms in place to see where they fit best. They need to be able to touch, as you’ll sew the hands together.
6)Sew the legs to the body: the lower part of the legs is sewn around round 5 of the body, and there are 5 stitches between both legs. Again try to pin them in place to adjust the position (aligned with the arms, and fitting the overall position on the rattle). Don’t cut the yarn tails, you can use them to sew the legs to the branch on the rattle later on.
7)With a long grey strand of yarn, make a knot in the inward part of an arm. With your tapestry needle, hide the small yarn tail inside the arm. Thread the other tail and exit around the hand to sew both arms together around the rattle. Make sure to sew tight and to do several back and forth between both hands. Grab a few stitches of the branch to sew the arms to the branch as well. Make a knot in one of the arms and hide the yarn tail inside.
8)Use the legs yarn tails to sew them to the branch.
Here you go! Congratulations on finishing Louis the koala baby rattle crochet pattern!
I’d be really happy to see your rattle mobile ! Tag me on Instagram, you can find me as @octopuscrochetdesign and use the hashtag #octopuscrochet
I look forward to seeing it!
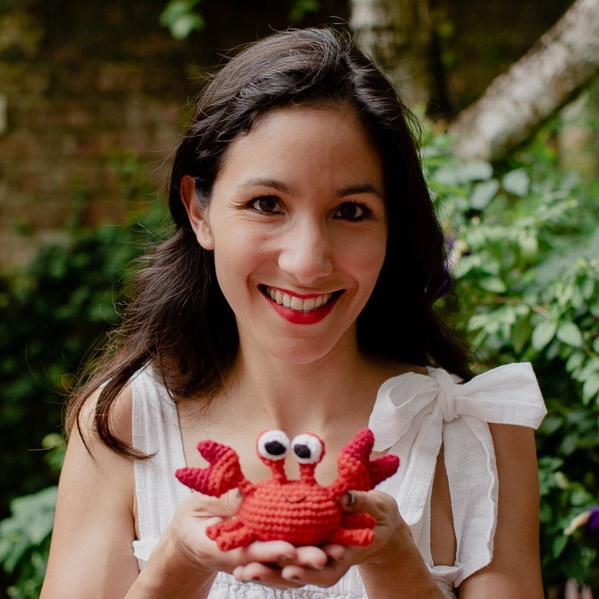
Crochet Designer
Hi friend, I learned crochet online, so you can do it too! I created this blog to share my tips and tricks for beginners and detailed patterns of amigurumis, crochet toys and home decor items. Jump in and beware of the crochet addiction: it’s real!!!